If you’re craving a quick, indulgent treat that doesn’t derail your healthy habits, the Two Minute Protein Brownie (Gluten Free, Single-Serve) Recipe is about to become your new best friend. This little miracle combines rich chocolatey goodness with a protein boost, all whipped up in mere minutes with pantry staples and no fuss involved. Perfect for a fast dessert fix or a wholesome snack, it’s gluten free, naturally portion-controlled, and incredibly satisfying.
Ingredients You’ll Need
These ingredients are the heart and soul of your Two Minute Protein Brownie. Each one plays a vital role in achieving that perfect texture and flavor—whether it’s the creamy depth from cocoa, the moisture from milk, or the sweet touch from your favorite natural sweetener.
- Protein powder: Choose chocolate or vanilla for a smooth protein-packed base that fuels your body and adds flavor.
- Cocoa powder: Gives the brownie its signature chocolatey richness and a bold color.
- Baking powder: Helps lift the brownie slightly, keeping it tender and not dense.
- Sweetener of choice: Coconut sugar, erythritol, or maple syrup add just the right amount of sweetness without being overpowering.
- Milk of choice: Whether dairy or plant-based, it moistens and binds the ingredients beautifully.
- Vanilla extract: Adds warmth and depth that balances the cocoa’s bitterness perfectly.
- Peanut butter or almond butter (optional): A creamy swirl for extra richness and a lovely nutty twist.
- Pinch of salt: Enhances all the flavors and keeps the sweetness grounded.
How to Make Two Minute Protein Brownie (Gluten Free, Single-Serve) Recipe
Step 1: Mix the dry ingredients
Start by combining your protein powder, cocoa powder, baking powder, sweetener, and salt in a microwave-safe mug or small bowl. Mixing them thoroughly ensures every bite of your Two Minute Protein Brownie is consistently flavorful and perfectly balanced. This dry blend is the foundation of your brownie’s texture and taste.
Step 2: Add liquids and mix well
Next, pour in the milk and vanilla extract, stirring everything until you get a smooth, thick batter. If you’re using peanut or almond butter, now’s the time to swirl it in for that luscious nutty richness. This mixture is what brings moisture and creaminess, turning dry powders into a brownie batter worthy of your mug.
Step 3: Microwave for the perfect bake
Pop your mug into the microwave for 40 to 60 seconds on high. Keep a close eye on it—your brownie should set nicely on top but stay a touch gooey in the center, giving you that irresistible fudgy texture. This is the magic moment where your brownie transforms from batter to a rich, warm dessert.
Step 4: Cool and enjoy
Allow your brownie a minute to cool down so it doesn’t burn your tongue but still stays soft and comforting. Eat it straight from the mug for a casual treat or transfer it to a plate for a more refined presentation. Either way, you’re in for a delicious bite that’s both nutritious and decadent.
How to Serve Two Minute Protein Brownie (Gluten Free, Single-Serve) Recipe

Garnishes
Enhance your brownie with simple toppings like a dollop of Greek yogurt, a sprinkle of chopped nuts, or a few fresh berries. These garnishes add texture, freshness, and a pop of color, making your mug dessert feel a little more special and personalized.
Side Dishes
Pair your Two Minute Protein Brownie with a cooling glass of almond milk or a cup of herbal tea. Both offer refreshing contrasts that complement the dense chocolate without overpowering it. For a brunch twist, serve it alongside a handful of fruit for a balanced snack.
Creative Ways to Present
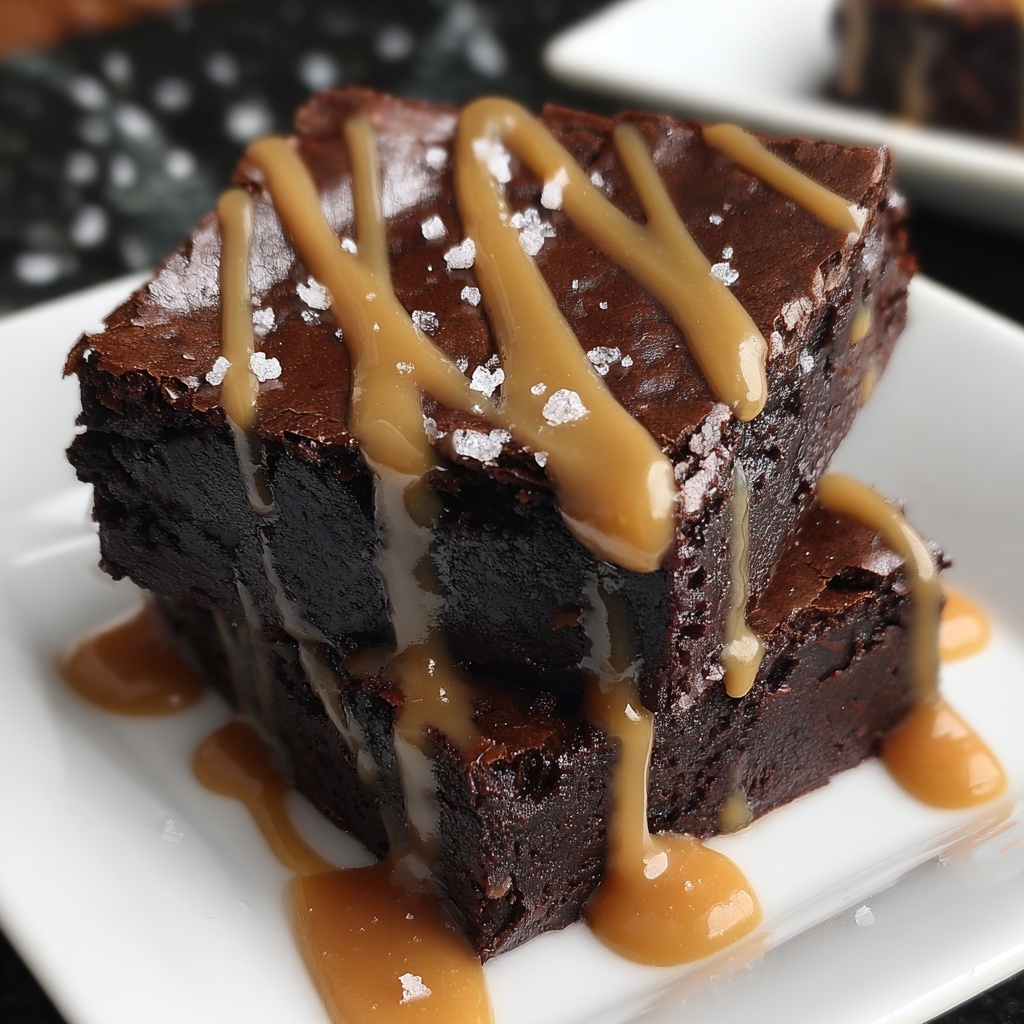
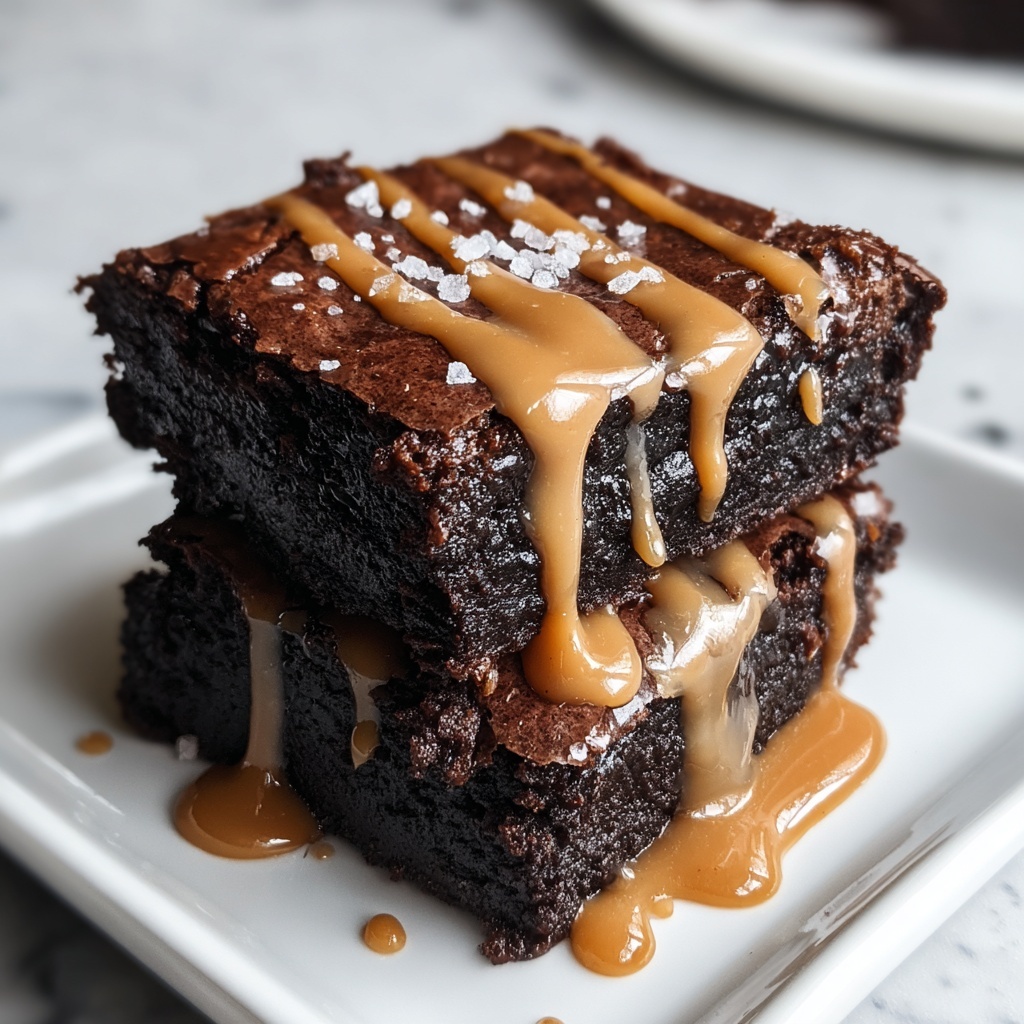
If you want to impress, try layering the brownie inside a clear glass with yogurt and granola to make a parfait. Or drizzle it with melted dark chocolate and sprinkle sea salt on top for a gourmet touch. These simple tweaks elevate the humble mug brownie into a dessert fit for guests or self-care moments alike.
Make Ahead and Storage
Storing Leftovers
Because this recipe is single-serve, leftovers are rare, but if you make extra, store your brownie in an airtight container in the fridge for up to 2 days. This keeps the texture moist though the top may lose some of its fresh-baked softness.
Freezing
Freezing is possible by wrapping the brownie tightly in plastic wrap and placing it in a freezer bag, keeping it fresh for up to a month. When you’re ready, thaw it overnight in the refrigerator before reheating.
Reheating
To enjoy your brownie again, microwave it for 20-30 seconds until warmed through. Be careful not to overheat it as it can quickly dry out. A splash of milk before reheating helps restore its moist texture.
FAQs
Can I use any protein powder for this brownie?
Yes! Chocolate or vanilla protein powders work best for flavor, but you can experiment with other types as long as they mix well and don’t have odd additives that affect texture.
Is this recipe truly gluten free?
Absolutely. This recipe uses no wheat or gluten-containing ingredients. Just ensure your protein powder and cocoa powder are certified gluten free if you have a sensitivity.
Can I make this recipe dairy free?
Definitely! Use any plant-based milk like almond, oat, or coconut milk. These options work well and keep the dessert creamy without dairy.
What’s the best sweetener to use?
That depends on your preference. Coconut sugar adds a subtle caramel note, erythritol keeps it low-calorie, and maple syrup brings a natural sweetness and moisture. Feel free to pick what suits your taste and dietary needs.
Is it possible to make a larger batch of this brownie?
You can scale ingredients accordingly, but keep in mind this recipe is designed for quick microwave cooking in a single serving. For bigger portions, consider baking in a small pan for a longer time to get the best texture.
Final Thoughts
You really can have your brownie and eat it too—fast, healthy, and totally satisfying with the Two Minute Protein Brownie (Gluten Free, Single-Serve) Recipe. It’s a clever little dessert that fits perfectly into busy days, offers a protein punch, and satisfies that chocolate craving in just moments. Give it a try and watch it become your go-to anytime treat.
Print
Two Minute Protein Brownie (Gluten Free, Single-Serve) Recipe
- Prep Time: 2 minutes
- Cook Time: 1 minute
- Total Time: 3 minutes
- Yield: 1 serving
- Category: Dessert
- Method: Microwaving
- Cuisine: American
- Diet: Gluten Free
Description
A quick and delicious single-serve gluten-free protein brownie that can be made in just two minutes using a microwave. This recipe is perfect for a healthy, guilt-free dessert or snack, combining protein powder and cocoa for a rich chocolatey treat with the option to add nut butter for extra flavor and creaminess.
Ingredients
Main Ingredients
- 2 tablespoons protein powder (chocolate or vanilla)
- 1 tablespoon cocoa powder
- 1/4 teaspoon baking powder
- 1 tablespoon sweetener of choice (coconut sugar, erythritol, or maple syrup)
- 2 tablespoons milk of choice (dairy or plant-based)
- 1/4 teaspoon vanilla extract
- 1/2 tablespoon peanut butter or almond butter (optional)
- Pinch of salt
Instructions
- Mix dry ingredients: In a microwave-safe mug or small bowl, combine the protein powder, cocoa powder, baking powder, sweetener, and salt. Mix thoroughly until evenly combined.
- Add wet ingredients: Pour in the milk and vanilla extract. Stir until the batter is smooth and well incorporated. If using nut butter, gently swirl it into the mixture.
- Microwave cooking: Place the mug or bowl in the microwave and cook on high for 40 to 60 seconds. Keep a close watch to ensure the brownie sets on top but remains slightly gooey in the center for perfect texture.
- Cool and serve: Allow the brownie to cool for about a minute before eating. Enjoy it directly from the mug or transfer to a plate if preferred.
Notes
- Microwave times may vary depending on your appliance; adjust cooking duration accordingly.
- Using plant-based milk and vegan protein powder makes this recipe vegan-friendly.
- For added texture and flavor, consider adding a few chocolate chips or nuts before microwaving.
- This recipe can be easily doubled, but cook in separate containers to ensure even cooking.
- Ensure your protein powder is gluten-free if you have gluten sensitivity.
