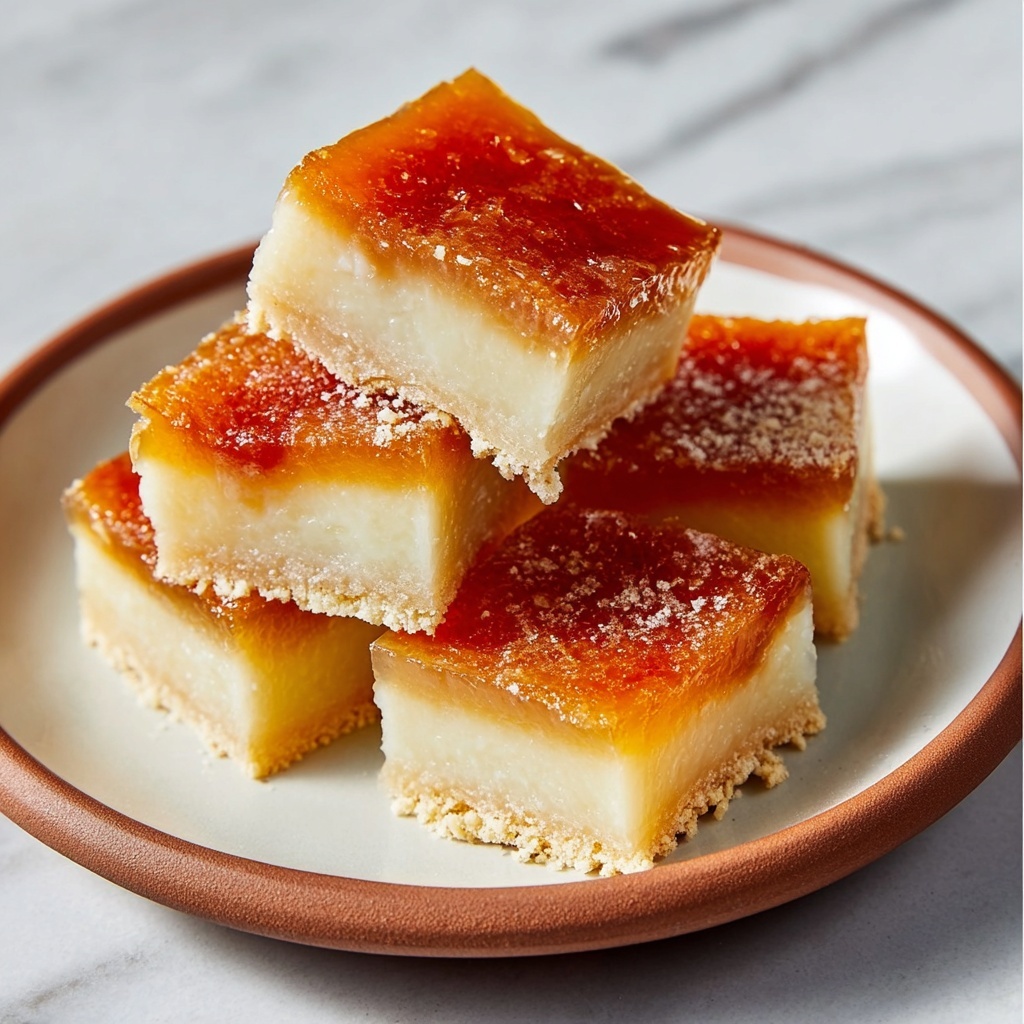
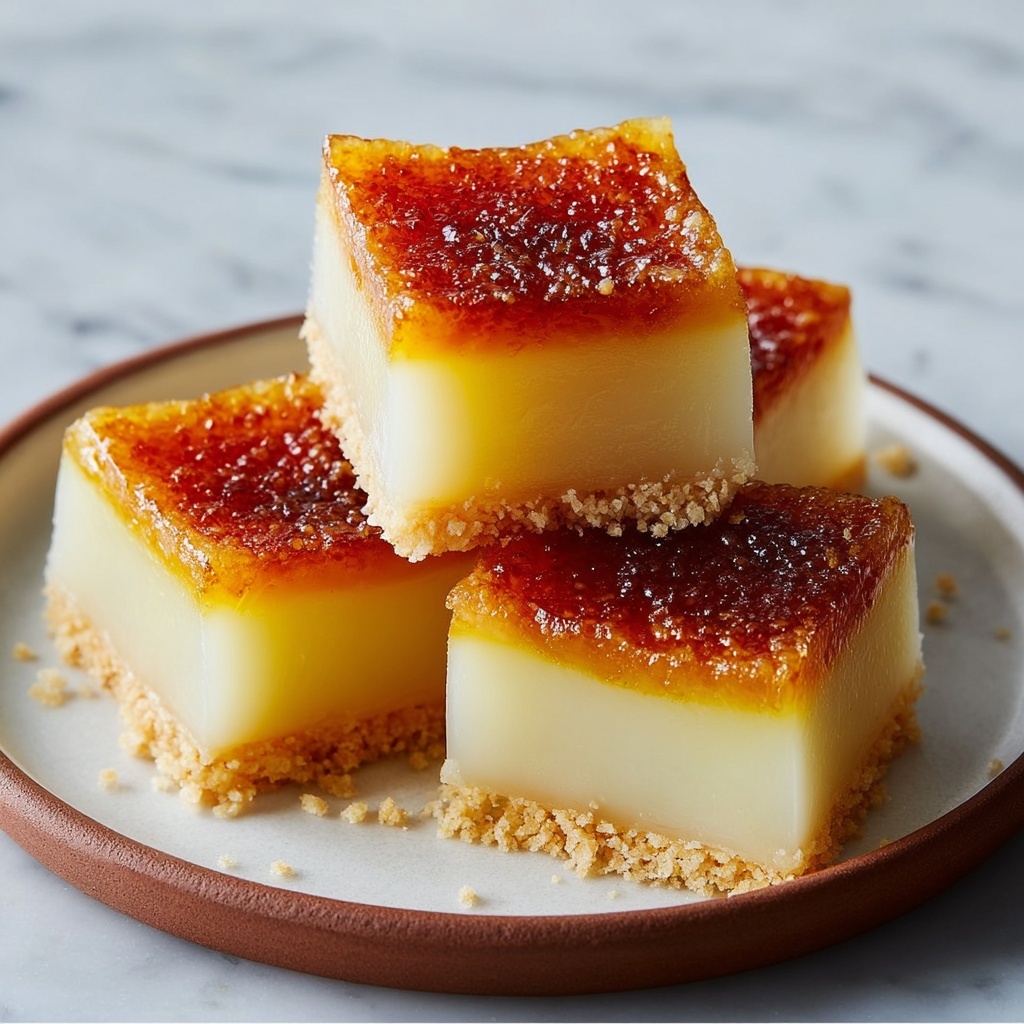
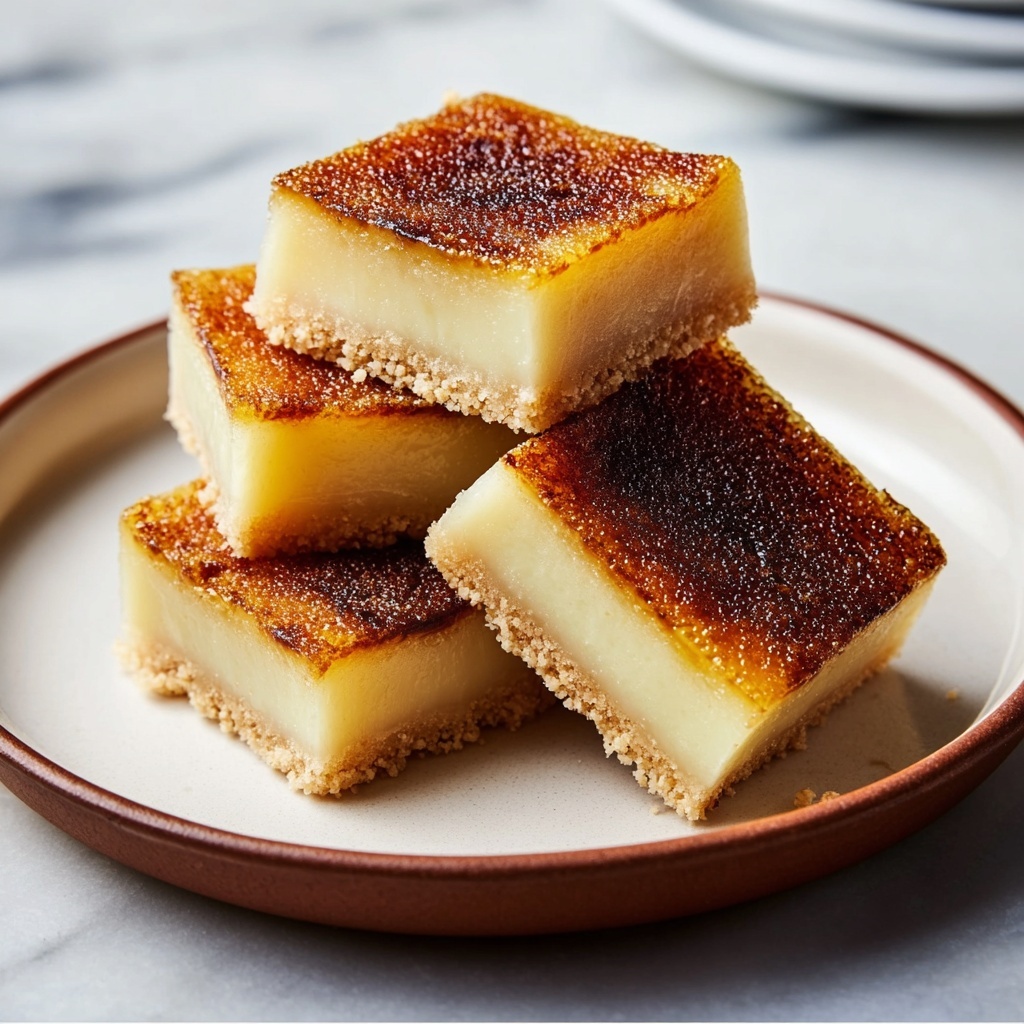
If you have ever wondered how to bring a bit of Hawaiian sunshine to your kitchen, look no further than this delightful treat. Learning How To Make Butter Mochi (Hawaiian Butter Mochi Cake) Recipe is like discovering a secret treasure that combines the chewy, luscious texture of mochi with the buttery richness of a cake, delivering a unique dessert experience you won’t easily forget. This recipe holds the magic that makes it soft and slightly crispy on the outside while dense and creamy inside, featuring the perfect marriage of coconut and vanilla flavors. Once you try it, you’ll be hooked and eager to share this tropical gem with your friends and family.
Ingredients You’ll Need
The beauty of this recipe is in its simplicity and the essential ingredients that work harmoniously to create that signature mochi texture and flavor. Each component plays a key role, from the luscious melted butter that brings richness to the tender rice flour giving it that chewy bite, to the duo of coconut milk and regular milk that adds creamy depth.
- Salted Butter (85 g, melted): Adds a rich, creamy base and enhances flavor with just a touch of saltiness.
- White Sugar (220 g): Sweetens the batter perfectly without overpowering the other flavors.
- Eggs (2): Provide structure and a soft, custard-like crumb.
- Rice Flour (220 g sweet glutinous): Creates the chewy, mochi-like texture that’s unique to this cake.
- Baking Powder (½ tsp): Gives a gentle lift to keep the cake from being too dense.
- Milk (220 ml): Balances the richness and adds moisture.
- Coconut Milk (200 ml): Infuses that unmistakable tropical aroma and creamy taste.
- Vanilla Extract (1 tsp): Adds warmth and a sweet fragrant note to complement the coconut.
- Unsweetened Coconut Flakes (optional): For a tasty, toasty garnish that adds texture contrast.
How to Make How To Make Butter Mochi (Hawaiian Butter Mochi Cake) Recipe
Step 1: Prepare Your Oven and Pan
Start by preheating your oven to 350°F (180°C). It’s essential to have the right temperature so your butter mochi bakes evenly and develops that beautiful golden crust. Line an 8-inch x 8-inch brownie pan with parchment paper to ensure your mochi doesn’t stick and to make cleanup easier—you’ll thank yourself later.
Step 2: Mix Dry Ingredients
Take the rice flour and baking powder and whisk them together in a bowl. This step ensures even distribution of baking powder, which is critical for that perfect texture. Setting this mixture aside lets us focus on the wet ingredients next.
Step 3: Combine Wet Ingredients
In a larger mixing bowl, beat the eggs until smooth. Add in the white sugar, melted butter, and vanilla extract, mixing everything together until it’s well combined and glossy. This mixture is the flavorful heart of our cake, bringing sweetness and richness in a creamy blend.
Step 4: Add Coconut and Regular Milk
Pour in the coconut milk and regular milk to the wet mixture, stirring gently until the batter feels smooth. The combination of these two milks adds moisture and that unmistakable tropical taste that sets this cake apart from any other dessert.
Step 5: Combine Dry and Wet Mixtures
Gradually fold in the rice flour and baking powder mixture into the wet ingredients. Stir patiently and thoroughly until your batter is smooth without any lumps. The smooth consistency ensures an even bake with the ideal chewy but tender texture.
Step 6: Prepare for Baking
Pour your luscious batter into the prepared pan, spreading it out evenly. If you’re feeling a bit fancy, sprinkle the top with unsweetened coconut flakes for a delightful toasted crunch once baked. This little touch adds both flavor and visual appeal.
Step 7: Bake and Watch the Magic
Place the pan in the oven and bake for about 30 minutes. Keep an eye out for a golden brown color around the edges, which signals it’s ready. The aroma of coconut, butter, and vanilla wafting from your oven will make it hard to wait!
Step 8: Cool and Serve
Once baked, allow your butter mochi to cool slightly. This step helps the cake set and makes cutting it into perfect squares much easier. Trust me, those warm pieces are simply irresistible, but patience will be rewarded.
How to Serve How To Make Butter Mochi (Hawaiian Butter Mochi Cake) Recipe
Garnishes
Serving butter mochi cake can be as simple or as creative as you like. A light sprinkle of toasted coconut flakes adds a wonderful crunch and visually emphasizes the Hawaiian theme. You can also dust with a little powdered sugar or drizzle a bit of condensed milk for extra indulgence.
Side Dishes
A slice of butter mochi pairs beautifully with hot tea or a rich cup of coffee, balancing that chewy sweetness. For a decadent treat, serve it alongside a scoop of vanilla ice cream, which melts into the cake’s warm softness perfectly.
Creative Ways to Present
If you’re serving at a party or family gathering, cut your butter mochi into bite-sized squares and create a dessert platter with fresh tropical fruits like mango, pineapple, and passion fruit. You can even top each piece with a small dollop of whipped cream and a cherry for a festive look.
Make Ahead and Storage
Storing Leftovers
Butter mochi cake keeps well for several days when stored properly. Wrap leftover pieces tightly in plastic wrap or place them in an airtight container and keep them at room temperature or in the refrigerator to maintain freshness and texture.
Freezing
This cake freezes wonderfully, making it ideal for batch baking. Wrap individual squares or the whole cake tightly in plastic wrap and then foil before transferring to the freezer. When you’re ready to enjoy again, thaw overnight in the refrigerator.
Reheating
To bring your butter mochi back to life, warm pieces gently in a microwave for about 15-20 seconds or pop them into a toaster oven for a few minutes to regain that soft, chewy texture with a slightly crisp edge.
FAQs
Can I use regular flour instead of rice flour?
Rice flour, especially sweet glutinous type, is essential for the mochi’s unique chewy texture. Using regular flour won’t give you the same results, so I recommend sticking to rice flour for this recipe.
Is this recipe dairy-free?
Not as written, since it uses salted butter and regular milk. However, you can substitute dairy-free butter and coconut milk or another plant-based milk to make it dairy-free and still maintain a lovely flavor.
Why does my mochi come out too dense?
This could be due to not mixing the batter thoroughly or using too much rice flour. Make sure to carefully measure ingredients and mix until smooth to ensure the best texture.
Can I make this recipe gluten-free?
Yes! The recipe is naturally gluten-free because it uses sweet glutinous rice flour, which contains no wheat gluten, making it a fantastic option for those avoiding gluten.
How long does butter mochi stay fresh?
Butter mochi is best eaten within 3-4 days when stored properly. Beyond that, it may lose some of its chewy texture but will still be delicious if warmed up before serving.
Final Thoughts
Bringing this How To Make Butter Mochi (Hawaiian Butter Mochi Cake) Recipe into your kitchen is like capturing a little island escape in every bite. Its warm, buttery, and coconut-infused flavor is both comforting and exciting, making it a true crowd-pleaser. You don’t need to live in Hawaii to enjoy its magic — just gather the ingredients, follow these simple steps, and watch as this fabulous cake quickly becomes one of your new favorites.
Print
How To Make Butter Mochi (Hawaiian Butter Mochi Cake) Recipe
- Prep Time: 10 minutes
- Cook Time: 30 minutes
- Total Time: 40 minutes
- Yield: 9 servings
- Category: Dessert
- Method: Baking
- Cuisine: Hawaiian
- Diet: Gluten Free
Description
Butter Mochi is a beloved Hawaiian dessert featuring a chewy, custard-like texture made from glutinous rice flour, coconut milk, and butter. This recipe yields a rich, soft cake with a golden crust and optional coconut flakes on top for added flavor and texture. Perfect for gatherings or a sweet treat, this Butter Mochi combines traditional Hawaiian flavors with a simple baking method.
Ingredients
Dry Ingredients
- 220 g Rice Flour (Sweet Glutinous Rice Flour)
- ½ tsp Baking Powder
Wet Ingredients
- 85 g Salted Butter, melted
- 220 g White Sugar
- 2 Eggs
- 220 ml Milk
- 200 ml Coconut Milk
- 1 tsp Vanilla Extract
Optional Garnish
- Unsweetened Coconut Flakes (for garnish)
Instructions
- Preheat oven and prepare pan: Preheat your oven to 350°F (180°C) and line an 8-inch x 8-inch brownie pan with parchment paper to prevent sticking and ensure easy removal.
- Combine dry ingredients: In a bowl, whisk together the rice flour and baking powder until evenly mixed; set this aside for later use.
- Mix wet ingredients: In a large mixing bowl, beat the eggs thoroughly, then add the white sugar, melted butter, and vanilla extract. Stir until the mixture is smooth and well combined.
- Add the milks: Gradually pour in the coconut milk followed by the regular milk, stirring continuously to blend all the wet ingredients together seamlessly.
- Incorporate dry ingredients: Slowly add the rice flour and baking powder mixture into the wet ingredients, mixing gently until the batter becomes smooth and free of lumps.
- Prepare for baking: Pour the batter into the prepared brownie pan, spreading it evenly. Optionally, sprinkle unsweetened coconut flakes on top to add texture and flavor.
- Bake the mochi: Place the pan in the preheated oven and bake for about 30 minutes, or until the edges turn golden brown and a toothpick inserted in the center comes out clean.
- Cool and serve: Remove the pan from the oven and let the mochi cool slightly so it firms up, then cut into approximately 9 square pieces to serve.
Notes
- Using sweet glutinous rice flour is crucial for the signature chewy texture of butter mochi.
- Optionally garnish with unsweetened coconut flakes for added flavor and a decorative touch.
- Allow the cake to cool a bit before cutting to maintain clean squares.
- Can be stored in an airtight container at room temperature for up to 2 days or refrigerated for up to 5 days.
- Reheat gently before serving to restore softness.
