If you’ve ever dreamed of pulling a warm, golden loaf from your oven with a crust that’s perfectly crisp and an interior that’s soft and airy, this Homemade Classic Bread Recipe is going to become your new best friend. There’s something truly magical about baking bread from scratch—the aroma alone fills your kitchen with comfort and anticipation, while each bite delivers that simple yet satisfying taste of freshly baked goodness. This Homemade Classic Bread Recipe is straightforward enough for beginners but yields such delicious results, it’ll feel like you’ve uncovered a little bakery secret to share.
Ingredients You’ll Need
Gathering these simple ingredients is the first joyful step toward enjoying your very own loaf. Each component plays an important part in texture and flavor, creating a beautiful balance that anyone can master.
- 4 cups all-purpose flour: The foundation of your bread, providing structure and a tender crumb; you can also swap in whole wheat flour for added nuttiness.
- 1 packet (2 ¼ teaspoons) active dry yeast: This little powerhouse leavens your bread, making it rise and giving it that irresistible fluffiness.
- 1 ½ cups warm water (about 110°F/43°C): Warms up the yeast so it wakes up and gets busy forming the bread’s airy texture.
- 2 tablespoons sugar: Feeds the yeast and adds a subtle touch of sweetness that complements the bread’s crust.
- 1 tablespoon salt: Brings out flavor and helps control yeast activity to keep the bread perfectly balanced.
- 2 tablespoons olive oil (or melted butter): Adds moisture, richness, and a tender crumb to the finished loaf.
How to Make Homemade Classic Bread Recipe
Step 1: Activate the Yeast
Start by dissolving sugar into warm water—this creates the perfect environment for your yeast to come alive. Sprinkle the yeast on top and give it 5 to 10 minutes to become frothy and bubbly. This is a joyful moment because you can see the yeast awakening, which means your bread will rise beautifully.
Step 2: Mix and Knead the Dough
Combine flour and salt in a large bowl to build the dough’s structure and base flavor. Pour in the yeast mixture along with olive oil or melted butter, stirring until it forms a rough dough. Transfer to a floured surface and knead for 8 to 10 minutes. It’s a satisfying step that transforms sticky dough into a smooth, elastic ball—feel free to enjoy this tactile part as part of the bread-making therapy.
Step 3: First Rise
Place the dough into a lightly greased bowl and cover it with a towel to keep in warmth and moisture. Let it rest for 1 to 1.5 hours until it doubles in size. This rise creates those lovely air pockets inside the bread that make every bite soft and airy.
Step 4: Shape and Second Rise
Gently punch the dough to release trapped air and shape it into a loaf. Pop it into a greased loaf pan and cover it again. This second rise, lasting about 30 to 45 minutes, helps the dough puff up and prepares it for baking, promising a beautiful loaf shape.
Step 5: Bake to Perfection
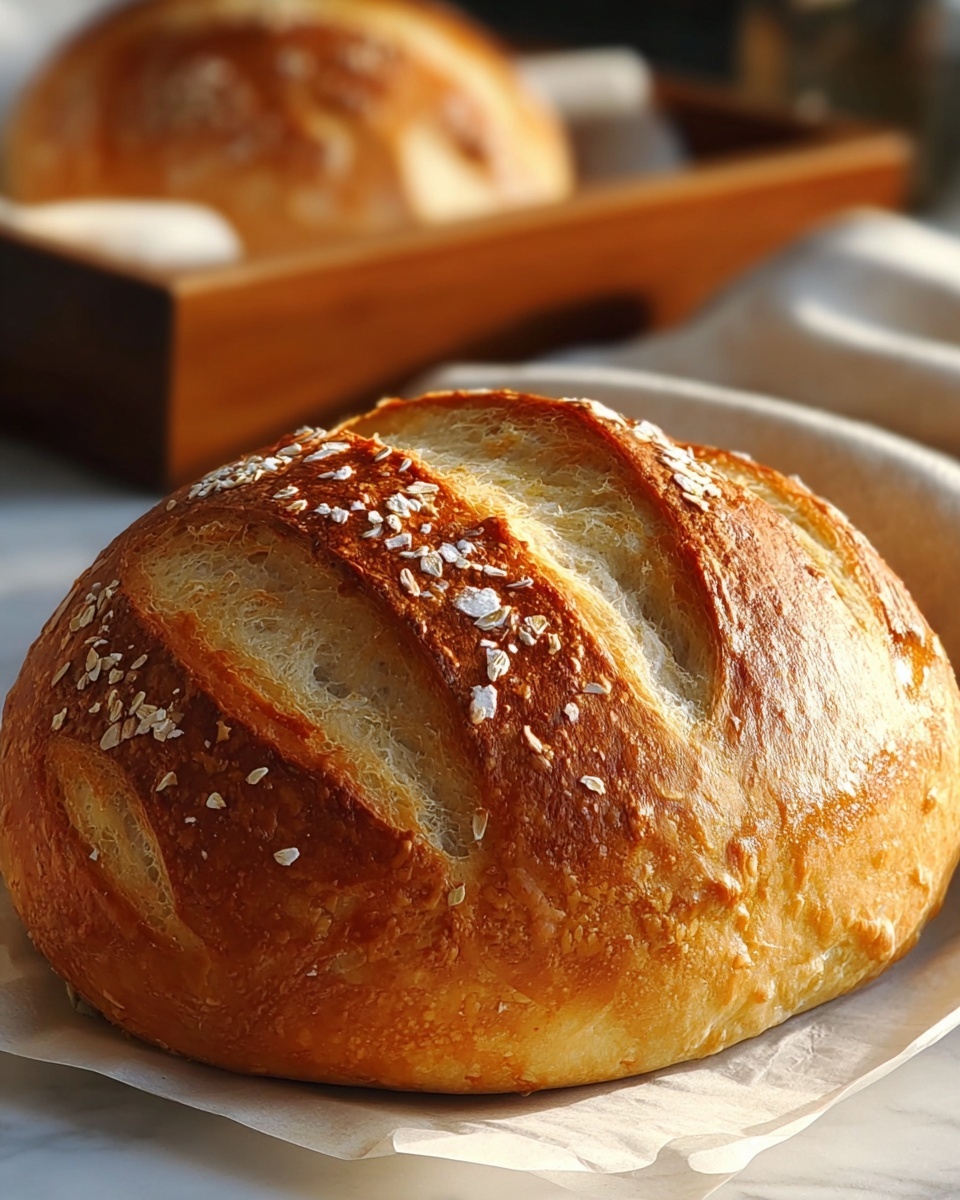
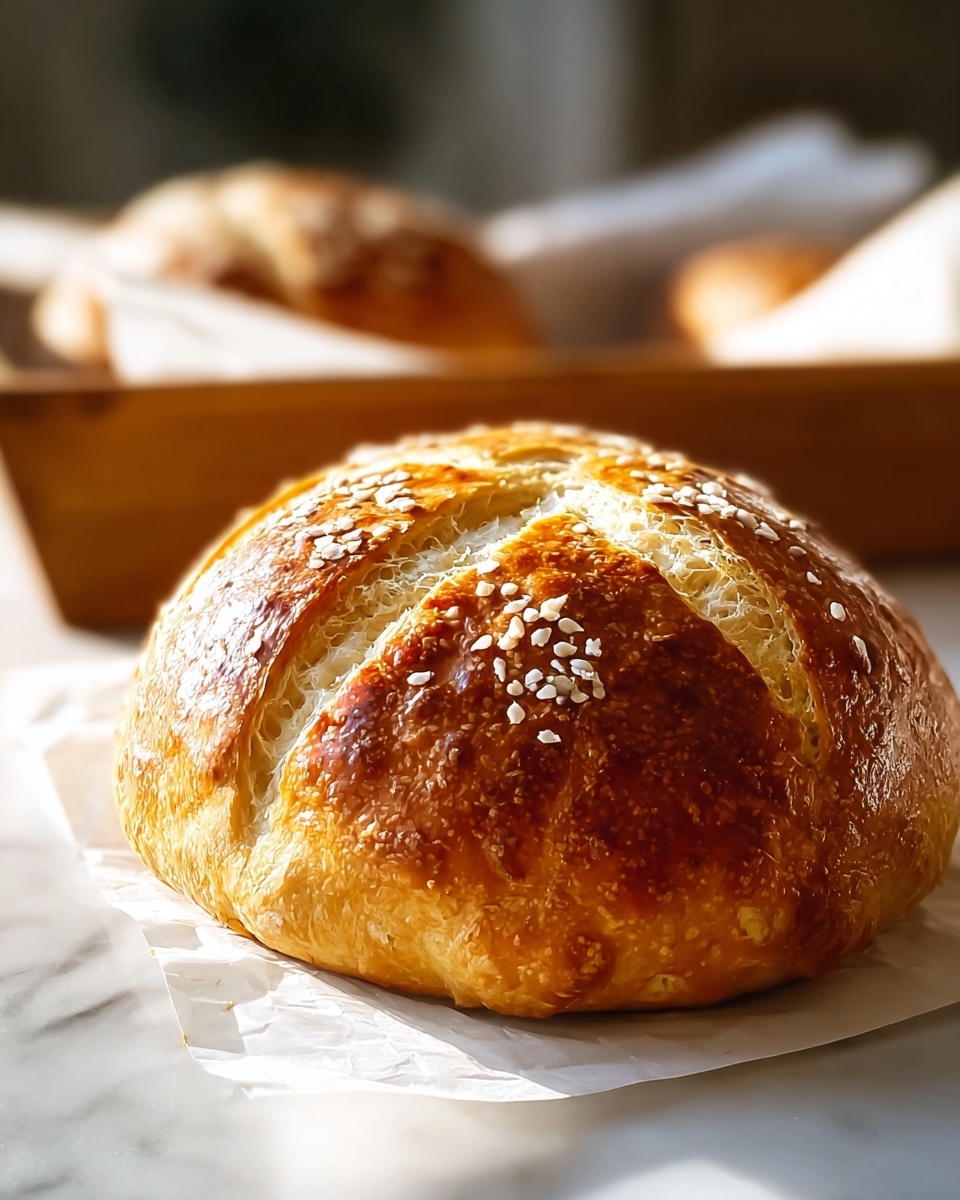
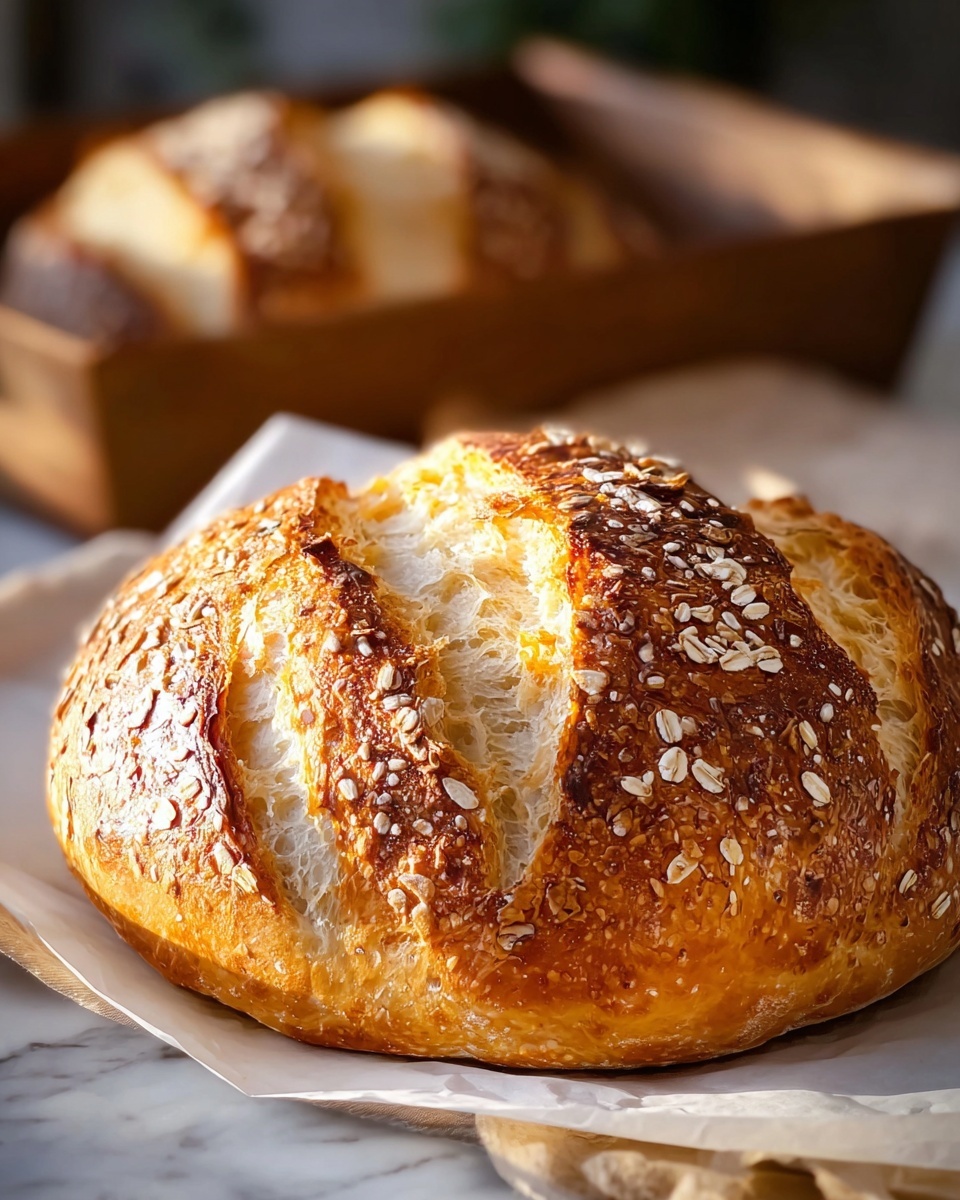
Heat your oven to 375°F (190°C) and bake the loaf for 30 to 35 minutes until the crust turns a rich golden brown. You’ll know it’s ready when tapping the loaf sounds hollow—an authentic sign of perfectly baked bread.
Step 6: Cool and Enjoy
Let your bread cool in the pan for a few minutes, then transfer to a wire rack to cool completely. This step prevents sogginess and sets the crumb, making every slice delightful and easy to cut.
How to Serve Homemade Classic Bread Recipe
Garnishes
While this bread shines on its own, adding a spread of softened butter, a drizzle of honey, or a sprinkle of sea salt on a warm slice elevates its flavor and adds that extra touch of love to every bite.
Side Dishes
This flavorful bread pairs beautifully with soups, stews, or fresh salads. Its tender crumb soaks up broths and dressings while offering a comforting contrast to crunchy or creamy sides.
Creative Ways to Present
Transform your loaf into gourmet toast topped with avocado, eggs, or your favorite jam. Or slice it to make sandwiches that impress with homemade charm—a perfect way to show off your baking skills at any meal.
Make Ahead and Storage
Storing Leftovers
Wrap your leftover bread tightly in plastic wrap or place it in an airtight container to keep it fresh for up to three days. Stored properly, it maintains its delicious texture and flavor.
Freezing
For longer storage, slice the bread and freeze in a freezer-safe bag. This way, you can pull out only what you need and enjoy fresh-tasting bread anytime without waste.
Reheating
To recapture that just-baked warmth and softness, warm slices in a toaster or oven at low heat. This breathes life back into the crumb and gives you that cozy, fresh-from-the-oven experience.
FAQs
Can I use whole wheat flour in this Homemade Classic Bread Recipe?
Absolutely! You can substitute some or all of the all-purpose flour with whole wheat flour. Keep in mind that the bread might be a bit denser and have a nuttier flavor, but it still bakes beautifully.
How do I know if my yeast is still good to use?
If your yeast foams up within 5 to 10 minutes after mixing with warm water and sugar, it’s active and ready. If it doesn’t bubble or froth, it’s best to use a new packet of yeast to ensure a great rise.
Can I make this dough in a bread machine?
Yes! Simply use the dough setting on your bread machine for mixing and kneading, then follow the rising and baking steps in your oven. It can save time and effort while still delivering amazing bread.
My bread dough isn’t rising, what could be wrong?
Make sure your water temperature is warm, not hot or cold, to activate the yeast properly. Also, check that your yeast is fresh and hasn’t expired. Rising time may vary depending on room temperature, so find a warm spot for the dough to rest.
Can I add herbs or other flavors to the Homemade Classic Bread Recipe?
Definitely! Feel free to mix in rosemary, garlic, or even cheese for a flavorful twist. Just add these ingredients during the mixing stage so they incorporate evenly in the dough.
Final Thoughts
Baking this Homemade Classic Bread Recipe is more than just making bread; it’s a heartwarming experience that fills your home with love and comfort. Whether you’re a beginner or a seasoned cook, this recipe invites you to slow down, enjoy the process, and savor the rewarding taste of bread you made with your own hands. Give it a try—you’ll be amazed at how simple ingredients and a little patience come together to create something truly special.