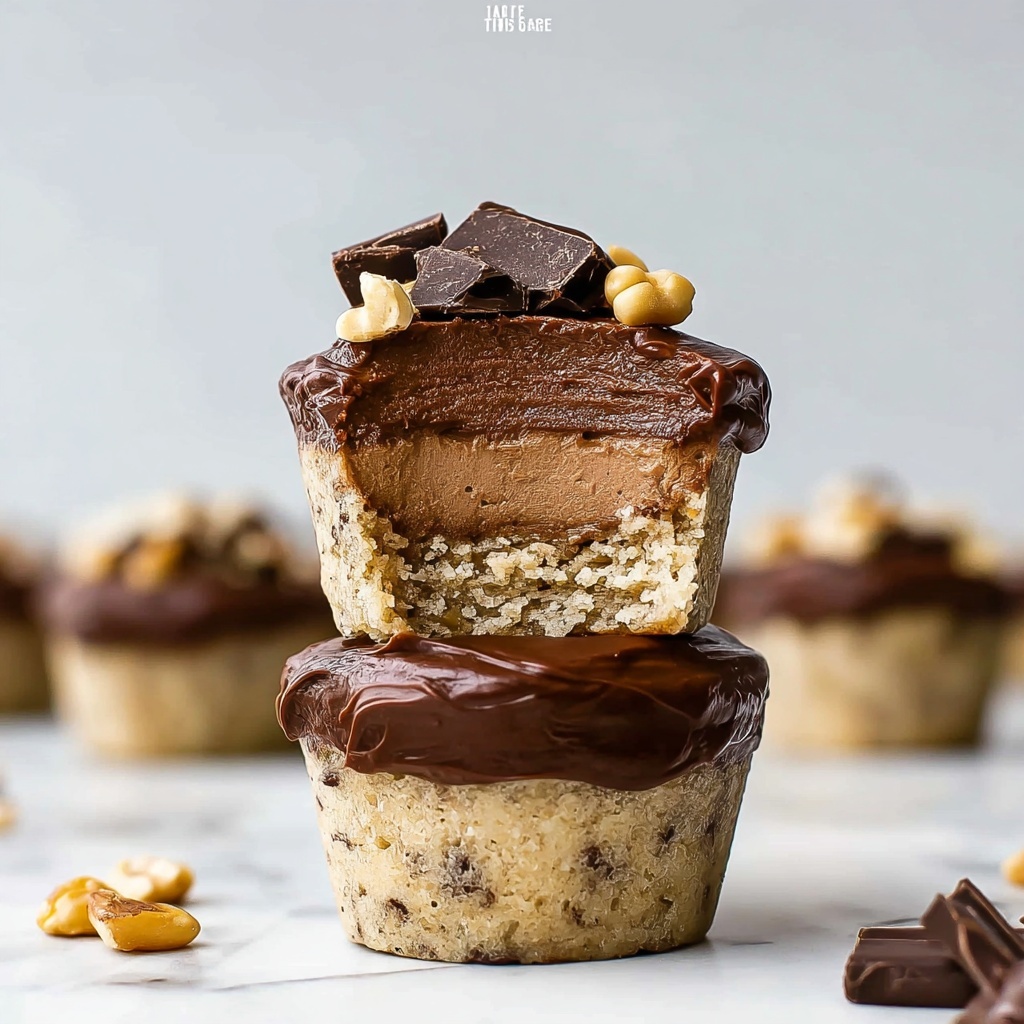
If you’re searching for a delicious way to satisfy chocolate cravings while boosting your protein intake, this High Protein Frozen Chocolate Mousse Cups Recipe is an absolute treasure. Creamy, rich, and refreshingly frozen, these mousse cups transform simple ingredients like Greek yogurt and cocoa powder into a luscious treat that feels indulgent but fuels your body with goodness. Whether you’re looking for a post-workout snack, a guilt-free dessert, or something quick to whip up for guests, these mousse cups hit all the right notes—light, velvety, and packed with protein.
Ingredients You’ll Need
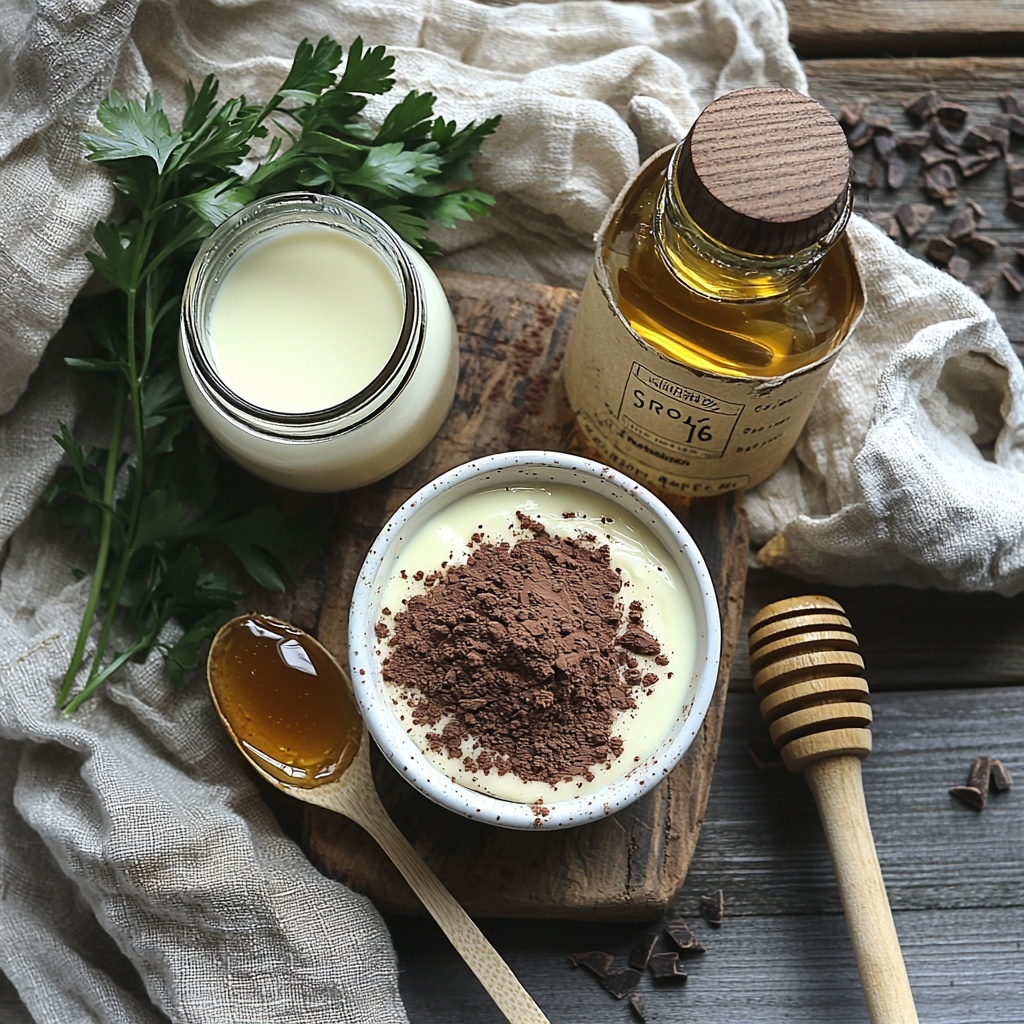
The magic behind the High Protein Frozen Chocolate Mousse Cups Recipe lies in a handful of everyday ingredients that bring flavor, texture, and that silky smoothness we all adore. Each component plays a vital role, from the tangy creaminess of Greek yogurt to the deep chocolate richness of unsweetened cocoa powder.
- Greek yogurt: Provides a creamy texture and a hefty dose of protein to keep you satisfied.
- Unsweetened cocoa powder: Delivers rich, intense chocolate flavor without added sugars.
- Honey or maple syrup: Adds natural sweetness and balances the bitterness of cocoa.
- Vanilla extract: Enhances the overall flavor, giving it a warm, inviting aroma.
- Milk (dairy or non-dairy): Helps achieve that smooth, mousse-like consistency and can be adjusted to your preferred creaminess.
How to Make High Protein Frozen Chocolate Mousse Cups Recipe
Step 1: Gather and Combine Ingredients
Start by assembling all your ingredients in a large mixing bowl: Greek yogurt, unsweetened cocoa powder, honey or maple syrup, vanilla extract, and your choice of milk. Having everything ready makes the process seamless and more enjoyable.
Step 2: Blend Until Creamy and Smooth
Using an electric mixer set to medium speed, mix all the ingredients together until the mousse is perfectly smooth and free of lumps. This step is crucial for achieving that silky texture that makes this dessert feel so decadent despite its simplicity.
Step 3: Taste and Adjust Sweetness
Give your mousse a quick taste test. If you prefer it sweeter, add a little more honey or maple syrup, then mix briefly to incorporate. This ensures your mousse perfectly matches your personal taste preferences.
Step 4: Portion Into Serving Cups
Spoon the mixture evenly into individual serving cups or ramekins. This portioning makes for a lovely presentation and easy freezing later on.
Step 5: Freeze Until Firm
Place the cups in the freezer and allow them to freeze for at least 4 hours, or until the mousse has set solid. This chilling stage is what gives the mousse its delightful frozen texture.
Step 6: Let Sit Before Serving
Remove the mousse cups from the freezer and let them sit at room temperature for about 5 minutes. This brief thawing softens them just enough for spoonfuls of pure velvety pleasure. Optionally, add your favorite toppings right before serving.
How to Serve High Protein Frozen Chocolate Mousse Cups Recipe
Garnishes
To elevate your mousse cups, think beyond the usual. Finely chopped fresh mint, a sprinkle of cocoa nibs, or even a dusting of crushed nuts add texture and eye-catching detail while complementing the chocolate. These little touches will make your dessert feel truly special.
Side Dishes
This dessert pairs beautifully with fresh berries, which add a pop of color and a bright contrast to the rich chocolate. Alternatively, a crisp fruit salad or a small scoop of fruit sorbet can balance the creamy mousse with a refreshing bite.
Creative Ways to Present
Serve your mousse cups in elegant glass jars, mini mason jars, or layered inside clear parfait glasses for a sophisticated look. You could even add layers of granola or crushed cookies between spoonfuls for a fun, textural twist that delights with every bite.
Make Ahead and Storage
Storing Leftovers
If you have any mousse cups leftover, keep them covered tightly in the freezer. Properly stored, they remain delicious for up to a week, maintaining their creamy texture and fresh flavor.
Freezing
This recipe is perfect for make-ahead meals or snacks. Freeze the mousse cups in airtight containers or sealed cups to prevent freezer burn. Because the mousse is already frozen, you’ll just need to thaw them slightly before eating.
Reheating
While reheating isn’t necessary, letting the mousse cups sit at room temperature for 5 to 10 minutes softens them enough to enjoy the texture and flavor fully. Avoid microwaving, as it will melt the mousse completely and ruin the intended frozen experience.
FAQs
Can I use flavored yogurt instead of plain Greek yogurt?
While you can, using plain Greek yogurt is recommended to control the sweetness and let the chocolate shine. Flavored yogurts may alter the taste and sweetness balance of the mousse.
Is it possible to make this recipe dairy-free?
Absolutely! Using non-dairy Greek-style yogurt and plant-based milk will keep it dairy-free while maintaining the mousse’s creamy texture.
Can I substitute the honey or maple syrup with a sugar alternative?
Yes, natural sweeteners like agave or stevia can be used, but start with small amounts to avoid over-sweetening since some substitutes can be sweeter than honey or maple syrup.
How long should the mousse sit at room temperature before serving?
About 5 minutes is ideal to soften the mousse enough for a spoonful without it melting completely, keeping the delightful frozen texture intact.
Can I double or triple the recipe for a larger batch?
Definitely! Just multiply the ingredients accordingly. Keep an eye on the blending time to ensure the mixture stays smooth and lump-free even when making bigger batches.
Final Thoughts
I cannot recommend this High Protein Frozen Chocolate Mousse Cups Recipe enough if you want a dessert that feels indulgent but is packed with nutrition. It’s incredibly simple, endlessly flexible, and always a crowd-pleaser whenever I make it for friends and family. Give it a try—you’ll end up making it on repeat!
Print
High Protein Frozen Chocolate Mousse Cups Recipe
- Prep Time: 10 minutes
- Cook Time: 0 minutes
- Total Time: 4 hours 10 minutes
- Yield: 4 servings
- Category: Dessert
- Method: No-Cook
- Cuisine: American
- Diet: Low Fat
Description
These High Protein Frozen Chocolate Mousse Cups are a delicious and healthy dessert option packed with protein from Greek yogurt and rich chocolate flavor from unsweetened cocoa powder. Sweetened naturally with honey or maple syrup, this no-bake mousse is quick to prepare and perfect for a refreshing treat that satisfies your sweet tooth while keeping you fueled.
Ingredients
Ingredients
- 1 cup Greek yogurt
- 1/2 cup unsweetened cocoa powder
- 1/4 cup honey or maple syrup
- 1 teaspoon vanilla extract
- 1/2 cup milk (dairy or non-dairy)
Instructions
- Gather Ingredients: Collect all the ingredients in a mixing bowl: Greek yogurt, unsweetened cocoa powder, honey or maple syrup, vanilla extract, and milk.
- Blend Mixture: Use an electric mixer on medium speed to blend all ingredients together until the mixture is smooth and free of lumps.
- Adjust Sweetness: Taste the mousse mixture and add additional honey or maple syrup if a sweeter flavor is desired. Mix briefly to combine.
- Portion Mousse: Spoon the mousse evenly into individual serving cups or containers for freezing.
- Freeze: Place the filled cups in the freezer and freeze for at least 4 hours or until the mousse is solid.
- Serve: Remove from the freezer and let sit at room temperature for about 5 minutes before serving. Optionally, garnish with finely chopped parsley or other toppings of your choice.
Notes
- Use full-fat Greek yogurt for creamier texture and higher protein.
- Maple syrup is a great vegan alternative to honey.
- You can substitute milk with almond, oat, or soy milk for a dairy-free version.
- Garnish options include shaved dark chocolate, nuts, or fresh berries.
- Letting mousse sit briefly before serving helps soften it for the best texture.

