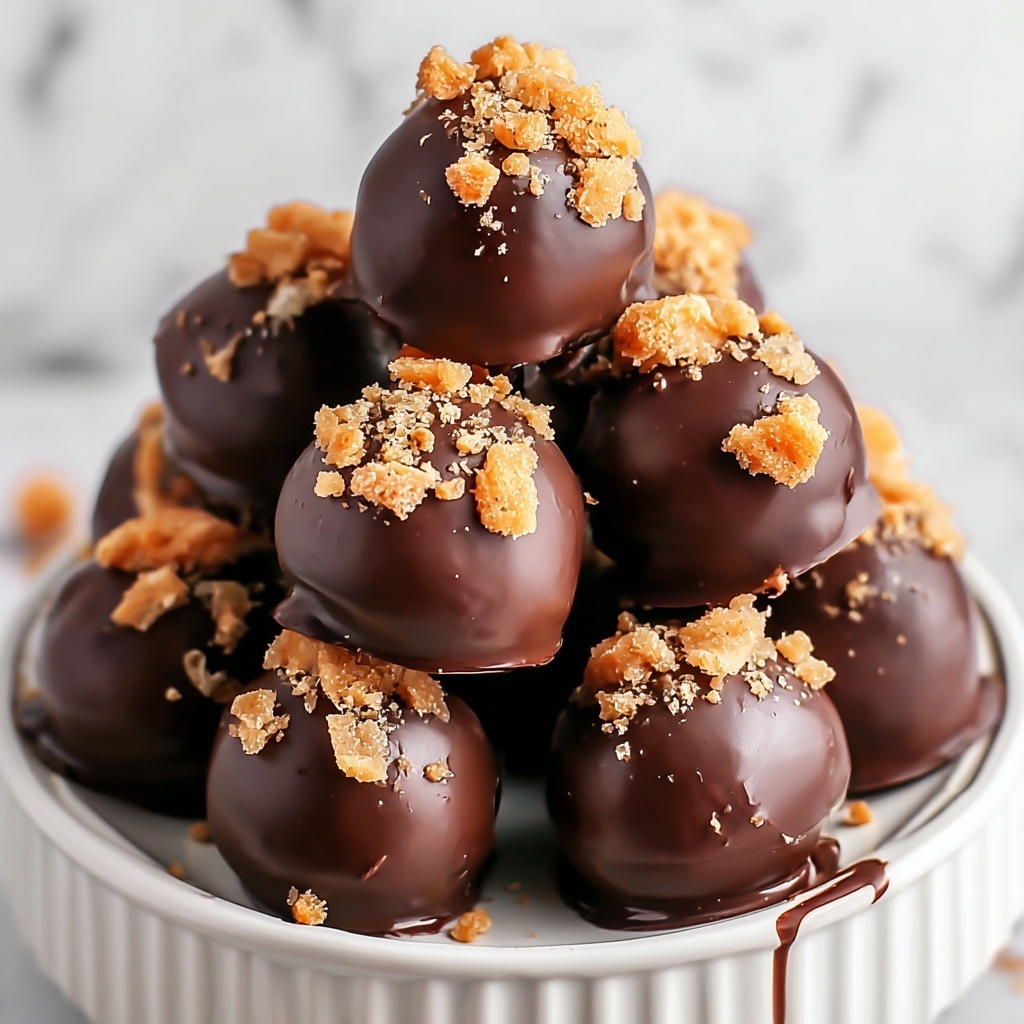
If you have a sweet tooth and love nostalgic candy flavors, then this Easy Butterfinger Balls Recipe is your new best friend. Imagine crunchy, buttery Butterfinger candy pieces mingled inside creamy, sweet cream cheese and powdered sugar, all snugly wrapped in a smooth layer of chocolate. These bite-sized treats are not only incredibly easy to whip up but also bring a perfect balance of textures and flavors that’ll have everyone asking for seconds. Whether you’re prepping for a party or just craving a fun homemade dessert, this recipe will quickly become a cherished favorite in your kitchen.

Ingredients You’ll Need
Gathering simple yet impactful ingredients is key to making these delicious Butterfinger balls shine. Each component plays its part: from the iconic candy crunch to the creamy, sweet base and the luscious chocolate coating.
- Butterfinger candy bars (2 cups crushed): The star ingredient delivering that signature crispy, peanut buttery crunch.
- Cream cheese (1 8-ounce package, softened): Provides a smooth, tangy base that binds everything together.
- Powdered sugar (2 cups): Adds sweetness and helps create the perfect doughy texture for rolling.
- Vanilla extract (1 teaspoon): Enhances the overall flavor with a warm, inviting aroma.
- Semi-sweet chocolate chips (2 cups): Melts into a rich coating that complements the candy filling beautifully.
- Coconut oil or vegetable oil (1 tablespoon, optional): Makes the melted chocolate silky and easier to dip with a shiny finish.
How to Make Easy Butterfinger Balls Recipe
Step 1: Prepare the Filling
Start by beating together the softened cream cheese, powdered sugar, and vanilla extract until the mixture is silky smooth and lump-free. This creamy base is what makes your Butterfinger balls delightfully luscious inside.
Step 2: Fold in the Crushed Butterfinger
Gently fold the crushed Butterfinger pieces into your creamy mixture. This step is crucial because it evenly distributes the crunchy candy bits, so every bite packs that wonderful peanut buttery snap.
Step 3: Form the Balls
Roll the mixture into approximately 1-inch balls using your hands. Place them carefully on a parchment-lined baking sheet to avoid sticking. Pop the tray into the freezer for about 30 minutes so the balls firm up and hold their shape during dipping.
Step 4: Melt the Chocolate
While the balls chill, melt the semi-sweet chocolate chips in a microwave-safe bowl. Do this in 20-second bursts, stirring well each time to prevent burning. If you want extra shine and smoother chocolate, stir in a tablespoon of coconut or vegetable oil once melted.
Step 5: Coat the Balls
Dip each frozen ball into the melted chocolate, ensuring it’s completely covered. Using a fork or dipping tool helps drain excess chocolate before placing them back on the parchment-lined sheet. This coating is what gives the treats that irresistible glossy shell.
Step 6: Chill and Set
Refrigerate the chocolate-coated Butterfinger balls for 10 to 15 minutes until the chocolate hardens completely. Once set, they’re ready to enjoy or store for later indulgence.
How to Serve Easy Butterfinger Balls Recipe
Garnishes
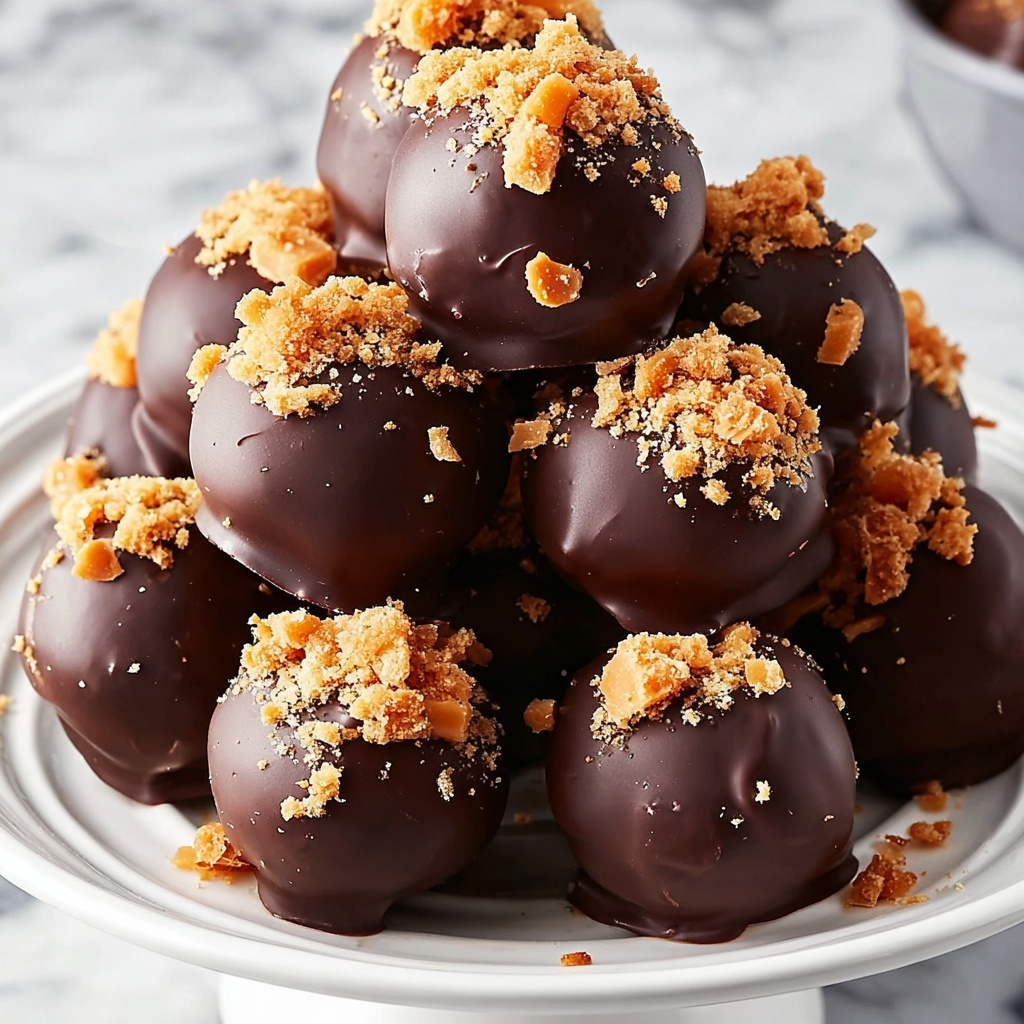
While these Butterfinger balls are delightful on their own, adding a sprinkle of crushed peanuts or a dusting of cocoa powder can amp up their visual appeal and add an extra layer of texture and flavor. Consider a tiny drizzle of white chocolate for a sweet contrast.
Side Dishes
Pair these treats with a rich, creamy coffee or a glass of cold milk to balance their sweetness. They also make a great accompaniment to simple vanilla ice cream or fresh berries for a little freshness alongside the rich candy bite.
Creative Ways to Present
For parties, place these Easy Butterfinger Balls Recipe treats in mini cupcake liners arranged on a festive platter, or stack them creatively in a glass jar as a gift. You can also skewer them on fun sticks like cake pops, perfect for easy grabbing and sharing.
Make Ahead and Storage
Storing Leftovers
If you’re lucky enough to have any leftovers, keep them in an airtight container in the refrigerator. This preserves their texture and flavor for up to a week, making your life easy when you want a sweet snack any time.
Freezing
Butterfinger balls freeze wonderfully. Arrange them in a single layer on a baking sheet and freeze until solid before transferring to a freezer-safe container or bag. This method prevents sticking and helps preserve freshness for up to three months.
Reheating
When you’re ready to enjoy frozen Butterfinger balls, let them thaw in the refrigerator for a few hours or overnight. Avoid microwaving directly, as this can cause the chocolate shell to lose its crispness and become messy.
FAQs
Can I use a different candy bar instead of Butterfinger?
Absolutely! While Butterfinger gives that unique peanut buttery crunch, you can experiment with other crunchy candy bars like Heath or Skor for a different but equally delicious twist.
Do I have to use cream cheese?
Cream cheese is essential for texture and flavor in this recipe. It helps bind the mixture and adds creaminess that balances the candy sweetness perfectly.
Is it necessary to freeze the balls before dipping?
Yes, freezing the balls helps them firm up so they’re easier to dip and prevents them from falling apart when coated in chocolate.
Can I use milk chocolate or white chocolate instead?
You can! Milk chocolate adds a sweeter, creamier coating while white chocolate gives a lighter, sweeter shell. Choose based on your taste preference, but semi-sweet is classic for balance.
How long do these Butterfinger balls last?
Stored properly in the refrigerator, they stay fresh for about a week. For longer storage, freezing is your friend and keeps them good for a few months.
Final Thoughts
Making this Easy Butterfinger Balls Recipe is like creating little bites of joy that are incredibly tasty and easy to share. Whether it’s for a special occasion or just a treat to brighten your day, these candy-packed delights deliver comfort, crunch, and chocolatey goodness all in one. Go ahead and give this recipe a try — I promise it will become your go-to sweet snack that’s always ready to impress!
Print
Easy Butterfinger Balls Recipe
- Prep Time: 15 minutes
- Cook Time: 0 minutes
- Total Time: 45 minutes
- Yield: 24 servings
- Category: Dessert
- Method: No-Cook
- Cuisine: American
Description
These Easy Butterfinger Balls are a delightful no-bake treat combining crushed Butterfinger candy bars with a creamy mixture of cream cheese and powdered sugar, then coated in smooth semi-sweet chocolate. Perfect for parties or a sweet snack, they chill in the freezer for a quick set and offer a crunchy, creamy, and chocolatey bite in every piece.
Ingredients
Filling
- 2 cups crushed Butterfinger candy bars
- 1 (8-ounce) package cream cheese, softened
- 2 cups powdered sugar
- 1 teaspoon vanilla extract
Coating
- 2 cups semi-sweet chocolate chips
- 1 tablespoon coconut oil or vegetable oil (optional)
Instructions
- Prepare the Filling: Beat the softened cream cheese, powdered sugar, and vanilla extract together until the mixture is smooth and creamy. Then gently fold in the crushed Butterfinger candy bars, ensuring they are evenly distributed without breaking down further.
- Form the Balls: Using your hands or a small scoop, roll the mixture into 1-inch balls. Place each ball on a parchment-lined baking sheet to prevent sticking, and freeze them for 30 minutes to help them firm up for coating.
- Melt the Chocolate: Place the semi-sweet chocolate chips in a microwave-safe bowl. Heat in 20-second intervals, stirring well after each, until the chocolate is fully melted and smooth. For a silkier texture that coats better, stir in the coconut oil or vegetable oil if using.
- Coat the Balls: Remove the chilled Butterfinger balls from the freezer. Dip each ball completely into the melted chocolate, making sure it’s fully covered to seal in the filling. Return the coated balls to the parchment-lined sheet.
- Chill and Serve: Refrigerate the chocolate-coated Butterfinger balls for 10-15 minutes until the chocolate sets firmly. Serve immediately for a delicious treat or store them in an airtight container in the refrigerator for up to one week for freshness.
Notes
- For best results, use freshly crushed Butterfinger bars and ensure the cream cheese is fully softened before mixing.
- The optional oil in the chocolate helps achieve a smoother coating but can be omitted if preferred.
- Store these treats in the refrigerator, as they soften quickly at room temperature due to the cream cheese content.
- These are perfect bite-sized treats for parties, holidays, or anytime you want a quick homemade candy.
- Freezing the balls before coating helps prevent them from falling apart when dipped in chocolate.


