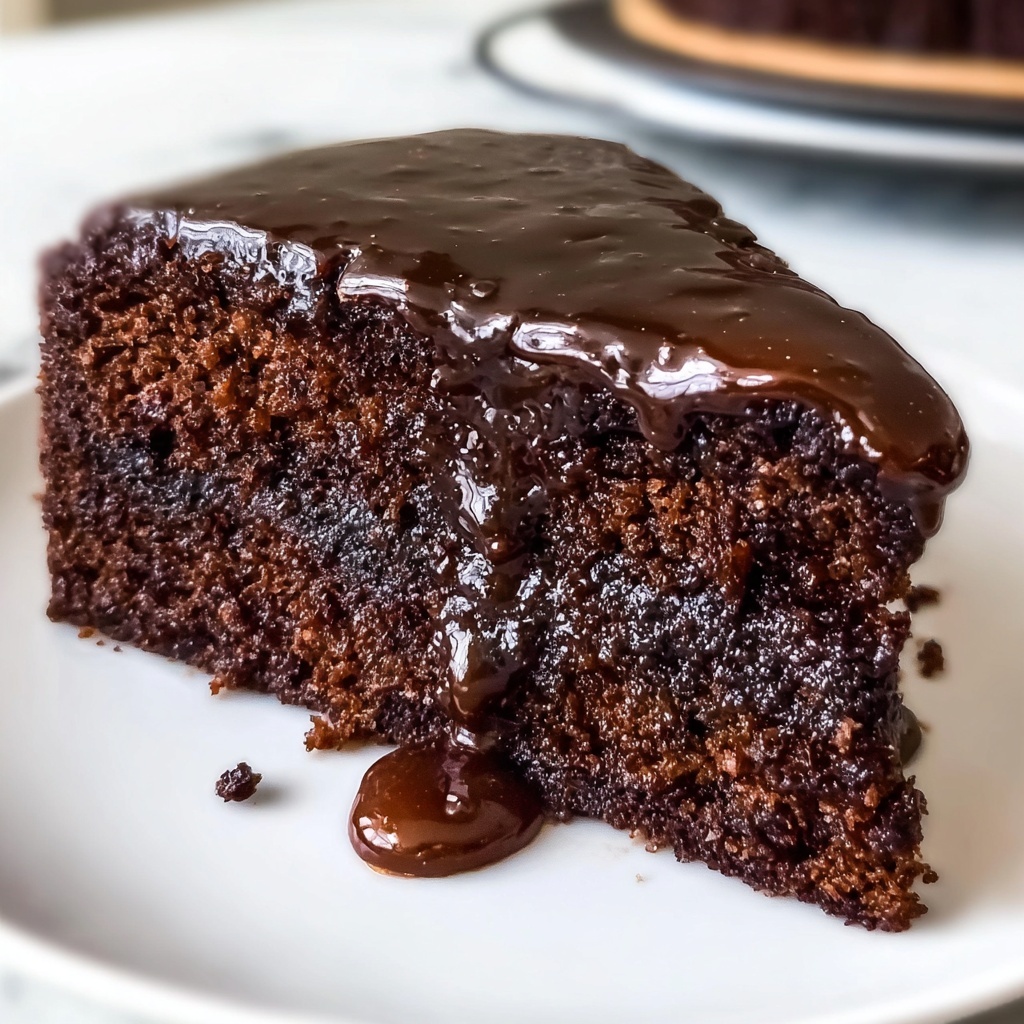
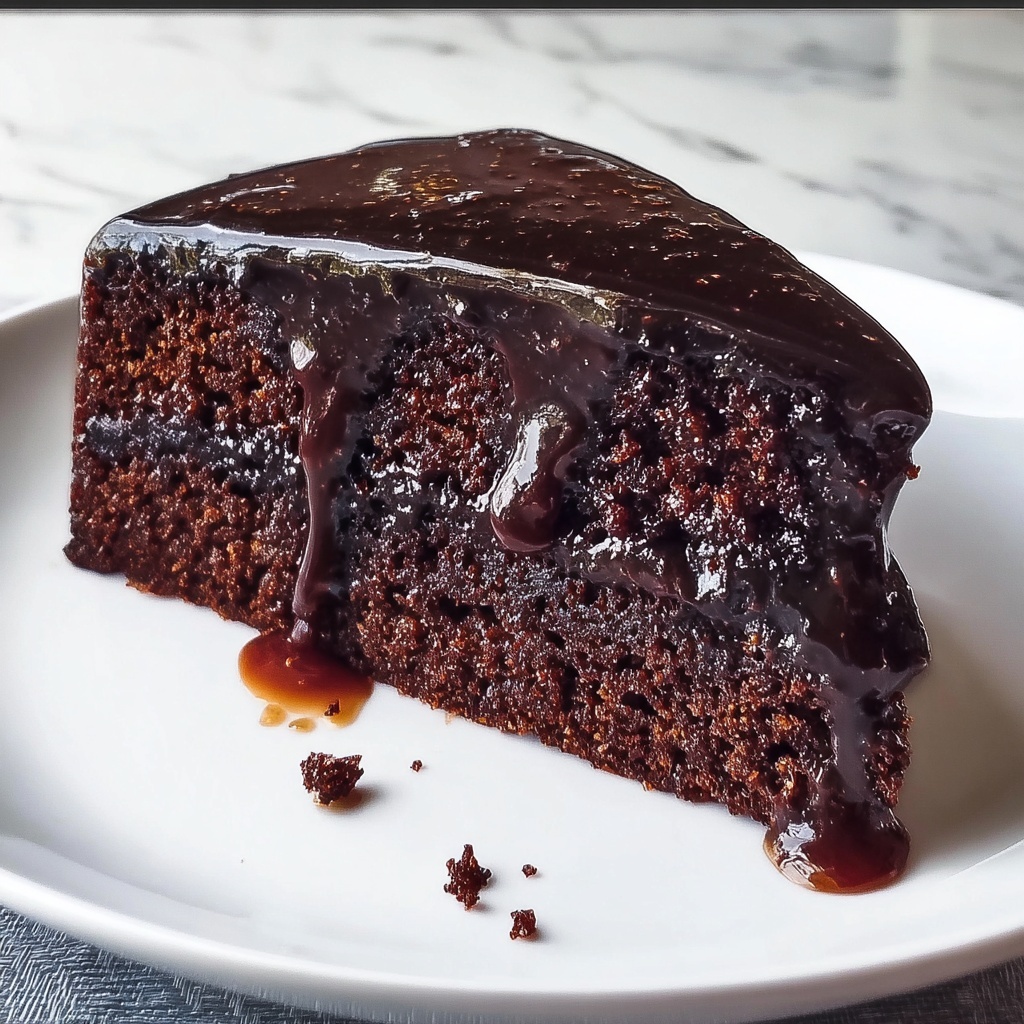
If you are craving a cozy, comforting dessert that feels like a warm hug on a chilly day, the Date & Peel Winter Syrup Cake Recipe is an absolute must-try. This luscious cake combines the natural sweetness of dates with the bright zestiness of citrus peel, all topped with a glossy winter syrup glaze that’s simply irresistible. It’s a perfect treat that balances rich flavors with a moist, tender crumb, making it the ideal companion for an afternoon tea or a festive gathering. Once you try this delightful recipe, it’s sure to become one of your wintertime favorites.

Ingredients You’ll Need
This Date & Peel Winter Syrup Cake Recipe uses a handful of simple but essential ingredients, each carefully chosen to build layers of flavor and texture. From the natural sweetness of dates to the vibrant zest of citrus, the components work harmoniously to create a cake that’s both hearty and bright.
- 200 g pitted dates, chopped: Provides natural sweetness and moisture for a rich, tender crumb.
- 250 ml boiling water: Softens the dates and helps create a luscious batter texture.
- 1 teaspoon baking soda: Reacts with the dates and boiling water for lift and lightness.
- 100 g unsalted butter, softened: Adds creaminess and contributes to the cake’s tender structure.
- 150 g brown sugar: Gives a deep caramel note and enhances moistness.
- 2 large eggs: Bind the ingredients together and help the cake rise beautifully.
- 1 teaspoon vanilla extract: Adds warmth and depth to the flavor.
- 200 g all-purpose flour: Forms the base and structure for the cake.
- 1 teaspoon baking powder: Provides additional leavening for a perfect rise.
- 1/2 teaspoon salt: Balances sweetness and enhances overall flavor.
- Zest of 1 orange and 1 lemon: Introduces a fresh, citrusy brightness that cuts through the sweetness.
- 100 ml maple syrup or golden syrup (for glaze): Creates a shiny, sticky finish that makes every bite extra special.
How to Make Date & Peel Winter Syrup Cake Recipe
Step 1: Preheat and Prepare Your Pan
Start by preheating your oven to 180°C (350°F). Grease and line a 9×5 inch loaf pan with parchment paper. This foundation ensures your cake will bake evenly and come out cleanly without sticking, giving you a perfect presentation every time.
Step 2: Soften the Dates
Combine the chopped dates, boiling water, and baking soda in a bowl. Set this aside for 15 to 20 minutes to allow the dates to soften thoroughly and the mixture to cool slightly. This step is crucial to infusing your cake with the natural sweetness and maintaining moisture throughout baking.
Step 3: Cream Butter and Sugar
In a large bowl, beat the softened butter and brown sugar together until the mixture becomes light and fluffy. This adds air to your batter, contributing to a wonderfully tender texture in the final cake. Using an electric mixer here really makes this step quick and effortless.
Step 4: Add Eggs and Vanilla
Beat in the eggs one at a time, ensuring each is fully incorporated before adding the next. Stir in the vanilla extract last to lend its warm, fragrant notes. This process creates a silky, cohesive batter base that will cradle the other flavors beautifully.
Step 5: Combine Dry Ingredients
Whisk together the flour, baking powder, and salt in a separate bowl. Gradually add this to the wet mixture, stirring gently until just combined. Overmixing here can toughen the cake, so fold delicately for the best results.
Step 6: Fold in Date Mixture and Citrus Zests
Gently fold the softened date mixture along with the orange and lemon zest into your batter. These zests bring a refreshing brightness and complexity, perfectly balancing the sweetness of the dates and sugar.
Step 7: Bake to Perfection
Pour the batter into your prepared pan, smoothing the surface with a spatula. Bake for 50 to 60 minutes, or until a toothpick inserted in the center comes out clean. Baking at the right temperature ensures the cake remains moist but firm, giving you that ideal sliceable texture.
Step 8: Warm the Syrup Glaze
While the cake is in the oven, gently heat the maple syrup or golden syrup over low heat. Warming the syrup makes it easier to brush onto the cake, allowing it to soak in just enough to create a glistening, sticky finish.
Step 9: Glaze Your Cake
Once the cake is out of the oven, let it cool in the pan for about 10 minutes before transferring it to a wire rack. While still warm, brush the warmed syrup generously over the top to add shine and a sticky sweetness that’s truly mouthwatering.
Step 10: Allow to Cool Before Serving
Finally, let the cake cool completely before slicing. This resting time helps the texture set perfectly, making each piece moist and tender with that delightful syrup glaze on top. Serve with your favorite cup of tea or coffee for the ultimate cozy treat.
How to Serve Date & Peel Winter Syrup Cake Recipe
Garnishes
A sprinkle of finely chopped nuts such as walnuts or pecans adds a fantastic crunch that contrasts beautifully with the cake’s moist texture. Alternatively, a dusting of powdered sugar or a twist of fresh orange peel brightens up each slice with elegant simplicity.
Side Dishes
This cake pairs beautifully with whipped cream or a dollop of crème fraîche to add creaminess that complements the naturally sweet and zesty flavors. For an extra indulgent touch, serve it alongside a hot spiced chai or a rich cup of coffee to enhance the warming spices and syrup glaze.
Creative Ways to Present
Try slicing the cake into small, bite-sized squares and serving them as part of a dessert platter with assorted nuts, dried fruits, and a selection of cheeses. You can also stack it with layers of mascarpone or cream cheese frosting and fresh berries to turn it into an impressive winter-inspired dessert centerpiece.
Make Ahead and Storage
Storing Leftovers
Store any leftover Date & Peel Winter Syrup Cake Recipe in an airtight container at room temperature for up to three days. Keeping it well covered preserves the moist texture and syrup glaze’s delightful stickiness without drying out the cake.
Freezing
This cake freezes wonderfully. Wrap it tightly in plastic wrap followed by aluminum foil or place it in a freezer-safe container. It can be frozen for up to two months. When ready to enjoy, thaw it overnight in the refrigerator for the best texture and flavor retention.
Reheating
To bring back the cake’s freshly baked warmth, reheat individual slices gently in the microwave for 15-20 seconds or warm the whole loaf in a low oven (about 150°C / 300°F) for 10-15 minutes. This will restore the syrup’s stickiness and awaken those lovely citrus and date notes.
FAQs
Can I use other dried fruits instead of dates?
Absolutely! While dates provide a unique sweetness and texture, you can experiment with dried figs, raisins, or chopped prunes for a different but equally delicious twist on this cake.
Is this cake gluten-free?
The Date & Peel Winter Syrup Cake Recipe uses all-purpose flour, which contains gluten. However, you can try substituting with a gluten-free flour blend suitable for baking, keeping in mind that texture and rise might vary slightly.
Can I use fresh citrus juice instead of zest?
Zest is preferred because it adds essential oils and a concentrated citrus flavor without extra moisture, which could affect the batter consistency. However, if you want extra citrus punch, adding a tablespoon of fresh juice could work but reduce other liquids slightly.
How do I know when the cake is done baking?
The best test is to insert a toothpick into the center; if it comes out clean or with just a few moist crumbs attached, your cake is perfectly baked. Avoid opening the oven too often during baking, as this can cause uneven rising.
Can I make this recipe vegan?
To veganize the Date & Peel Winter Syrup Cake Recipe, substitute the butter for a plant-based alternative and use flax or chia eggs in place of regular eggs. Results might vary slightly, but it should still turn out delicious and moist.
Final Thoughts
The Date & Peel Winter Syrup Cake Recipe is a comforting, flavorful delight that brings the best of winter’s bounty to your table. Whether you’re sharing it with family, offering it to friends, or keeping it as a personal treat, each bite feels like a celebration of warmth, sweetness, and sparkle. Don’t hesitate to give this recipe a go—you’ll be rewarded with a cake that becomes a cherished classic in your homemade dessert lineup.
Print
Date & Peel Winter Syrup Cake Recipe
- Prep Time: 25 minutes
- Cook Time: 55 minutes
- Total Time: 1 hour 20 minutes
- Yield: 1 loaf (about 8 slices)
- Category: Dessert
- Method: Baking
- Cuisine: Western
- Diet: Vegetarian
Description
This Date & Peel Winter Syrup Cake is a moist and flavorful loaf that combines the natural sweetness of dates with the zesty brightness of orange and lemon peel. Glazed with warm maple or golden syrup, this cake offers a delightful balance of rich textures and autumnal flavors, perfect for cozy afternoons or festive occasions.
Ingredients
Dates Mixture
- 200 g (about 7 oz) pitted dates, chopped
- 250 ml (1 cup) boiling water
- 1 teaspoon baking soda
Cake Batter
- 100 g (1/2 cup) unsalted butter, softened
- 150 g (3/4 cup) brown sugar
- 2 large eggs
- 1 teaspoon vanilla extract
- 200 g (1 1/2 cups) all-purpose flour
- 1 teaspoon baking powder
- 1/2 teaspoon salt
- Zest of 1 orange
- Zest of 1 lemon
Glaze
- 100 ml (1/2 cup) maple syrup or golden syrup
Instructions
- Preheat the oven: Begin by preheating your oven to 180°C (350°F). Grease and line a 9×5 inch loaf pan with parchment paper to prevent the cake from sticking.
- Prepare the dates: In a bowl, combine the chopped dates with the boiling water and baking soda. Let this mixture sit for 15-20 minutes until the dates soften and the temperature cools slightly, which helps to blend the flavors and create moisture in the cake.
- Cream the butter and sugar: Using an electric mixer, cream together the softened butter and brown sugar until the mixture is light and fluffy, about 3-5 minutes. This incorporates air into the batter, helping the cake rise.
- Add eggs and vanilla: Beat in the eggs one at a time, ensuring each is fully incorporated before adding the next. Stir in the vanilla extract to enhance the flavor profile.
- Combine dry ingredients: In a separate bowl, whisk together the all-purpose flour, baking powder, and salt. Gradually add this dry mixture into the wet ingredients, stirring just until combined to avoid overmixing which can toughen the cake.
- Incorporate date mixture and zest: Fold the softened date mixture including the water into the batter along with the orange and lemon zests. Mix gently until evenly distributed, infusing the batter with fruity brightness.
- Bake the cake: Pour the batter into the prepared loaf pan, smoothing the top with a spatula. Bake in the preheated oven for 50-60 minutes or until a toothpick inserted into the center of the cake comes out clean.
- Prepare the glaze: While the cake bakes, warm the maple syrup or golden syrup gently in a small saucepan over low heat until it becomes warm and runny, perfect for glazing.
- Glaze the cake: Once baked, remove the cake and allow it to cool in the pan for about 10 minutes. Transfer the loaf to a wire rack, and while it’s still warm, brush the warm syrup over the top to create a shiny, flavorful glaze.
- Serve: Let the cake cool completely before slicing. Enjoy the cake on its own or accompanied by a cup of tea or coffee for a comforting treat.
Notes
- For a nutty twist, consider adding chopped walnuts or pecans to the batter.
- Ensure not to overmix the batter after adding the flour to keep the cake tender.
- The glaze adds moisture and sweetness but can be omitted if preferred.
- Store leftover cake in an airtight container at room temperature for up to 3 days.
- This cake freezes well; wrap tightly and freeze for up to 1 month. Thaw at room temperature before serving.


