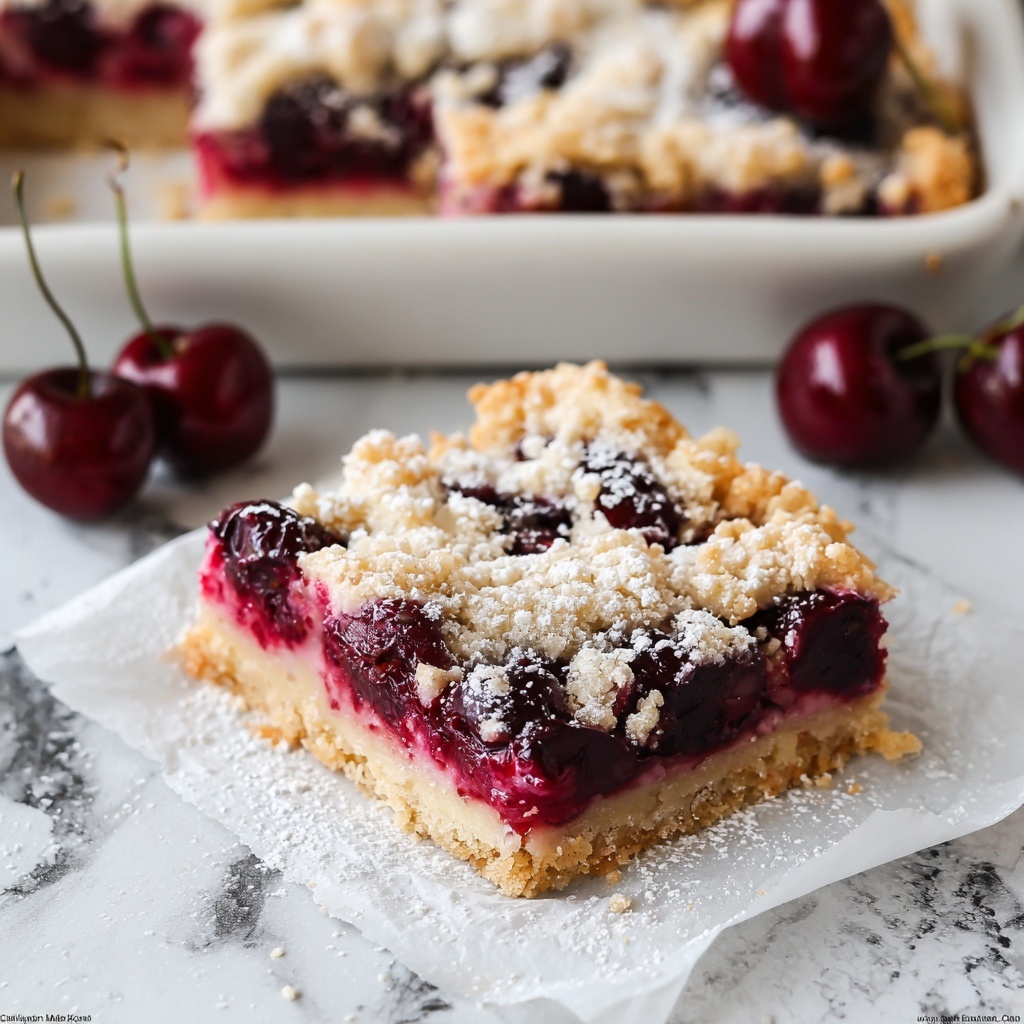
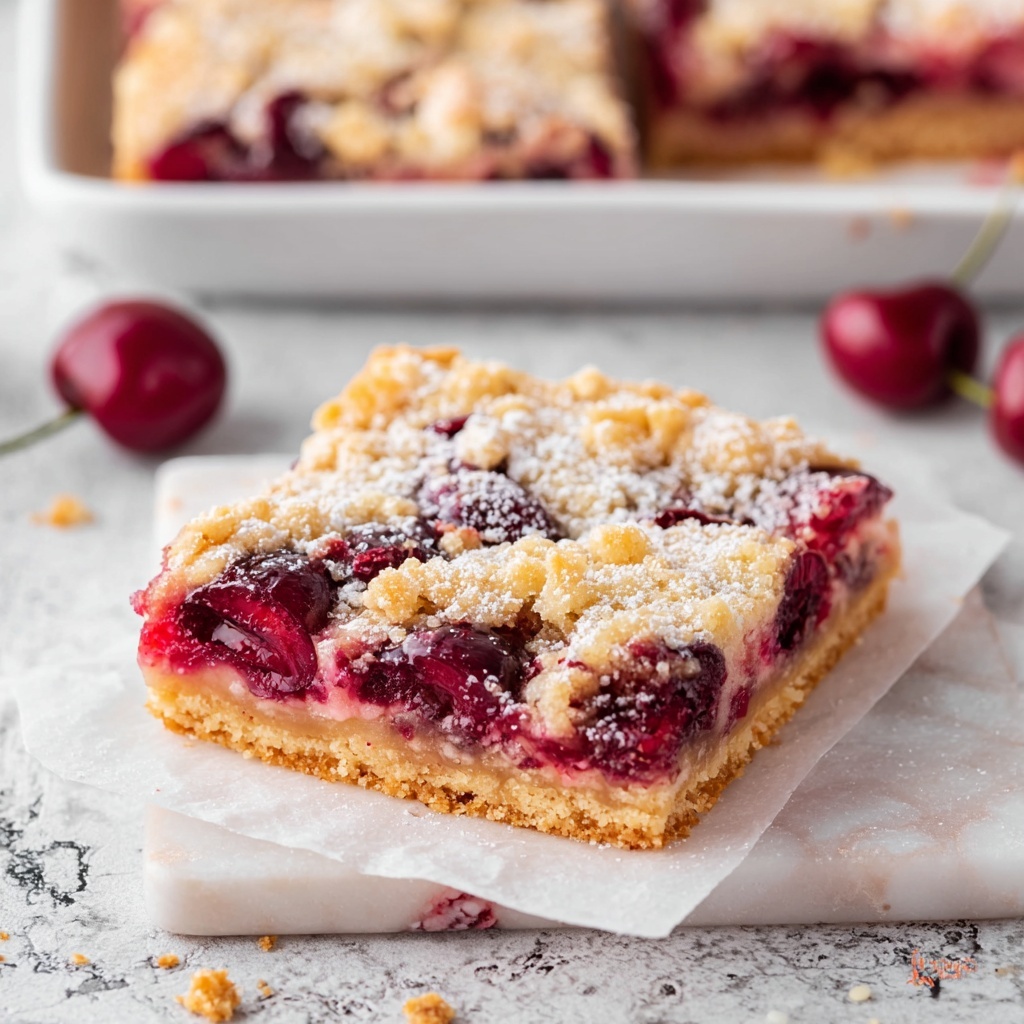
If you love the vibrant sweetness of cherries combined with a buttery, crumbly crust, you’re going to fall head over heels for this Cherry Pie Bars Recipe. It takes all the best parts of a classic cherry pie and transforms them into handheld bars that are perfect for sharing or savoring any time of day. With luscious cherry filling and a tender, golden crust that crumbles delightfully under the glaze, these bars are an irresistible treat that never fail to brighten up any table.
Ingredients You’ll Need
Gathering the right ingredients for this Cherry Pie Bars Recipe is surprisingly simple; each one plays a crucial role in building layers of texture and flavor that will make these bars extraordinary. From the rich melted butter that creates a tender crust to the fresh or frozen cherries bringing that iconic fruity punch, this list is all about balance and taste.
- 1 cup unsalted butter, melted: Provides a rich, buttery base for the crust and topping, ensuring a tender texture.
- 1 cup granulated sugar: Sweetens the dough and filling, balancing the tartness of the cherries.
- 1/2 cup packed brown sugar: Adds warmth and a subtle caramel undertone to the crust.
- 1 teaspoon vanilla extract: Enhances the overall flavor with a cozy, aromatic note.
- 3 cups all-purpose flour: The foundation that holds the crust and topping together with just the right crumb.
- 1/2 teaspoon salt: Brings out the sweetness and balances flavors in the crust.
- 4 cups fresh or frozen cherries, pitted: The star ingredient that delivers vibrant color and juicy tart flavor.
- 1 cup granulated sugar: Sweetens the cherry filling for that perfect pie-like taste.
- 2 tablespoons cornstarch: Thickens the cherry filling so it holds beautifully within the bars.
- 1 tablespoon lemon juice: Brightens the filling with a hint of citrus tang.
- 1 teaspoon almond extract: Adds a lovely, nutty dimension complementing the cherries.
- 1 cup powdered sugar: Forms the base of the glaze to drizzle on top for sweetness and shine.
- 2-3 tablespoons milk: Adjusts the glaze consistency for the perfect finish.
- 1/2 teaspoon vanilla extract: Gives the glaze a smooth, comforting flavor boost.
How to Make Cherry Pie Bars Recipe
Step 1: Preheat Your Oven and Prepare the Pan
Start by getting your oven warmed up to 350°F (177°C) because these bars bake best in a perfectly hot environment. Line a 9×13-inch pan with parchment paper, leaving an overhang on the sides so you can easily lift your bars out when they’re finished. This little step saves so much hassle later and ensures clean edges.
Step 2: Make the Crust and Topping
In a large bowl, combine your melted butter with both sugars and the vanilla extract. This blend creates the sweet, buttery base that makes each bite heavenly. Add in the flour and salt, mixing until a thick dough comes together. Set aside about one cup of this dough to crumble over the top later—this reserve is what creates that gorgeous, golden crumb topping. Press the remaining dough evenly into your prepared pan to form the crust. This layer will bake into a firm but tender foundation for all the delicious filling.
Step 3: Prepare the Cherry Filling
Take a medium bowl and toss together the cherries, granulated sugar, cornstarch, lemon juice, and almond extract. Making sure every cherry is coated will help the filling thicken nicely as it bakes and fill the bars with those signature flavors that make cherry pies so beloved. The mixture should look juicy and inviting, ready to transform your bars into an unforgettable dessert.
Step 4: Assemble the Bars
Layer your luscious cherry filling evenly over the crust, spreading it all the way to the edges so each square has plenty of fruity goodness. Then, crumble the reserved dough over the cherry layer, creating a delightful, crumbly lid that will turn golden as it bakes. This contrast between the soft filling and crispy topping is what makes this Cherry Pie Bars Recipe so special.
Step 5: Bake Until Golden and Bubbling
Pop the pan into your oven for 45 to 55 minutes. Keep an eye on the top as it bakes; you want a light golden brown crust and a bubbling cherry layer underneath. If you notice the topping getting too dark before the filling is done, gently cover the bars with foil to prevent burning. Patience here ensures you end up with perfectly baked bars that aren’t overdone on top or undercooked inside.
Step 6: Cool and Add the Glaze
Once out of the oven, leave the bars to cool completely on a wire rack. This cooling step is crucial because cutting into hot bars can cause the filling to spill out. When cooled, whisk together the powdered sugar, milk, and vanilla extract into a smooth glaze, then drizzle it artfully over the top. This sweet finish adds a lovely shine and soft sweetness that makes these bars irresistible.
How to Serve Cherry Pie Bars Recipe

Garnishes
A little garnish can elevate your Cherry Pie Bars Recipe to event-worthy status. Consider a light dusting of powdered sugar or a sprinkle of finely chopped toasted almonds for texture and a nutty edge. Fresh mint leaves can add a pop of color and an herbal hint that contrasts beautifully with the sweet cherry flavor. Don’t be afraid to get creative—sometimes a scoop of vanilla ice cream on the side creates an elegant, classic presentation everyone loves.
Side Dishes
While these bars are delicious on their own, pairing them with simple side dishes can transform them into a full dessert experience. Fresh berries or a fruit salad can keep things light and fresh, while a dollop of whipped cream adds a creamy touch. If you’re serving during a brunch or party, coffee or hot tea makes a perfect companion to the buttery, sweet, and fruity bites.
Creative Ways to Present
Serving Cherry Pie Bars Recipe doesn’t have to be strictly by the square. Try cutting them into smaller bite-sized pieces for a party platter or layering them with whipped cream and fresh cherries in individual clear glasses for a stunning parfait. You can also sandwich a layer of these bars between two layers of cake or crumble them over yogurt for a playful dessert twist. Your friends will be amazed at how versatile these bars can be!
Make Ahead and Storage
Storing Leftovers
If you have leftovers, no worries—Cherry Pie Bars Recipe actually taste just as amazing the next day. Keep them in an airtight container at room temperature for up to two days to maintain crispness. For longer storage, place them in the fridge where they stay fresh for up to a week, though you may want to bring them back to room temperature before serving.
Freezing
Want to save some for later? These bars freeze beautifully. Wrap individual bars tightly in plastic wrap then tuck them in a freezer bag or airtight container. They’ll keep well for up to three months. When you’re ready to enjoy them, thaw overnight in the fridge for best texture and flavor.
Reheating
To bring your chilled or frozen Cherry Pie Bars Recipe back to life, warm them gently in a preheated oven at 300°F (150°C) for about 10 minutes. This will revive the buttery crust and soften the cherry filling, making each bite just as delicious as fresh-baked. Avoid microwaving, which can make the crust soggy.
FAQs
Can I use frozen cherries for this recipe?
Absolutely! Frozen cherries work wonderfully and can even be more convenient when cherries are out of season. Just be sure to thaw and drain them well before mixing with the filling ingredients to avoid excess moisture.
Is there a gluten-free version of this Cherry Pie Bars Recipe?
Yes, you can substitute the all-purpose flour with a gluten-free baking blend of equal measure. Keep an eye on the texture of the dough as gluten-free flours absorb moisture differently, and adjust slightly if needed.
Can I make this recipe vegan?
To make it vegan, use vegan butter or coconut oil in place of unsalted butter and ensure your powdered sugar is vegan-friendly. The rest of the ingredients like cherries and cornstarch are naturally vegan, so it’s an easy adaptation.
How long do the bars keep their freshness?
Best enjoyed within two days at room temperature or within a week if refrigerated. This is when the crust remains tender yet crisp, and the cherry filling tastes fresh and vibrant.
Can I double the recipe for a larger batch?
Definitely! You can double the recipe and bake it in a larger pan, such as a 9×18-inch, adjusting bake time slightly as needed. Just keep an eye on the texture and doneness as ovens vary.
Final Thoughts
There is something truly comforting about the classic flavors of cherries wrapped in a buttery crust, and this Cherry Pie Bars Recipe captures that magic in every bite. Whether you’re baking for a crowd or keeping a sweet stash for yourself, these bars bring joy and deliciousness every time. I can’t wait for you to bake them and see just how quickly they disappear from the plate. Give it a try—you’re going to love how effortless and rewarding this recipe is!
Print
Cherry Pie Bars Recipe
- Prep Time: 20 minutes
- Cook Time: 50 minutes
- Total Time: 1 hour 10 minutes
- Yield: 16 servings
- Category: Dessert
- Method: Baking
- Cuisine: American
Description
Delight in these Cherry Pie Bars featuring a buttery crust, juicy cherry filling, and a sweet glaze drizzle. Perfect for a fruity dessert or snack, these bars combine classic pie flavors in easy-to-cut squares.
Ingredients
Crust and Topping
- 1 cup unsalted butter, melted
- 1 cup granulated sugar
- 1/2 cup packed brown sugar
- 1 teaspoon vanilla extract
- 3 cups all-purpose flour
- 1/2 teaspoon salt
Cherry Filling
- 4 cups fresh or frozen cherries, pitted
- 1 cup granulated sugar
- 2 tablespoons cornstarch
- 1 tablespoon lemon juice
- 1 teaspoon almond extract
Glaze
- 1 cup powdered sugar
- 2–3 tablespoons milk
- 1/2 teaspoon vanilla extract
Instructions
- Preheat Oven: Preheat your oven to 350°F (177°C). Prepare a 9×13-inch baking pan by lining it with parchment paper, leaving an overhang on the sides to help lift out the bars after baking.
- Make the Crust and Topping: In a large bowl, mix together the melted butter, granulated sugar, brown sugar, and vanilla extract until combined. Add the all-purpose flour and salt, stirring until a thick dough forms. Set aside about 1 cup of this dough for the topping, and press the remaining dough evenly into the bottom of the prepared pan to form the crust.
- Prepare the Cherry Filling: In a medium bowl, combine the pitted cherries with granulated sugar, cornstarch, lemon juice, and almond extract. Stir well to ensure the cherries are evenly coated with the mixture.
- Assemble the Bars: Spread the cherry filling evenly over the crust in the baking pan. Then, crumble the reserved dough evenly over the cherry layer to form the topping.
- Bake: Bake the bars in the preheated oven for 45 to 55 minutes, or until the topping is lightly golden and the cherry filling is bubbling. If the topping starts to brown too fast, loosely cover the pan with aluminum foil to prevent burning.
- Cool and Glaze: Once baked, allow the bars to cool completely in the pan set on a wire rack. Meanwhile, whisk together powdered sugar, milk (starting with 2 tablespoons and adding more if needed), and vanilla extract to create the glaze. Drizzle the glaze evenly over the cooled bars before cutting into squares and serving.
Notes
- Use fresh or frozen cherries; if using frozen, thaw and drain excess liquid before mixing.
- Line the baking pan with parchment paper for easy removal of the bars.
- If the topping browns too quickly, cover with foil to avoid burning.
- Adjust the amount of milk in the glaze to achieve desired drizzle consistency.
- Bars can be stored in an airtight container for up to 3 days at room temperature or refrigerated for up to a week.

