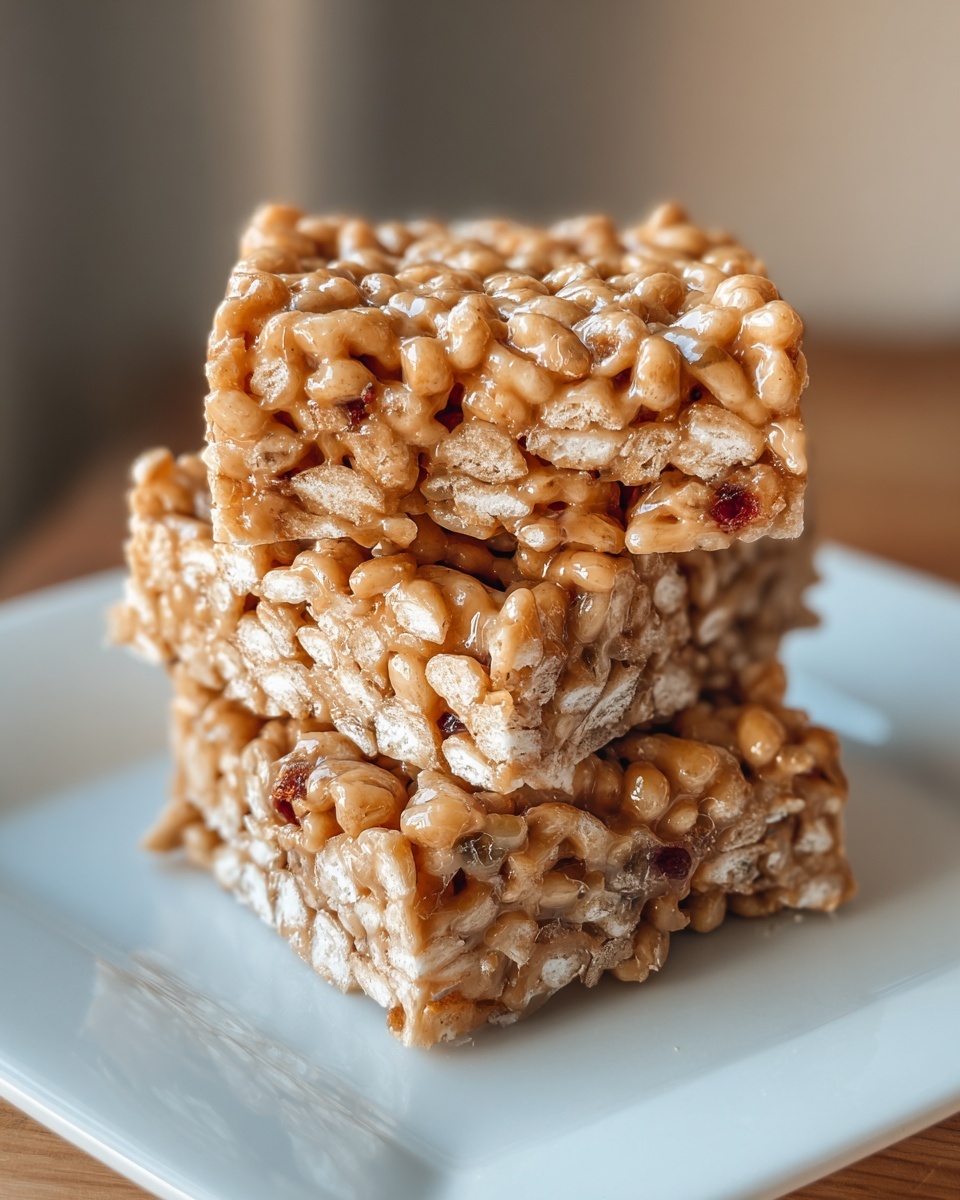
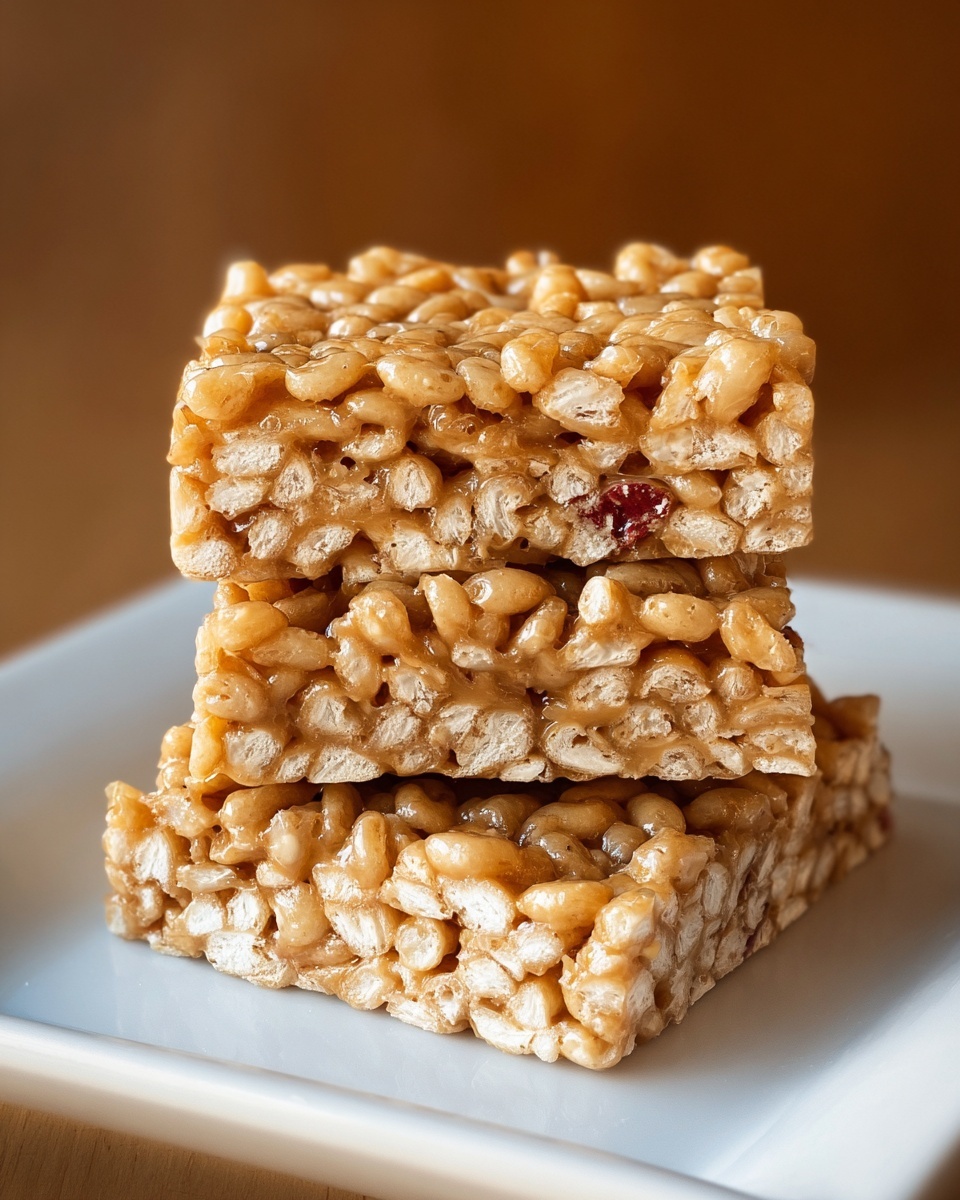
If you are looking for a delicious, wholesome snack that’s easy to make and perfect for any time of the day, this Cereal Bars Recipe is sure to become your new favorite. These bars combine crispy rice cereal, rolled oats, and a luscious blend of honey and peanut butter to deliver a satisfying crunch and rich flavor in every bite. Whether you need a quick breakfast on the go, a post-workout treat, or a simple pick-me-up, these homemade cereal bars hit the spot with just the right balance of sweetness and texture.
Ingredients You’ll Need
Simple, wholesome ingredients are what make this Cereal Bars Recipe shine. Each component plays a unique role, from adding crunch and heartiness to bringing warmth and natural sweetness.
- 3 cups crispy rice cereal or mixed whole-grain cereal: Provides the essential crunch and lightness that make these bars delightfully crispy.
- 1 cup rolled oats: Brings a hearty texture and wholesome flavor that balances the cereal’s crispness.
- ½ cup honey or maple syrup: A natural sweetener that binds the ingredients and adds a gentle sweetness.
- ½ cup peanut butter or almond butter: Adds creamy richness and a nutty depth that makes every bite indulgent.
- 1 teaspoon vanilla extract: Enhances the overall flavor with a subtle fragrant note.
- ¼ teaspoon salt: Just enough to heighten the sweet and nutty flavors.
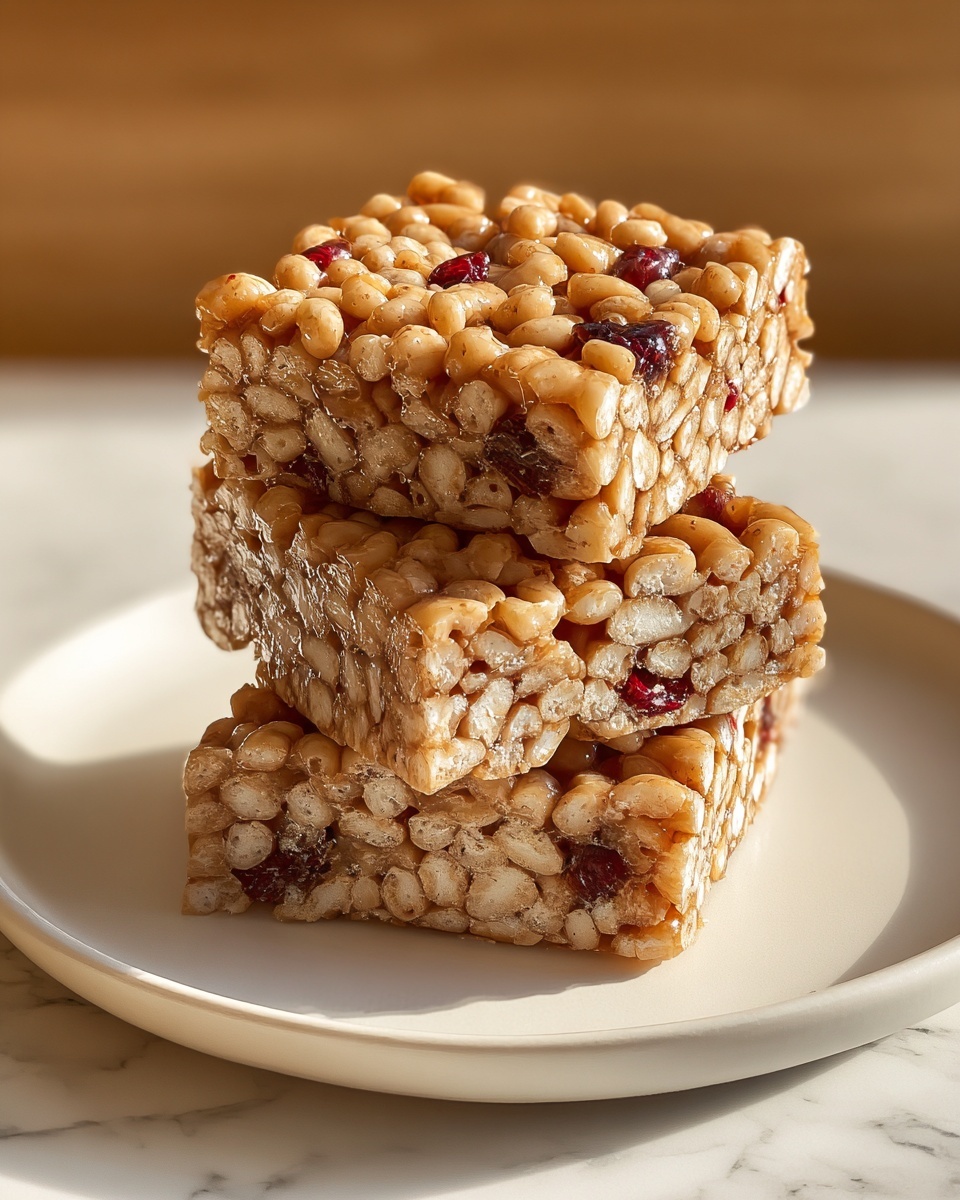
- Optional: ¼ cup mini chocolate chips or dried fruit: Perfect for a little extra burst of sweetness and color.
How to Make Cereal Bars Recipe
Step 1: Prepare the Baking Dish
Start by lining an 8×8-inch baking dish with parchment paper. Leaving some extra paper hanging over the edges is a handy trick that makes it super easy to lift out the bars once they are set.
Step 2: Combine the Dry Ingredients
In a large bowl, mix the crispy rice cereal and rolled oats together. This simple combination is what gives the bars their wonderful texture and base.
Step 3: Melt and Mix the Wet Ingredients
Over low heat, gently warm the honey (or maple syrup) and peanut butter in a small saucepan, stirring until smooth and perfectly blended. Remove the mixture from the heat and stir in vanilla extract and salt. This warm, nutty mixture will bind all the cereals and oats beautifully.
Step 4: Bring it Together
Pour the nutty syrup over the cereal and oats mixture. Stir everything until the dry ingredients are completely coated. If you love a bit of variety, this is the moment to fold in mini chocolate chips or dried fruit for extra bursts of flavor.
Step 5: Press and Chill
Transfer the sticky mixture into your prepared baking dish and press it down firmly using the back of a spoon or spatula. Making an even layer ensures the bars hold together nicely. Then, pop the dish into the refrigerator for at least one hour until the bars are fully set and firm to the touch.
Step 6: Cut and Enjoy
Once chilled, lift the entire block out by grabbing the edges of the parchment paper. Place it on a cutting board and slice into 12 perfect bars, ready for snacking, sharing, or packing into lunchboxes.
How to Serve Cereal Bars Recipe
Garnishes
A sprinkle of chia seeds, a drizzle of melted dark chocolate, or a pinch of shredded coconut can transform these bars from simple to spectacular. These garnishes not only add a delightful crunch or smoothness but also elevate the visual appeal.
Side Dishes
Pair your cereal bars with a fresh fruit salad or a bowl of yogurt for a more complete snack or light meal. The creamy and juicy sides contrast wonderfully with the chewy, nutty bars, making every bite exciting.
Creative Ways to Present
For a fun twist, wrap individual bars in parchment paper tied with twine as a charming gift or party favor. You can also serve them on a decorative platter lined with colorful napkins for a casual get-together.
Make Ahead and Storage
Storing Leftovers
Keep your cereal bars fresh by storing them in an airtight container at room temperature. They’ll stay perfectly chewy and delicious for up to a week, making them an ideal make-ahead snack to grab throughout the week.
Freezing
If you want to make a larger batch, these cereal bars freeze beautifully. Wrap individual bars tightly in plastic wrap and place them in a freezer-safe bag. They can last up to three months in the freezer without losing flavor or texture.
Reheating
For a soft and warm treat, unwrap a frozen bar and microwave it for about 15 seconds. It tastes just like fresh from the fridge but with a comforting warmth that’s perfect for chilly days or quick energy boosts.
FAQs
Can I use other types of nut butters in this Cereal Bars Recipe?
Absolutely! Almond butter, cashew butter, or even sunflower seed butter work wonderfully and will add subtle variations in flavor. Just make sure the nut butter is creamy for easy mixing.
Are these cereal bars gluten-free?
They can be, as long as you use gluten-free cereal and certified gluten-free oats. Always check the packaging to ensure all ingredients meet your dietary needs.
Can I make these bars vegan?
Yes! Use maple syrup instead of honey and choose your favorite plant-based nut butter. This twist keeps the bars fully vegan while maintaining their rich, chewy texture.
What’s the best way to prevent the bars from sticking when cutting?
Using parchment paper to lift the bars out of the baking dish helps a lot. Also, using a sharp knife and cleaning it between cuts will give you crisp, clean edges without sticking.
Can I add seeds or nuts for extra crunch?
Definitely! Chia seeds, flaxseeds, chopped almonds, or walnuts add fantastic texture and nutrition. Just fold them in with the chocolate chips or dried fruit for an extra boost.
Final Thoughts
This Cereal Bars Recipe is a fantastic addition to your recipe box for anyone who loves quick, tasty, and nourishing snacks. They’re easy to customize, require minimal effort, and reward you with that perfect combo of crunchy and chewy. I can’t wait for you to make a batch and see how easily they disappear when shared with friends and family. Give them a try today and you’ll have a wholesome treat ready whenever hunger strikes!