
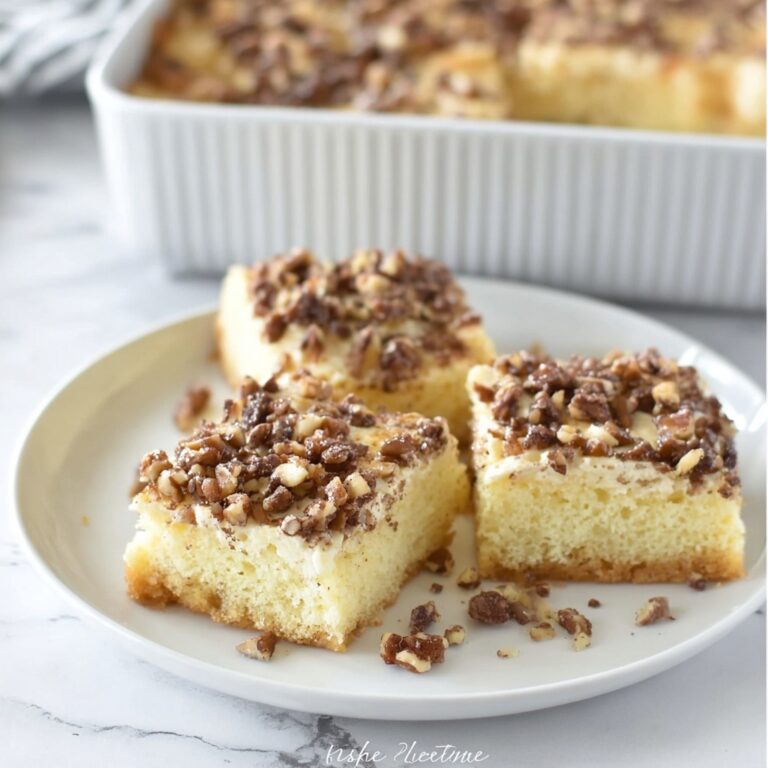
If you are craving a dessert that perfectly combines the creamy richness of cheesecake with the warm, comforting flavors of fall, this Apple Crisp Cheesecake Recipe is the one to try. It takes the classic apple crisp we all adore and marries it with a smooth, luscious cheesecake base, crowned with a buttery oat topping that bakes to a golden, crunchy finish. Every bite delivers a delightful contrast of textures and a cozy blend of spices that feels like a big, sweet hug on a plate. Whether you’re making this for a holiday gathering or a special treat just because, this Apple Crisp Cheesecake Recipe will quickly become your new favorite go-to dessert.
Ingredients You’ll Need
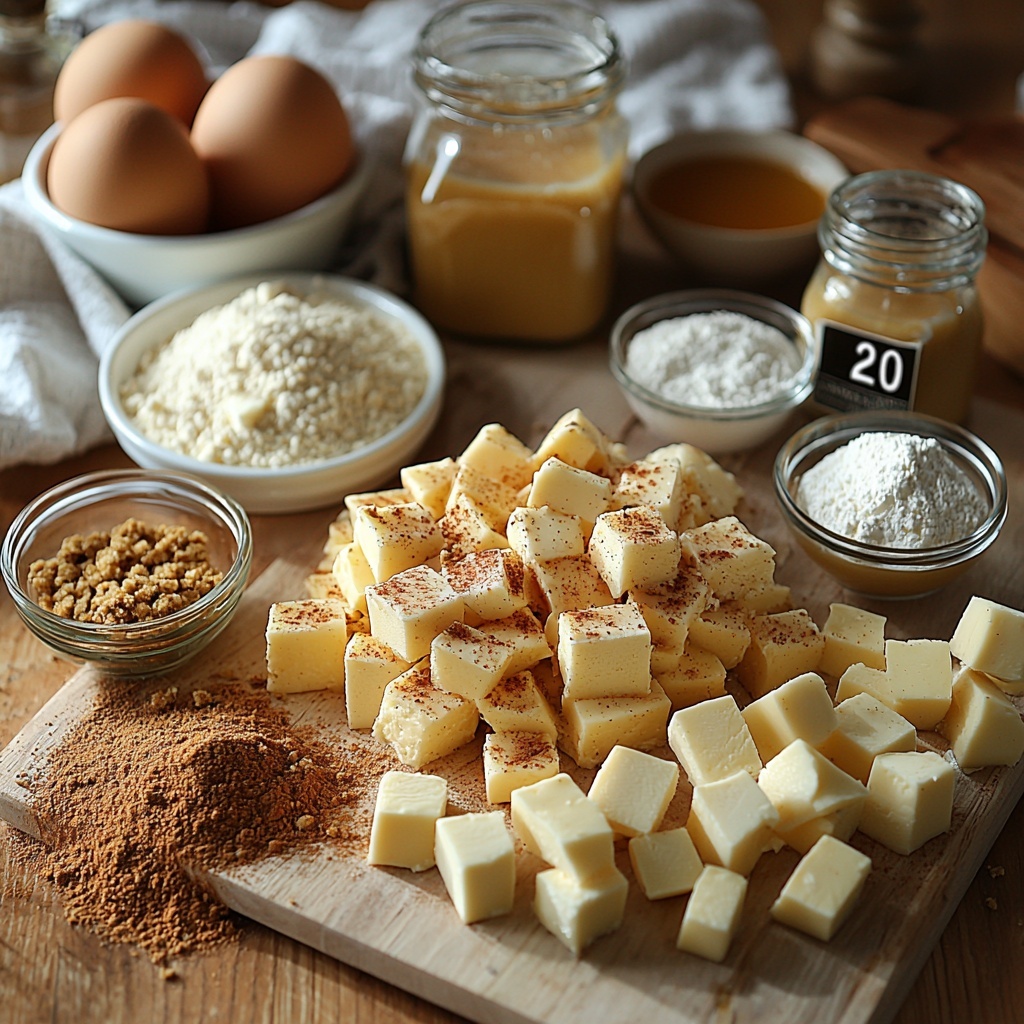
Gathering the right ingredients for this Apple Crisp Cheesecake Recipe is a breeze, and each one plays a key role in building the layers of flavor and texture that make this dessert so irresistible. From the crunchy graham cracker crust to the spiced apple layer and the crumbly oat topping, every component adds a special touch.
- Graham cracker crumbs: Create a buttery, crunchy base that holds the cheesecake perfectly.
- Melted butter: Binds the crust ingredients for a firm, flavorful foundation.
- Cream cheese, softened: The rich, creamy base of the cheesecake itself.
- Granulated sugar: Sweetens the creamy filling just right.
- Vanilla extract: Adds warmth and depth to the cheesecake flavor.
- Large eggs: Help set the cheesecake while keeping it silky smooth.
- Diced apples (Honeycrisp or Granny Smith): Provide a fresh, tart contrast and hold up beautifully during baking.
- Brown sugar (for apples): Sweetens and caramelizes the apples for that classic crisp flavor.
- Ground cinnamon: Brings that iconic fall spice note.
- Ground nutmeg: Adds a subtle, aromatic warmth.
- All-purpose flour: Part of the crumble topping for structure and texture.
- Old-fashioned oats: Give the topping its signature crispy bite.
- Brown sugar (for topping): Sweetens and helps create the golden crust.
- Salt: Enhances all the flavors and balances the sweetness.
- Cold unsalted butter, cubed: The secret to that perfectly crumbly, melt-in-your-mouth topping.
- Whipped cream (optional): For a light, airy garnish that complements richness.
- Caramel sauce (optional): Adds a luscious, sticky sweetness for an extra indulgence.
How to Make Apple Crisp Cheesecake Recipe
Step 1: Prepare the Crust
Start by preheating your oven to 350°F (175°C). Combine the graham cracker crumbs with melted butter until everything is evenly mixed. Press this mixture firmly into the bottom of a 9-inch springform pan to create a sturdy, flavorful crust. Bake it for 8 to 10 minutes, then let it cool completely—this step ensures a crust that won’t get soggy when we add the creamy filling.
Step 2: Make the Cheesecake Filling
In a large mixing bowl, beat the softened cream cheese until it’s smooth and silky. Add the granulated sugar and vanilla extract, continuing to beat until the mixture is fluffy and light. One by one, beat in the eggs until they’re fully incorporated, but be careful not to overmix—you want the filling to stay creamy and not too dense. Pour the cheesecake batter evenly over the cooled crust and gently spread it out to the edges.
Step 3: Prepare and Layer the Apples
In a separate bowl, toss your diced apples with half a cup of brown sugar, cinnamon, and nutmeg. This coating will give the apples a beautifully spiced, caramelized flavor that shines through once baked. Evenly distribute the apple mixture over the cheesecake filling—this layer is the heart of the Apple Crisp Cheesecake Recipe, blending fresh fruit with creamy indulgence.
Step 4: Make and Add the Crumble Topping
Mix together the flour, oats, the remaining brown sugar, and salt in a bowl. Then, cut in the cold, cubed butter using your fingers or a pastry cutter until the mixture becomes crumbly and coarse—this will bake into a perfectly golden, crisp topping. Sprinkle this crumble evenly over the spiced apple layer; it’s the final touch that transforms this dessert into a beautiful, textured masterpiece.
Step 5: Bake to Perfection
Place the assembled cheesecake in the oven and bake for 55 to 65 minutes. The center should be set but still have a slight jiggle—you’ll know it’s ready when the topping is golden and crisp. If you notice the crust or topping browning too quickly, simply cover the edges with foil to prevent burning. Once done, let the cheesecake cool completely at room temperature before chilling.
Step 6: Chill and Serve
Refrigerate the cheesecake for at least 4 hours or overnight to make sure it’s fully set and easy to slice. Before serving, you can top each slice with a generous dollop of whipped cream and a drizzle of caramel sauce for an extra layer of indulgence that pairs beautifully with the apple flavors.
How to Serve Apple Crisp Cheesecake Recipe
Garnishes
For that perfect finishing touch, top your cheesecake with lightly whipped cream that adds a cloud-like softness against the crispy topping. A drizzle of rich caramel sauce amps up the sweetness and adds a silky texture that tricks your taste buds into thinking they’re in dessert heaven.
Side Dishes
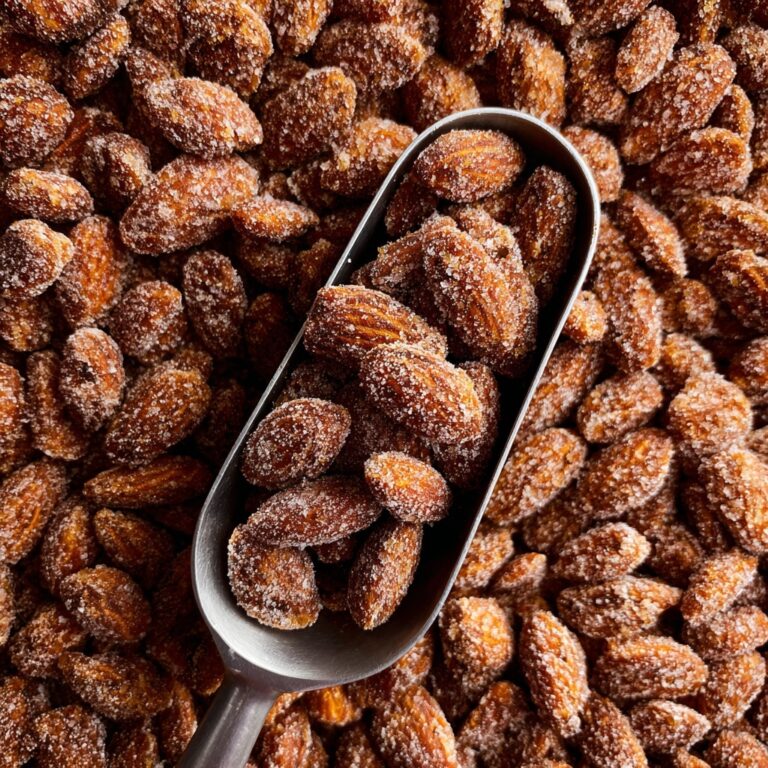
This dessert pairs wonderfully with a warm cup of spiced tea or freshly brewed coffee. For a brunch or casual gathering, serve it alongside fresh fruit salad or lightly spiced nuts to complement and balance the richness of the cheesecake.
Creative Ways to Present
Try serving square slices on rustic wooden platters with a sprinkle of cinnamon dust or a few crunchy oat clusters scattered around. You can also add a few thin apple slices fanned out on top or place individual portions in clear dessert jars for a charming, personal presentation.
Make Ahead and Storage
Storing Leftovers
Once refrigerated, this Apple Crisp Cheesecake Recipe keeps beautifully for up to 4 days. Store it in an airtight container or cover the springform pan tightly with plastic wrap to maintain freshness and prevent the cheesecake from absorbing scents from other foods.
Freezing
If you want to make this dessert ahead of time, you can freeze individual slices wrapped in plastic and foil. Freeze for up to 2 months. Thaw in the refrigerator overnight before serving for the best texture and flavor.
Reheating
Reheating isn’t usually necessary for this dessert, but if you like your cheesecake slightly warmed, gently warm slices in the microwave for 10-15 seconds. Be careful not to melt the topping too much—just enough to bring out the aromatic spices will do.
FAQs
Can I use a different type of apple?
Absolutely! While Honeycrisp and Granny Smith apples are great for their firm texture and balance of tartness, other baking apples like Fuji or Braeburn will also work well, just make sure they hold up to baking without turning mushy.
What if I don’t have a springform pan?
You can use a regular 9-inch cake pan, but the springform pan makes removing the cheesecake easier and keeps the delicate layers intact. Just be sure to line the pan well with parchment paper if you choose a regular pan.
Can I make this recipe gluten-free?
Yes! Substitute the graham cracker crumbs and all-purpose flour with gluten-free alternatives, and double-check that your oats are certified gluten-free for a safe, delicious version.
Is it necessary to refrigerate the cheesecake overnight?
Refrigerating overnight allows the cheesecake to fully set and develop flavor, making it easier to slice. You can refrigerate for at least 4 hours if you’re short on time, but overnight chilling is ideal.
Can I prepare the crumble topping in advance?
Definitely! You can prep the crumble topping a day ahead and store it in the fridge in an airtight container, making assembly quicker when it’s time to bake your Apple Crisp Cheesecake Recipe.
Final Thoughts
Honestly, this Apple Crisp Cheesecake Recipe is a delightful showstopper that’s surprisingly easy to pull off. The combination of creamy cheesecake, spiced apples, and crunchy topping is a celebration of textures and flavors that never gets old. I can’t recommend giving this a try enough—whether it’s for a special occasion or just a cozy night in, it has a way of turning any moment into something truly special.
Print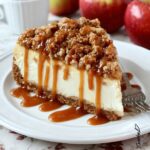
Apple Crisp Cheesecake Recipe
- Prep Time: 25 minutes
- Cook Time: 1 hour
- Total Time: 5 hours 25 minutes
- Yield: 12 slices
- Category: Dessert
- Method: Baking
- Cuisine: American
Description
This Apple Crisp Cheesecake is a delightful fusion of creamy cheesecake and warm apple crisp flavors. Featuring a buttery graham cracker crust, smooth vanilla cheesecake filling layered with spiced diced apples, and a crunchy oat crumble topping, this dessert offers a perfect balance of textures and sweet autumnal spices. Ideal for cozy gatherings and celebratory occasions, serve chilled with optional whipped cream and caramel sauce for an indulgent treat.
Ingredients
Crust
- 1 1/2 cups graham cracker crumbs
- 6 tablespoons melted butter
Cheesecake Filling
- 24 oz cream cheese, softened
- 3/4 cup granulated sugar
- 2 teaspoons vanilla extract
- 3 large eggs
Apple Layer
- 2 cups diced apples (like Honeycrisp or Granny Smith)
- 1/2 cup brown sugar
- 1 teaspoon ground cinnamon
- 1/4 teaspoon ground nutmeg
Crumble Topping
- 1/2 cup all-purpose flour
- 1/2 cup old-fashioned oats
- 1/3 cup brown sugar
- 1/4 teaspoon salt
- 4 tablespoons cold unsalted butter, cubed
Optional Toppings
- Whipped cream
- Caramel sauce
Instructions
- Preheat Oven: Preheat your oven to 350°F (175°C) to prepare for baking the cheesecake.
- Prepare Crust: Combine the graham cracker crumbs with the melted butter thoroughly until the mixture resembles wet sand.
- Form Crust: Press the crumb mixture evenly into the bottom of a 9-inch springform pan to create the crust base.
- Bake Crust: Bake the crust for 8 to 10 minutes until set and slightly golden. Remove from the oven and allow it to cool completely before adding the filling.
- Make Cheesecake Filling: In a large bowl, beat the softened cream cheese until smooth. Add granulated sugar and vanilla extract, mixing until fluffy and well combined.
- Add Eggs: Beat in the eggs one at a time, making sure each is fully incorporated to achieve a creamy batter.
- Pour Filling: Pour the cheesecake batter over the cooled crust, spreading it evenly to form a smooth surface.
- Prepare Apple Layer: In a separate bowl, toss diced apples with 1/2 cup brown sugar, ground cinnamon, and nutmeg until the apples are evenly coated in the spice mixture.
- Layer Apples: Spoon the spiced apples evenly over the cheesecake filling, distributing uniformly.
- Make Crumble Topping: Mix the flour, oats, 1/3 cup brown sugar, salt, and cold cubed butter. Use your fingers or a pastry cutter to blend until the mixture becomes crumbly.
- Add Topping: Sprinkle the crumble topping evenly over the apples layer, creating an even crust.
- Bake Cheesecake: Bake the assembled cheesecake for 55 to 65 minutes, or until the center is set and the topping is golden brown. If the edges brown too quickly, cover them with foil to prevent burning.
- Cool and Chill: Allow the cheesecake to cool completely at room temperature. Then refrigerate it for at least 4 hours or overnight to set properly.
- Serve: Before serving, optionally top with whipped cream and drizzle caramel sauce over the slices for added richness.
Notes
- Use firm apples like Honeycrisp or Granny Smith to ensure the apple layer retains texture after baking.
- Make sure cream cheese is softened to room temperature for a smooth cheesecake batter.
- If edges brown too fast during baking, tent the pan with foil to avoid burning.
- Allow sufficient chilling time for best slicing results and flavor development.
- Optional toppings like whipped cream and caramel sauce complement the dessert beautifully but can be omitted for a simpler presentation.


