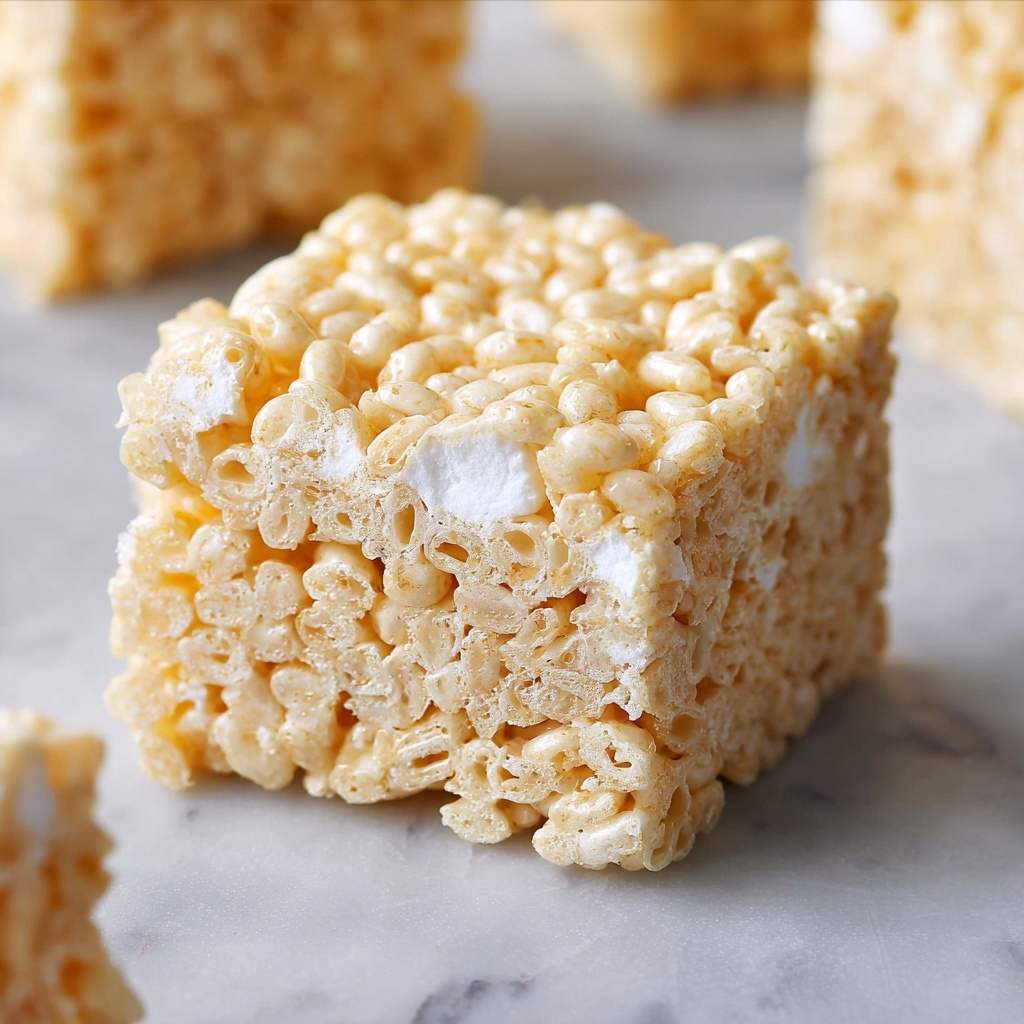
If you have a sweet tooth craving that nostalgic, chewy, and crispy treat, look no further than The Best Rice Krispie Treats Recipe. This beloved classic combines buttery richness, melt-in-your-mouth marshmallows, and crunchy cereal to create a dessert that’s as simple to make as it is irresistible. Whether you’re baking with friends, prepping a quick snack, or just wanting a delightful treat with minimal fuss, this recipe promises pure happiness in every bite.
Ingredients You’ll Need
The magic of The Best Rice Krispie Treats Recipe lies in its simplicity, using just a handful of ingredients that each play an essential role in the texture, flavor, and that perfect golden color you see in every bar. Get ready for a deliciously straightforward adventure!
- 5 Tablespoons salted butter: Adds a rich, creamy base and helps the marshmallows melt smoothly for even coating.
- 8 cups mini marshmallows (divided): Provides the gooey sweetness, with some melted for binding and some whole for added chewy texture.
- 6 cups Rice Krispie cereal: The crispy star of the show, delivering crunch and structure to the treats.
- 1/8 teaspoon salt (optional): Balances the sweetness and enhances the buttery flavor subtly without overpowering.
How to Make The Best Rice Krispie Treats Recipe
Step 1: Prepare Your Pan
Start by lining a 9×9-inch pan with aluminum foil for easy removal later, then give the foil a light spray with non-stick spray. This simple prep step ensures your treats come out perfectly shaped and cleanly, making serving a breeze.
Step 2: Melt Butter and Marshmallows
In a large pot over medium-low heat, melt the salted butter gently to preserve its creamy goodness. Once melted, add 6 cups of mini marshmallows along with the optional salt. Stir constantly—this patience pays off in a smooth, luscious marshmallow mixture without burning or sticking to the pot.
Step 3: Combine with Cereal and Remaining Marshmallows
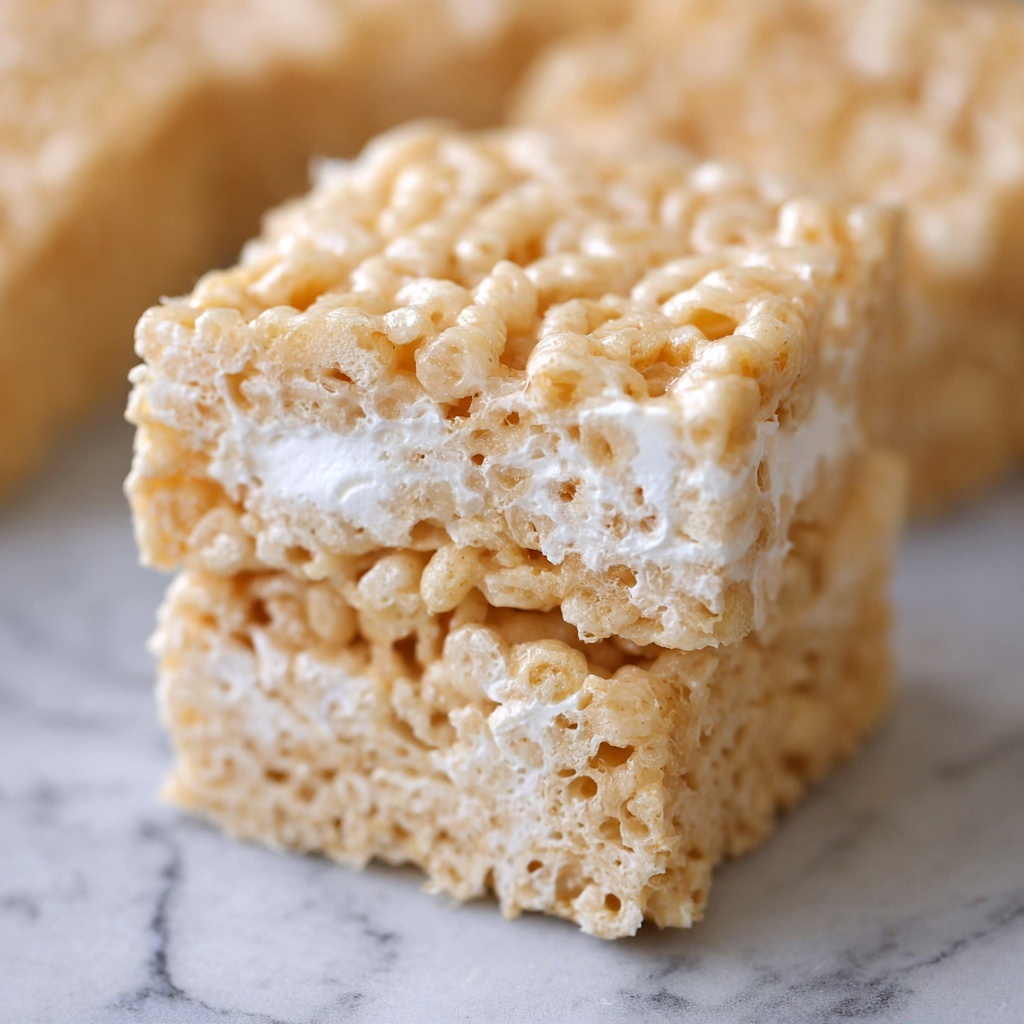
Remove your pot from the heat, then stir in the Rice Krispie cereal until every bite is just barely coated to avoid sogginess. To add a fun twist in texture, fold in the remaining 2 cups of mini marshmallows for delightful pops of chewiness in each square.
Step 4: Press Into the Pan
Transfer your sticky, sweet mixture into the prepared pan and press it evenly with a spatula or lightly buttered hands. Don’t press too hard—you want the treats to stay airy and crispy rather than dense.
Step 5: Cool and Cut
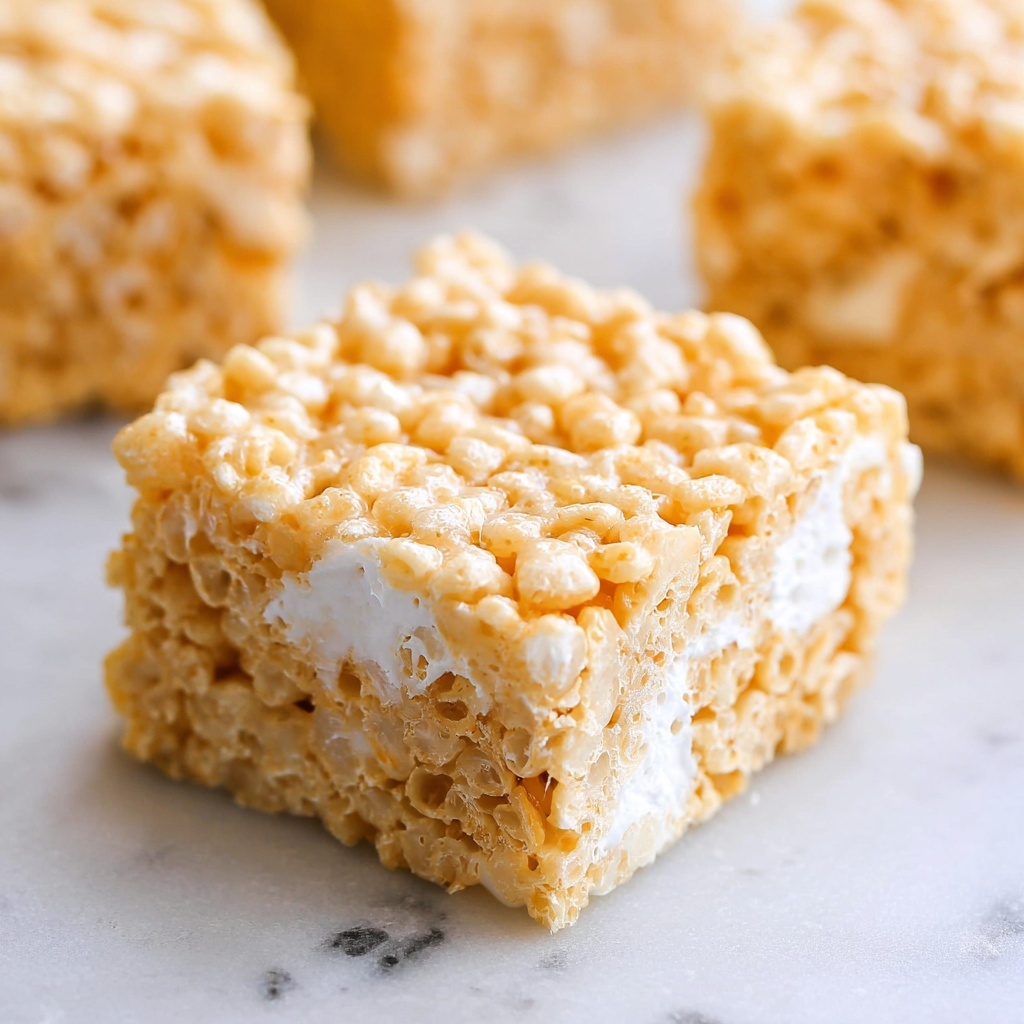
Let the treats cool completely in the pan, allowing them to set into chewy, manageable squares. Once cooled, lift from the pan using the foil edges, cut into squares, and get ready to indulge in your masterpiece!
How to Serve The Best Rice Krispie Treats Recipe
Garnishes
While these treats are scrumptious on their own, sprinkling a touch of colorful mini chocolate chips, rainbow sprinkles, or drizzling melted chocolate on top adds an exciting flair for parties or special occasions. Fresh fruit or a dusting of powdered sugar can also elevate the presentation delightfully.
Side Dishes
Pair The Best Rice Krispie Treats Recipe with a cold glass of milk, a scoop of vanilla ice cream, or even fresh berries for a perfectly balanced sweet snack or dessert. These combos amplify the nostalgic vibe and create a well-rounded, satisfying treat experience.
Creative Ways to Present
Consider cutting your treats into fun shapes using cookie cutters for kid-friendly parties or holiday-themed celebrations. Wrapping individual squares in colorful parchment paper or placing them in decorative cupcake liners instantly makes them gift-worthy and easy to share.
Make Ahead and Storage
Storing Leftovers
Store any leftover treats in an airtight container at room temperature for up to three days to maintain that perfect chewy texture without drying out. Avoid refrigerating, as this can harden the marshmallows and change the desirable consistency.
Freezing
If you want to prepare The Best Rice Krispie Treats Recipe well ahead of time, freeze the uncut slab wrapped tightly in plastic wrap and foil. They freeze beautifully for up to six weeks. When ready to enjoy, thaw them at room temperature before slicing.
Reheating
Rice Krispie treats are best enjoyed fresh or at room temperature. However, if you prefer them slightly warm, pop an individual piece in the microwave for about 10 seconds to soften the marshmallows without melting them completely.
FAQs
Can I use regular-sized marshmallows instead of mini marshmallows?
Absolutely! If you only have regular-sized marshmallows, simply measure their volume accordingly; they melt just as well and will give you the same gooey texture that defines The Best Rice Krispie Treats Recipe.
What if I want my treats less sweet?
Reducing sweetness is a bit tricky since marshmallows provide most of it, but you can try adding a touch more salt or swapping some marshmallows for a bit of natural peanut butter for a savory contrast.
Can I make these gluten-free?
Yes! Just ensure the Rice Krispie cereal you use is certified gluten-free—some brands produce oats and cereals in facilities without gluten contamination. This swap keeps The Best Rice Krispie Treats Recipe safe and tasty for gluten-sensitive eaters.
How do I keep the treats soft and chewy?
Press the mixture gently into the pan and avoid overcooking or overheating the marshmallows. Cooling completely at room temperature helps them set with that ideal chewy bite rather than becoming hard or crumbly.
Is there a way to add chocolate to this recipe?
Definitely! You can melt chocolate and drizzle it on top after cooling, or fold in chocolate chips when mixing your cereal and marshmallows. Either method adds a rich layer that pairs wonderfully with the classic flavors.
Final Thoughts
There’s something undeniably comforting about The Best Rice Krispie Treats Recipe that never goes out of style. With its simple ingredients, quick prep, and that perfect balance of crispy and gooey, it’s a recipe you’ll keep coming back to for snack time, parties, or whenever you need a little sweet boost. Grab your butter and marshmallows, and see for yourself why this classic never loses its charm!
Print
The Best Rice Krispie Treats Recipe
- Prep Time: 25 minutes
- Cook Time: 10 minutes
- Total Time: 35 minutes
- Yield: 16 servings
- Category: Dessert
- Method: Stovetop
- Cuisine: American
Description
These classic Rice Krispie Treats are irresistibly gooey, buttery, and perfectly crispy. Made with melted marshmallows and Rice Krispie cereal, they’re a quick no-bake dessert that’s easy to whip up for any occasion.
Ingredients
Main Ingredients
- 5 Tablespoons salted butter
- 8 cups mini marshmallows, divided
- 6 cups Rice Krispie cereal
- 1/8 teaspoon salt (optional)
Instructions
- Prepare the pan: Line a 9×9-inch pan with aluminum foil and spray the foil lightly with non-stick spray to prevent sticking. Set aside.
- Melt butter and marshmallows: In a large pot over medium-low heat, melt the butter. Once melted, add 6 cups of mini marshmallows and the optional salt. Stir constantly until the marshmallows are completely melted and smooth.
- Combine cereal and marshmallow mixture: Remove the pot from heat and stir in the Rice Krispie cereal until it is just barely coated with the marshmallow mixture. Then fold in the remaining 2 cups of mini marshmallows to add extra gooeyness.
- Shape the treats: Pour the mixture into the prepared pan. Using a spatula or wax paper, press the mixture evenly and firmly into the pan.
- Cool and serve: Let the treats cool completely at room temperature before cutting into squares. Serve and enjoy these classic, chewy treats!
Notes
- Use salted butter for extra flavor, or unsalted if preferred; add salt to taste.
- Press the mixture firmly into the pan, but avoid compacting too much to keep the treats light and crispy.
- Store leftovers in an airtight container at room temperature for up to 3 days.
- For a fun twist, add mix-ins like chocolate chips, sprinkles, or peanut butter.
- Make sure to use mini marshmallows for best melting and texture.

