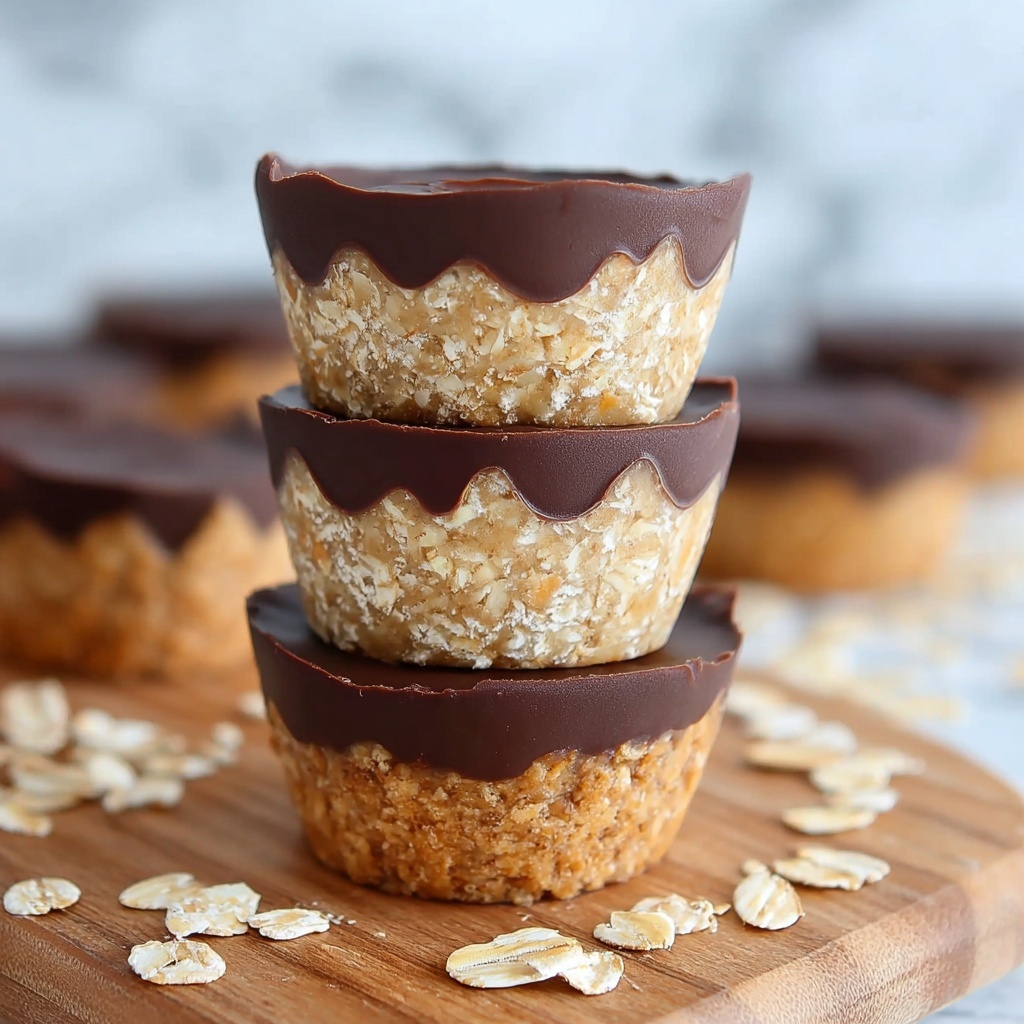
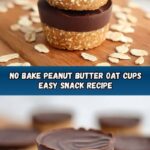
If you are craving a deliciously simple treat that brings together nutty, chocolatey, and wholesome flavors, you are going to love this No Bake Peanut Butter Oat Cups Recipe. These delightful little cups are as easy to make as they are satisfying—no oven required! Loaded with creamy peanut butter, wholesome oat flour, and the perfect drizzle of melted chocolate, they strike the ideal balance between indulgence and nourishment. Whether you need a quick snack, a make-ahead dessert, or a crowd-pleasing treat, this recipe will quickly become your go-to favorite.
Ingredients You’ll Need
For this No Bake Peanut Butter Oat Cups Recipe, the ingredients list is wonderfully straightforward, but each component plays a crucial role in building the rich flavors and textures that make these cups so irresistible.
- Peanut butter: Use smooth or crunchy for a creamy, nutty base that binds everything together beautifully.
- Oat flour: Finely ground oats provide a wholesome texture and subtle earthiness—plus they keep things naturally gluten-free if you choose certified oats.
- Maple syrup: Adds the perfect touch of natural sweetness that complements the peanut butter without overpowering it.
- Chocolate chips: For a luscious, melty topping that hardens into a glossy finish—dark, milk, or semi-sweet all work wonderfully.
- Coconut oil (optional): Helps create a smooth, shiny chocolate topping and adds a hint of tropical richness.
How to Make No Bake Peanut Butter Oat Cups Recipe
Step 1: Melt the Peanut Butter and Maple Syrup
Begin by placing the peanut butter and maple syrup in a microwave-safe bowl and heating it for 40 to 60 seconds. This gentle heat makes it easy to stir them together until perfectly smooth and combined, creating a rich, sticky base for your oat cups.
Step 2: Mix in the Oat Flour
Next, gradually add in your oat flour. Stir well so that it fully incorporates into the peanut butter mixture. The goal is to achieve a thick, sturdy dough that’s easy to mold but not crumbly. This step is crucial because the oat flour gives the cups their structure without baking.
Step 3: Prepare Your Molds
Line a muffin pan with cupcake liners or use flexible silicone molds. This preparation makes removing the finished cups so much easier and keeps their shape intact. It’s a small step that pays off when your no bake treats come out perfectly formed.
Step 4: Fill and Pack the Cups
Spoon the peanut butter oat mixture into each liner or mold. Press down firmly with your fingers or the back of a spoon. This ensures that the dough is compacted and will hold together nicely after chilling.
Step 5: Melt the Chocolate Topping
In a clean microwave-safe bowl, melt the chocolate chips with the optional coconut oil. Heating in short bursts and stirring in between will help you achieve a silky, glossy chocolate glaze without burning.
Step 6: Top Each Cup with Chocolate
Pour a spoonful of the melted chocolate over each peanut butter oat cup. Use the back of your spoon to spread it evenly for a smooth, shiny finish that looks as good as it tastes.
Step 7: Chill Until Set
Refrigerate the filled cups for 2 to 3 hours, or until the chocolate topping hardens and the dough firms up. This waiting period is the key to achieving that perfect no bake texture in every bite.
How to Serve No Bake Peanut Butter Oat Cups Recipe
Garnishes
While these peanut butter oat cups are stunning on their own, adding a little garnish can take your presentation to the next level. Sprinkle crushed peanuts, a pinch of sea salt, or even shredded coconut on top of the chocolate before chilling for some added texture and flavor contrast.
Side Dishes
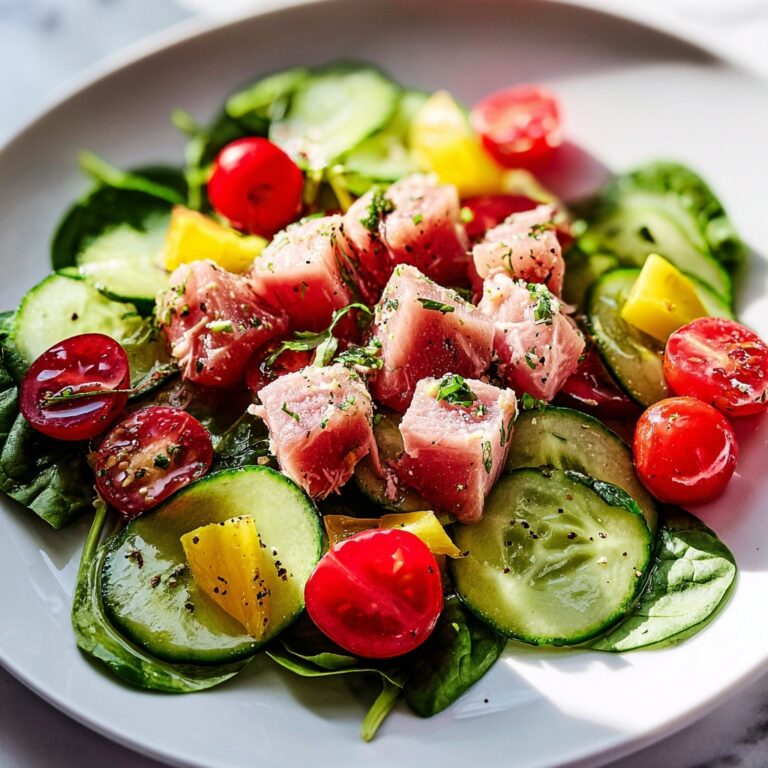
Pair your No Bake Peanut Butter Oat Cups Recipe with a cup of freshly brewed coffee or a cold glass of milk for a comforting and satisfying snack. They also complement fresh fruit like sliced bananas or berries, balancing richness with natural sweetness and brightness.
Creative Ways to Present
Get creative by packing these treats in colorful mini muffin liners or arranging them on a dessert platter lined with parchment paper. You can also layer them in jar parfaits with yogurt and fruit for a grab-and-go breakfast or snack that feels extra special.
Make Ahead and Storage
Storing Leftovers
Leftover peanut butter oat cups stay fresh in an airtight container kept in the refrigerator for up to one week. Keeping them chilled ensures the drizzle remains firm and the texture stays just right.
Freezing
If you want to enjoy these cups later, freeze them in a single layer on a baking sheet before transferring to a freezer-safe container or bag. They freeze beautifully for up to three months. Thaw in the fridge when you’re ready to enjoy.
Reheating
Since these are no bake treats, reheating is usually unnecessary. However, if you prefer them a bit softer, allow them to come to room temperature for 10 to 15 minutes before eating. Avoid microwaving as it melts the chocolate topping too quickly.
FAQs
Can I use crunchy peanut butter for this recipe?
Absolutely! Crunchy peanut butter adds a delightful texture contrast. Just keep in mind it may make the dough a little less smooth, but the flavor will be fantastic.
Is there a substitute for oat flour?
You can substitute finely ground rolled oats or almond flour if you prefer a nutty twist. Just be aware that almond flour can make the dough a bit richer and may change the texture slightly.
Can I use honey instead of maple syrup?
Yes, honey works well as a natural sweetener, but it has a stronger flavor, so use slightly less to avoid overpowering the peanut butter flavor.
What is the best way to melt chocolate without burning it?
Melting chocolate in short 20-second intervals in the microwave, stirring in between, helps prevent burning and keeps the chocolate smooth and shiny.
Are these cups suitable for kids’ lunchboxes?
Definitely! These cups are a wholesome and tasty option for kids’ lunches or snacks. Just be sure to keep them chilled so they stay firm during the day.
Final Thoughts
This No Bake Peanut Butter Oat Cups Recipe is truly one of those little kitchen gems that feels like a treat but comes together with such ease. Whether you’re making them for a quick snack, a party dessert, or a thoughtful homemade gift, these cups hit the perfect note of flavor, texture, and convenience. Give this recipe a try—you might just find it becoming your new favorite anytime indulgence!
Print
No Bake Peanut Butter Oat Cups Recipe
- Prep Time: 10 minutes
- Cook Time: 0 minutes
- Total Time: 2 hours 10 minutes
- Yield: 12 peanut butter oat cups
- Category: Dessert
- Method: No-Cook
- Cuisine: American
- Diet: Vegetarian
Description
These No Bake Peanut Butter Oat Cups are a delicious and healthy treat made with creamy peanut butter, oat flour, maple syrup, and a smooth chocolate topping. They are easy to make without any baking required, perfect for a quick snack or dessert that sets beautifully in the fridge.
Ingredients
Base
- 1.5 cups peanut butter
- 1.5 cups oat flour (finely processed rolled oats)
- 1/4 cup maple syrup
Topping
- 1 cup chocolate chips
- 1 tsp coconut oil (optional)
Instructions
- Melt Peanut Butter and Maple Syrup: In a microwave-safe bowl, heat the peanut butter and maple syrup together for 40-60 seconds until the mixture is smooth and well combined.
- Mix in Oat Flour: Gradually add the oat flour to the melted mixture, stirring continuously until a thick but moldable dough forms.
- Prepare Muffin Pan: Line a muffin pan with cupcake liners or silicone molds to make removing the cups easier later on.
- Shape the Cups: Spoon the dough into each liner, pressing down firmly to evenly shape the bottom and sides.
- Melt Chocolate Topping: In short increments, melt the chocolate chips with the coconut oil (if using), stirring until completely smooth.
- Top Each Cup: Pour the melted chocolate over each peanut butter cup and smooth it out with the back of a spoon or spatula as desired.
- Refrigerate to Set: Place the filled and topped cups in the refrigerator for 2-3 hours until the chocolate hardens and the cups are fully set before serving.
Notes
- Use natural or creamy peanut butter for the best texture.
- Oat flour can be made at home by processing rolled oats in a blender until fine.
- Coconut oil is optional but helps the chocolate set with a glossy finish and smooth texture.
- Store the cups in an airtight container in the refrigerator for up to one week.
- Feel free to substitute maple syrup with honey or agave nectar for variation.

