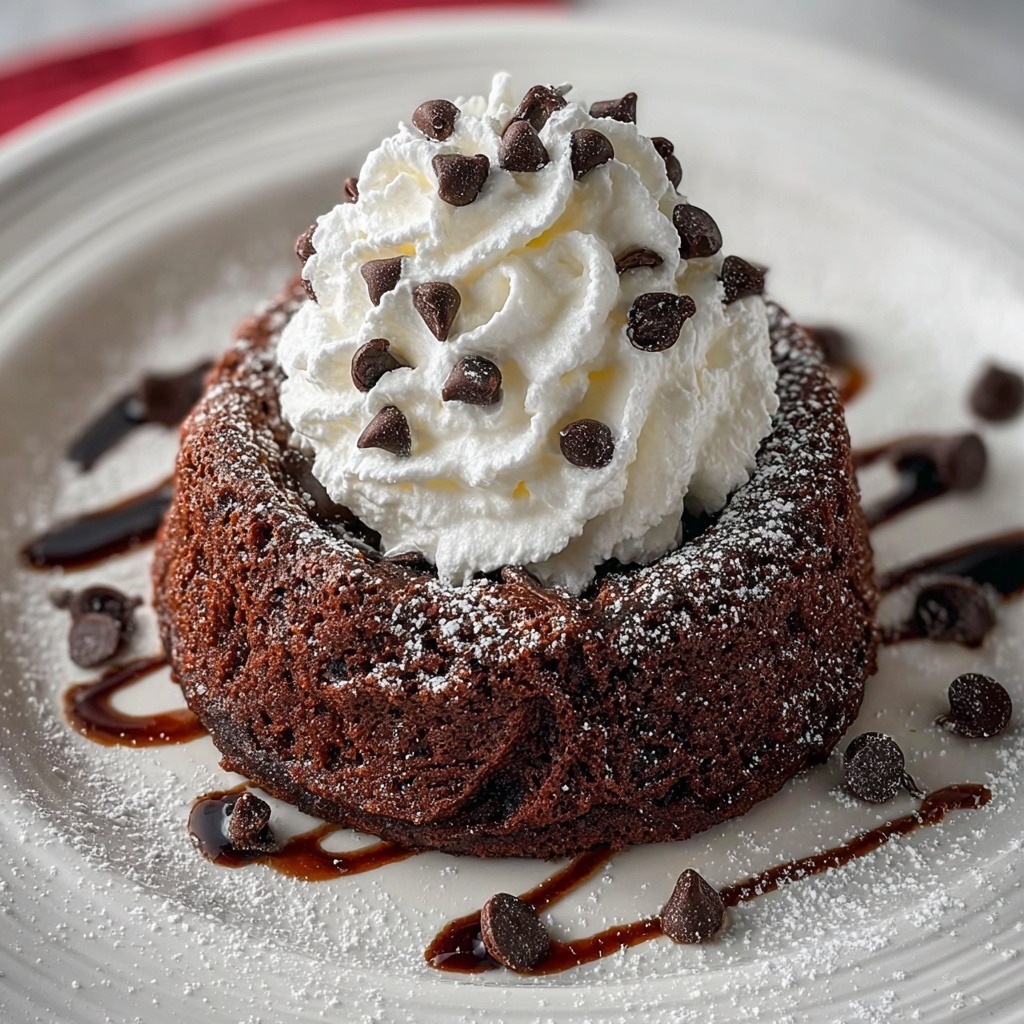
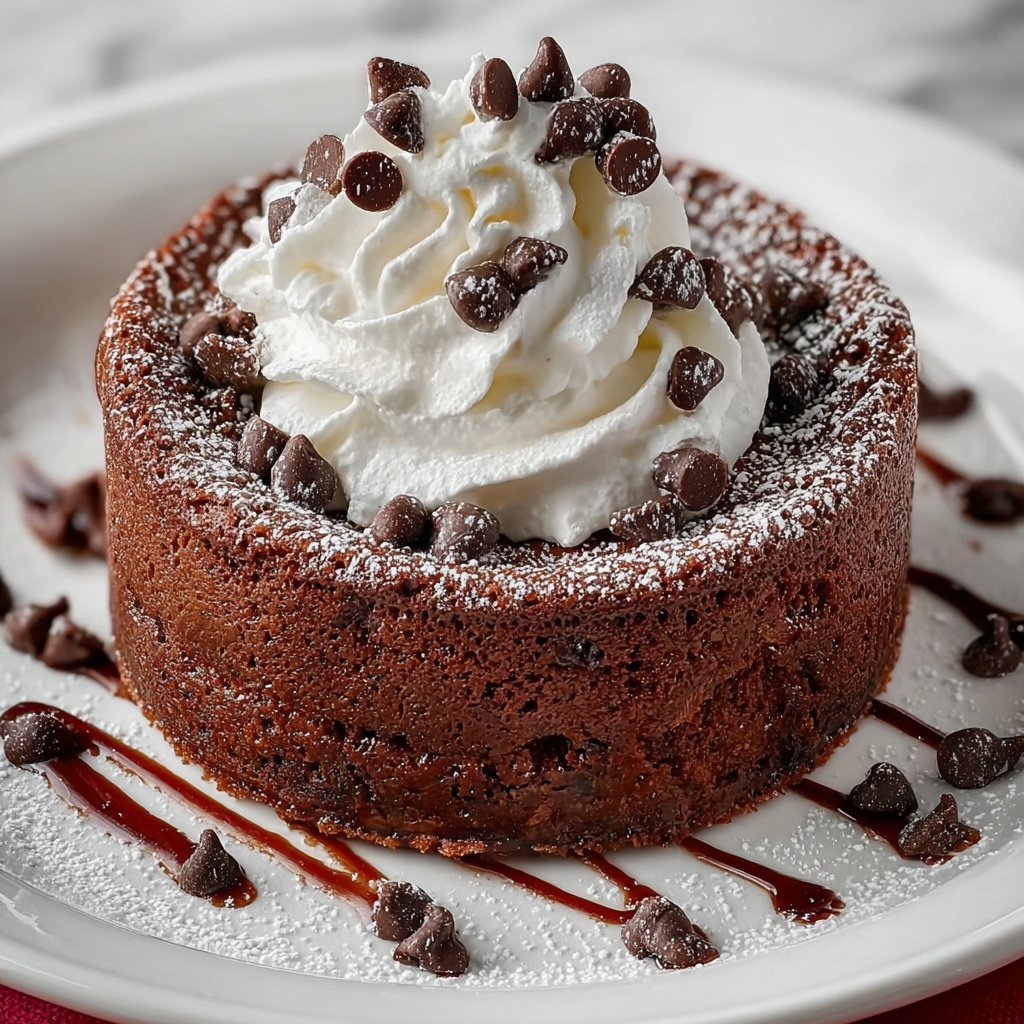
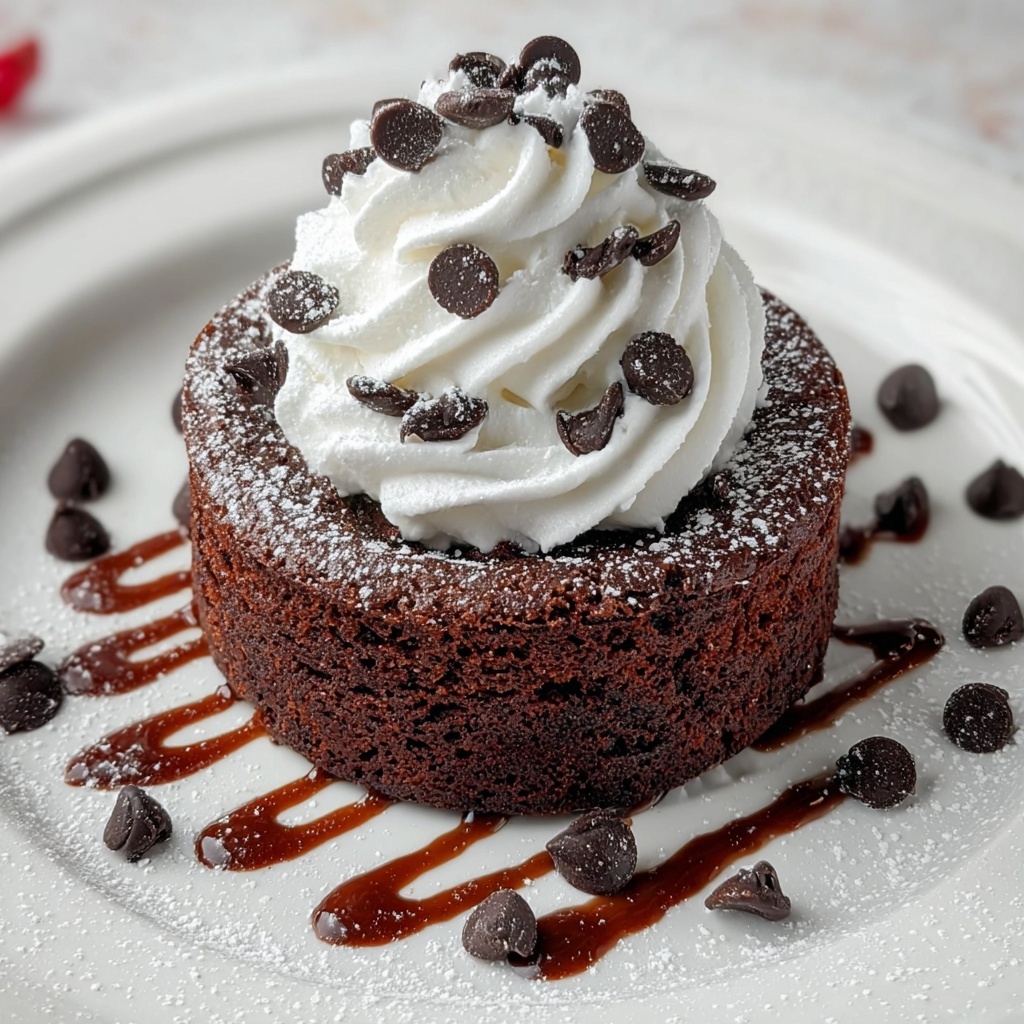
If you have a sudden craving for something rich, chocolatey, and oh-so-satisfying, then this Microwave Brownie Mug Cake Recipe is your new best friend. Perfectly fudgy with a tender crumb, this quick treat fits right into your busy schedule, delivering all the joy of a brownie without the wait or fuss. Whether you’re in need of a last-minute dessert or a cozy solo snack, this mug cake brings a burst of chocolate happiness with each bite, and best of all, it’s ready in just minutes!
Ingredients You’ll Need
These ingredients are simple pantry staples, but each has a special role that creates the perfect balance of flavor, texture, and color in our Microwave Brownie Mug Cake Recipe. From the cocoa powder’s deep chocolate intensity to the pinch of salt that enhances sweetness, every component counts.
- 1/4 cup all-purpose flour: Provides the structure that holds your brownie together beautifully.
- 1/4 cup granulated sugar: Adds sweetness and helps create a moist crumb.
- 2 tablespoons unsweetened cocoa powder: Delivers that rich chocolate flavor we all crave.
- 1/8 teaspoon baking powder: Gives the brownie a subtle lift and lightness.
- A pinch of salt: Balances and enhances the sweetness and chocolate taste.
- 1/4 cup milk: Keeps the batter moist and smooth.
- 2 tablespoons vegetable oil: Brings tenderness and keeps the brownie soft.
- 1/4 teaspoon vanilla extract: Adds a lovely depth of flavor that complements the chocolate.
- 2 tablespoons chocolate chips (optional): For pockets of melty chocolate that take the experience up a notch.
How to Make Microwave Brownie Mug Cake Recipe
Step 1: Prepare Your Mug
Start by choosing a microwave-safe mug or an 8-ounce ramekin. Make sure it’s clean and dry so nothing interferes with the baking process or the texture of your brownie mug cake.
Step 2: Mix Dry Ingredients
Into the mug, add the all-purpose flour, granulated sugar, cocoa powder, baking powder, and a pinch of salt. Stir them together thoroughly using a fork or whisk, making sure the cocoa powder is evenly distributed for that consistent chocolate goodness.
Step 3: Add Wet Ingredients
Pour in the milk, vegetable oil, and vanilla extract right on top of your dry mix. Stir everything well, breaking up any lumps until you have a smooth, glossy batter. This step ensures your brownie mug cake bakes evenly and stays delightfully tender.
Step 4: Fold in Chocolate Chips (Optional)
If you’re feeling extra indulgent, gently fold in the chocolate chips. This little addition creates lovely gooey pockets of chocolate throughout your brownie. It’s a total game changer!
Step 5: Microwave to Perfection
Place your mug in the microwave and cook on high for 1 minute 30 seconds to 2 minutes. Microwave power varies, so start checking at the one-minute mark. Your brownie mug cake is done when it has risen and springs back to the touch — rich, moist, and ready to devour.
Step 6: Handle with Care
Carefully remove the mug using a towel or oven mitt because it will be hot. This is where the anticipation really builds — that wonderful aroma fills the kitchen!
Step 7: Cool and Enjoy
Let your brownie mug cake cool for a minute or two before digging in. You can enjoy it straight from the mug or tip it out onto a small plate if you want to get fancy. Either way, prepare yourself for a chocolate treat made in minutes.
How to Serve Microwave Brownie Mug Cake Recipe
Garnishes
Garnishing your Microwave Brownie Mug Cake Recipe is a fun way to add flair and flavor. Try a scoop of vanilla ice cream for that classic hot-and-cold contrast, a drizzle of caramel or chocolate sauce, or a sprinkle of powdered sugar for a pretty presentation.
Side Dishes
This mug cake shines perfectly on its own, but pairing it with fresh berries or a dollop of whipped cream can brighten the chocolate intensity and add extra texture. For a brunch twist, a small cup of espresso or rich coffee pairs wonderfully with the chocolate flavors.
Creative Ways to Present
Get creative by serving your brownie mug cake with a sprinkle of crushed nuts or a few fresh mint leaves for a pop of green. You can even top it with mini marshmallows and zap it for a few extra seconds to get a golden toasted surface — a little dessert magic that’s totally Instagram-worthy!
Make Ahead and Storage
Storing Leftovers
If you happen to have any leftover brownie mug cake (though unlikely!), cover it tightly with plastic wrap or transfer it to an airtight container. Store it at room temperature for up to one day, but keep in mind that it’s best enjoyed fresh for optimal texture.
Freezing
Freezing individual portions of this brownie mug cake isn’t recommended because the texture can change once thawed. However, you can freeze the batter for quick whipping up next time—just thaw it and microwave as usual.
Reheating
When you want to enjoy leftovers, simply microwave your mug cake for 20 to 30 seconds. This reheats it gently without drying it out, bringing back its soft, warm, and fudgy charm.
FAQs
Can I use a different type of flour in this Microwave Brownie Mug Cake Recipe?
While all-purpose flour gives the best texture, you can try whole wheat flour for a nuttier flavor, but the cake might be a bit denser. Gluten-free blends can work too, but results may vary slightly in texture.
What can I substitute for vegetable oil?
Light olive oil, melted coconut oil, or even melted butter can be used instead of vegetable oil to add richness. Just keep the measurement the same for the best results.
How do I prevent my brownie mug cake from drying out?
Make sure not to overcook it in the microwave. Start checking at the 1-minute mark and remove it as soon as done. The residual heat will finish baking, keeping it moist and tender.
Can I add nuts or other mix-ins?
Absolutely! Chopped walnuts, pecans, or even a sprinkle of sea salt on top before microwaving can add wonderful texture and flavor contrast to your brownie mug cake.
Is this recipe suitable for kids?
Yes, this Microwave Brownie Mug Cake Recipe is kid-friendly, but since it involves the microwave and hot mugs, adult supervision is recommended for young children.
Final Thoughts
This Microwave Brownie Mug Cake Recipe is a delightful little dessert that delivers maximum chocolate satisfaction with minimal effort. It’s the kind of recipe you’ll want to keep tucked in your memory for those moments when you just need a quick sweet fix. Give it a try, and I promise it’ll become one of your favorite speedy treats to whip up anytime you want a little chocolate magic.
Print
Microwave Brownie Mug Cake Recipe
- Prep Time: 0h 5m
- Cook Time: 0h 2m
- Total Time: 0h 7m
- Yield: 1 serving
- Category: Dessert
- Method: Microwaving
- Cuisine: American
Description
This Microwave Brownie Mug Cake is a quick and easy single-serving dessert that you can prepare in just minutes using common pantry ingredients. It delivers rich chocolatey flavor and a fudgy texture right from your microwave, making it perfect for satisfying your sweet tooth in an instant without any fuss or baking required.
Ingredients
Dry Ingredients
- 1/4 cup all-purpose flour
- 1/4 cup granulated sugar
- 2 tablespoons unsweetened cocoa powder
- 1/8 teaspoon baking powder
- A pinch of salt
Wet Ingredients
- 1/4 cup milk
- 2 tablespoons vegetable oil
- 1/4 teaspoon vanilla extract
Optional
- 2 tablespoons chocolate chips
Instructions
- Prepare your mug or ramekin: Begin by taking a microwave-safe mug or an 8-ounce ramekin that is clean and dry to ensure proper mixture and cooking.
- Mix dry ingredients: Add the all-purpose flour, granulated sugar, cocoa powder, baking powder, and a pinch of salt to the mug. Stir thoroughly with a fork or whisk to combine these dry ingredients evenly.
- Add wet ingredients: Pour the milk, vegetable oil, and vanilla extract into the mug with the dry mix. Stir well until you achieve a smooth batter with no lumps remaining.
- Incorporate chocolate chips (optional): Gently fold in the chocolate chips into the batter for added bursts of melted chocolate throughout the cake.
- Microwave the cake: Place the mug in the microwave and cook on high power for 1 minute and 30 seconds to 2 minutes. Start checking at 1 minute to prevent overcooking. The cake is done when it has risen and springs lightly back when touched.
- Handle with care: Use a towel or oven mitt to carefully remove the hot mug from the microwave to avoid burns.
- Cool and serve: Allow the brownie mug cake to cool for a couple of minutes before eating straight from the mug or transferring it to a plate for serving.
Notes
- Microwave power varies; adjust cooking time accordingly to avoid overcooking or drying out the cake.
- You can substitute milk with any plant-based milk for a dairy-free version.
- Vegetable oil can be replaced with other neutral oils like canola or melted coconut oil.
- Adding a scoop of ice cream or whipped cream on top makes a delicious finishing touch.
- The brownie texture will be fudgier if slightly undercooked rather than overcooked.


