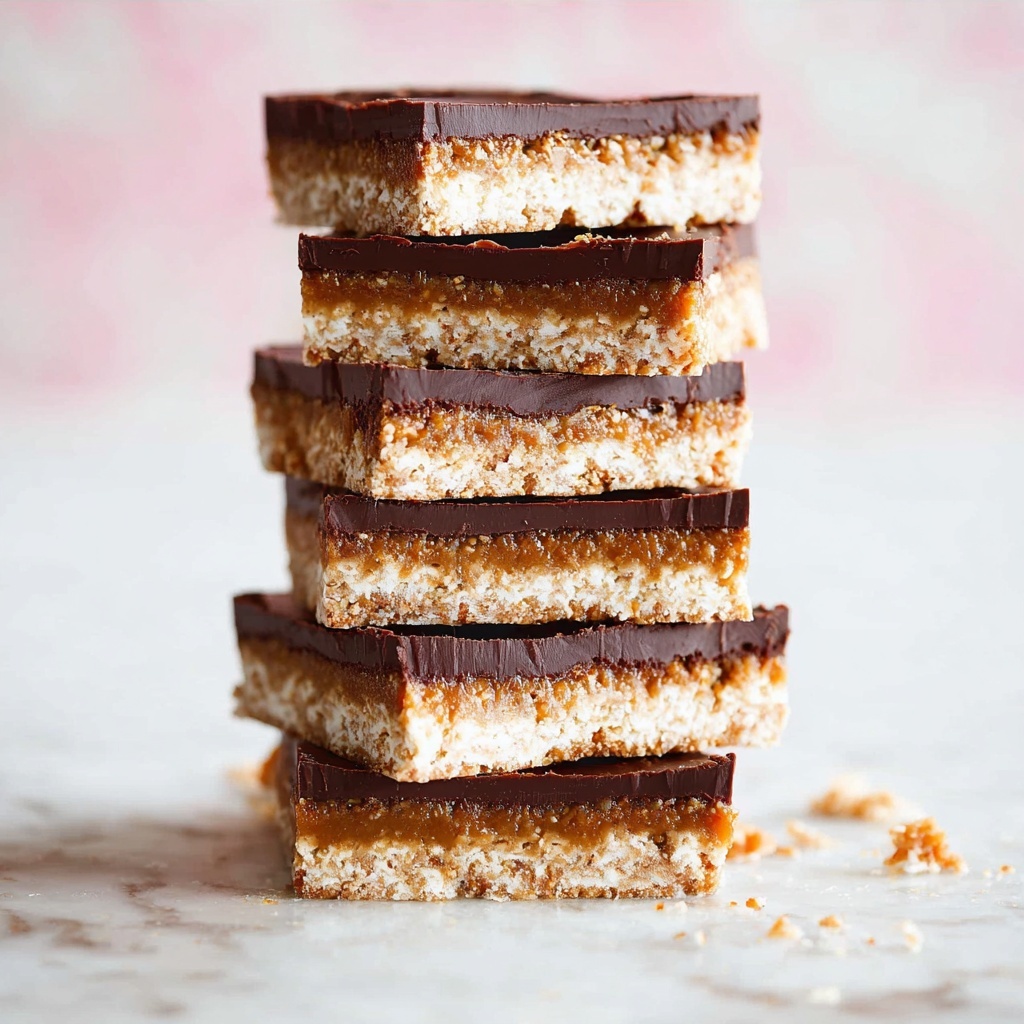
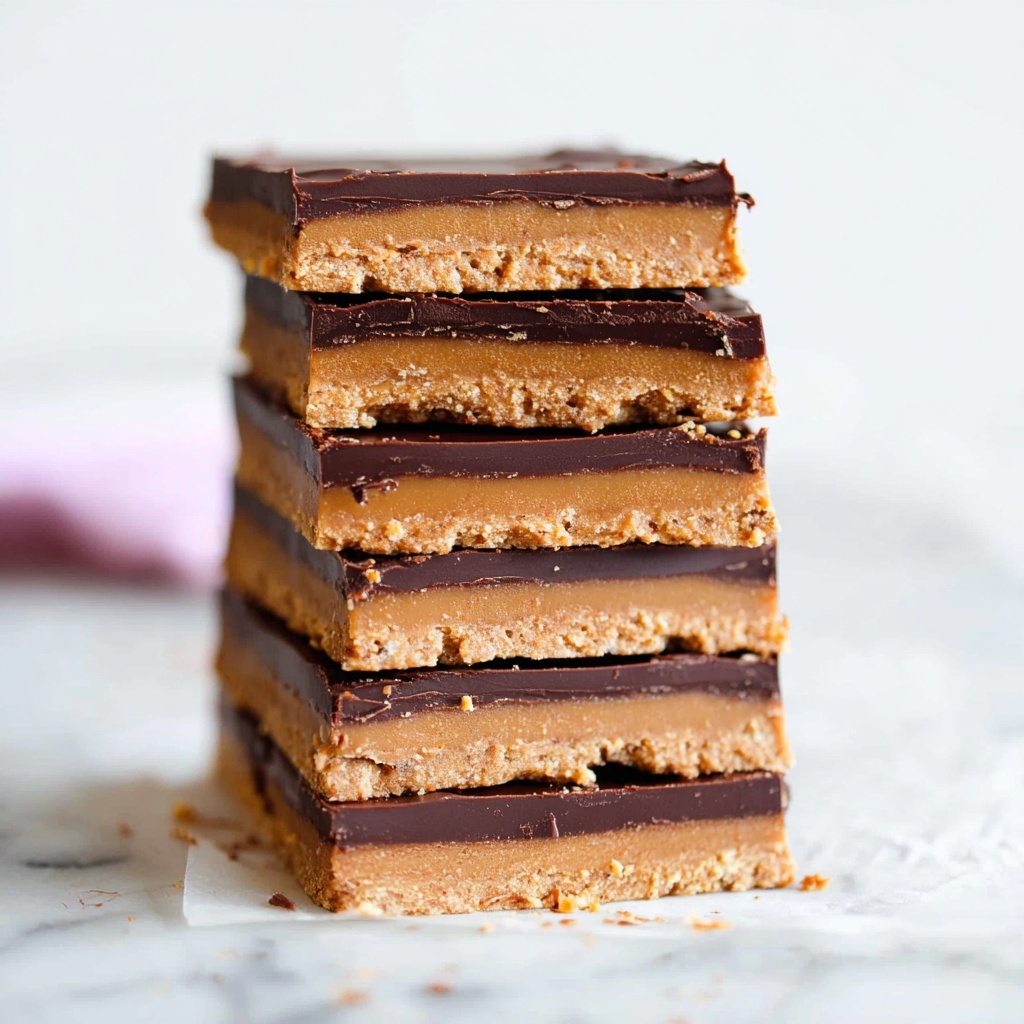
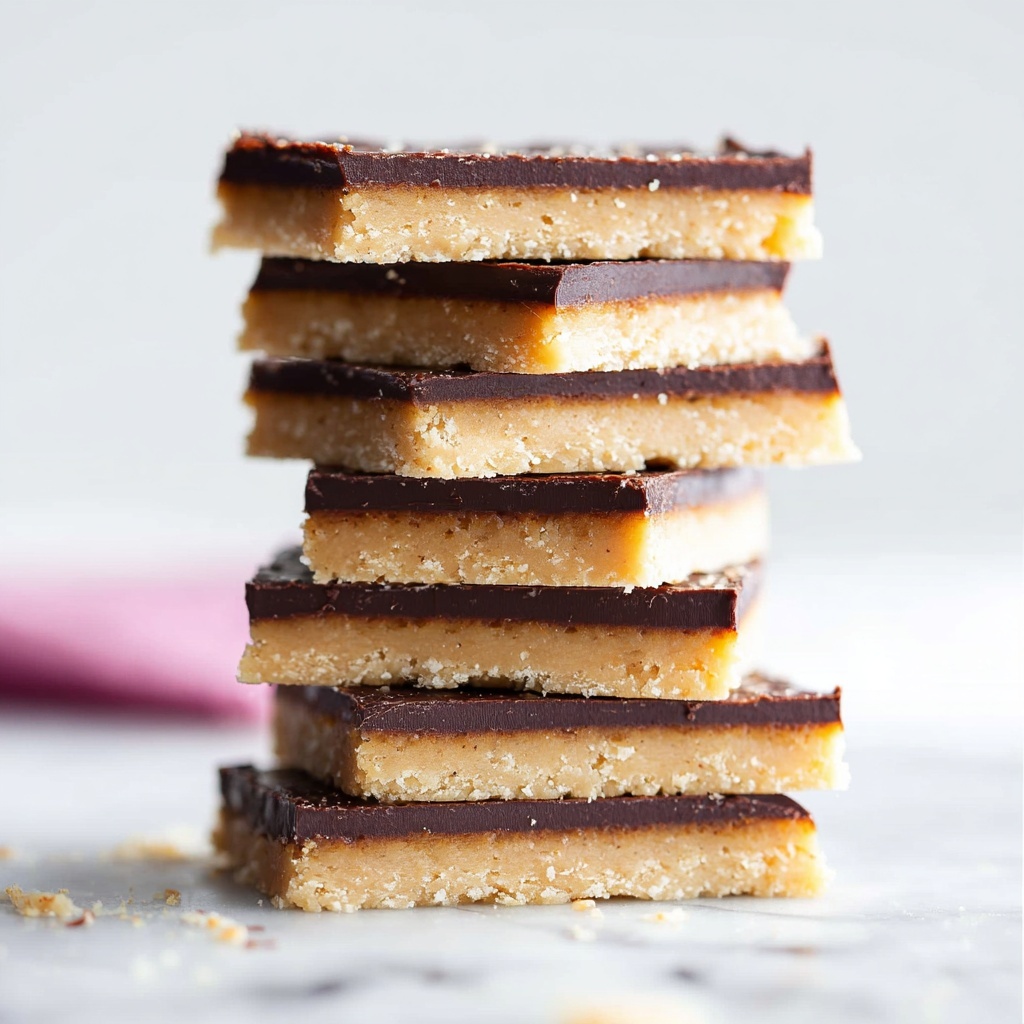
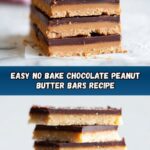
If you are on the hunt for a dessert that feels like a cozy hug in every bite, look no further than this No Bake Chocolate Peanut Butter Bars Recipe. It’s the perfect blend of creamy peanut butter goodness layered with rich, melt-in-your-mouth chocolate, all coming together without ever turning on the oven. These bars not only satisfy your sweet tooth effortlessly but also bring a delightful texture and flavor combination that’s hard to resist. Whether you need a quick treat for guests or a personal indulgence, this recipe hits all the right notes with simplicity and taste.
Ingredients You’ll Need
The magic of this No Bake Chocolate Peanut Butter Bars Recipe lies in its simplicity and quality ingredients. Each component plays an important role, from the buttery base that provides crunch to the luscious peanut butter that adds richness and the chocolate topping that crowns the bars with decadent sweetness.
- Melted butter (1/2 cup): Acts as the binding agent and adds a smooth, rich flavor to the base layer.
- Graham cracker crumbs (1 cup): Give the bars a delightful crisp texture and subtle sweetness.
- Powdered sugar (1 cup): Sweetens while keeping the texture silky smooth in the peanut butter layer.
- Smooth peanut butter (3/4 cup): Provides that creamy, nutty heart to the bars that everyone loves.
- Semi-sweet melting chocolate chips (1 cup): Create a luscious chocolate layer that perfectly balances the peanut butter.
- Butter (1 tablespoon): Added to the melted chocolate for extra shine and a velvety finish.
How to Make No Bake Chocolate Peanut Butter Bars Recipe
Step 1: Prepare the Pan
Start by lining an 8×8 or 9×9 inch pan with parchment paper, making sure to leave an overhang on the sides. This little tip makes lifting the bars out super easy and keeps them intact when slicing.
Step 2: Make the Peanut Butter Base
In a bowl, combine the melted butter, graham cracker crumbs, powdered sugar, and smooth peanut butter. Stir everything together until it’s beautifully smooth and well combined. Then spread this heavenly peanut butter mixture evenly into your prepared pan. Pop it into the freezer for about 5 minutes to help it firm up and hold its shape for the next layer.
Step 3: Prepare the Chocolate Topping
While your base chills, melt the semi-sweet chocolate chips gently, either in a microwave-safe bowl in short bursts or over a double boiler. Stir in the butter until velvety and glossy. Pour this luscious chocolate right over the chilled peanut butter layer and spread it out evenly.
Step 4: Chill to Set
Place the pan in the fridge and let the bars chill for about 4 hours or until fully firm. This step is crucial—it allows all those layers to set perfectly. When ready, leave the bars out at room temperature for 10 minutes before slicing; it helps the bars cut cleanly without cracking the chocolate layer.
How to Serve No Bake Chocolate Peanut Butter Bars Recipe
Garnishes
While these bars are phenomenal on their own, you can make them look and taste even more special by adding a sprinkle of flaky sea salt on top of the chocolate layer or a dusting of finely chopped peanuts. Both add texture and enhance the nutty-chocolate flavor profile wonderfully.
Side Dishes
Pair these bars with a scoop of vanilla bean ice cream or a dollop of whipped cream for a luscious dessert experience. They also go well with a cup of rich coffee or a creamy glass of milk to balance the sweetness.
Creative Ways to Present
For parties, consider cutting the bars into bite-sized squares and serving them on a colorful platter lined with parchment or doilies. You can even drizzle some white chocolate or caramel over the top for a fun twist that will impress your friends.
Make Ahead and Storage
Storing Leftovers
You can keep any leftover bars in an airtight container in the fridge for up to a week. This helps maintain their texture and keeps the chocolate from melting or getting sticky.
Freezing
These bars freeze beautifully. Wrap them tightly in plastic wrap and then place them in a freezer-safe container or bag. They can last up to 3 months frozen, making them an excellent make-ahead treat for unexpected guests or busy days.
Reheating
Since these bars are best enjoyed chilled, reheating isn’t really necessary. However, if you prefer a softer texture, let them thaw at room temperature for about 20 minutes before serving. This way, the peanut butter and chocolate layers soften just enough for a melt-in-your-mouth experience.
FAQs
Can I use crunchy peanut butter instead of smooth?
Absolutely! Using crunchy peanut butter will add an extra layer of texture and nutty crunch to the bars, which many people find irresistible.
Is it possible to use a different type of chocolate?
Yes, feel free to experiment with milk chocolate or dark chocolate chips depending on your taste preference. Just keep in mind that the sweetness and bitterness levels will vary slightly.
Can I make these bars vegan or dairy-free?
To make a dairy-free version, use plant-based butter and vegan chocolate chips. Smooth peanut butter is already dairy-free, so with these swaps, you can enjoy the same delicious results.
Do I need to chill the bars in the freezer first?
The brief freeze after spreading the peanut butter layer helps it set quickly and prevents mixing with the chocolate topping. While not mandatory, it is highly recommended for the best layered effect.
How long will these bars last at room temperature?
Because of the butter and peanut butter, it’s best to keep the bars refrigerated. At room temperature, they might become too soft within a few hours, especially in warmer environments.
Final Thoughts
This No Bake Chocolate Peanut Butter Bars Recipe is truly a game-changer when you want something incredibly tasty without spending hours in the kitchen. I love how easy it is to whip up a batch, and every bite just feels like a small moment of joy. Trust me, once you try these bars, they’ll quickly become a beloved staple in your dessert lineup. So go ahead, treat yourself and your loved ones to this fantastic combination of chocolate and peanut butter bliss.
Print
No Bake Chocolate Peanut Butter Bars Recipe
- Prep Time: 10 minutes
- Cook Time: 0 minutes
- Total Time: 4 hours 10 minutes
- Yield: 12 bars
- Category: Dessert
- Method: No-Cook
- Cuisine: American
Description
These No Bake Chocolate Peanut Butter Bars are a deliciously creamy and easy-to-make treat, combining a buttery graham cracker and peanut butter base topped with smooth melted chocolate. Perfect for a quick dessert or snack without needing an oven.
Ingredients
Peanut Butter Layer
- 1/2 cup melted butter
- 1 cup graham cracker crumbs
- 1 cup powdered sugar
- 3/4 cup smooth peanut butter
Chocolate Topping
- 1 cup semi-sweet melting chocolate chips
- 1 tablespoon butter
Instructions
- Prepare the Pan: Line an 8×8 or 9×9 inch pan with parchment paper, leaving an overhang on the sides for easy removal of the bars.
- Make the Peanut Butter Layer: Stir together the melted butter, graham cracker crumbs, powdered sugar, and smooth peanut butter until well combined. Spread this mixture evenly into the prepared pan. Place the pan in the freezer for 5 minutes to firm up the layer.
- Prepare the Chocolate Topping: While the peanut butter layer chills, melt the semi-sweet chocolate chips using a microwave or double boiler. Stir in 1 tablespoon of butter until fully melted and smooth. Pour this chocolate mixture evenly over the chilled peanut butter layer in the pan.
- Chill and Set: Place the pan in the refrigerator and chill for about 4 hours until the bars are completely firm. Before slicing, let the bars sit at room temperature on the counter for 10 minutes to make cutting easier. Slice into 12 bars and serve.
Notes
- Use parchment paper with an overhang for easier removal of bars from the pan.
- For a smoother chocolate topping, melt chocolate chips gently to avoid burning.
- Allow the bars to come to room temperature briefly before slicing for cleaner cuts.
- Store bars in an airtight container in the refrigerator for up to 1 week.