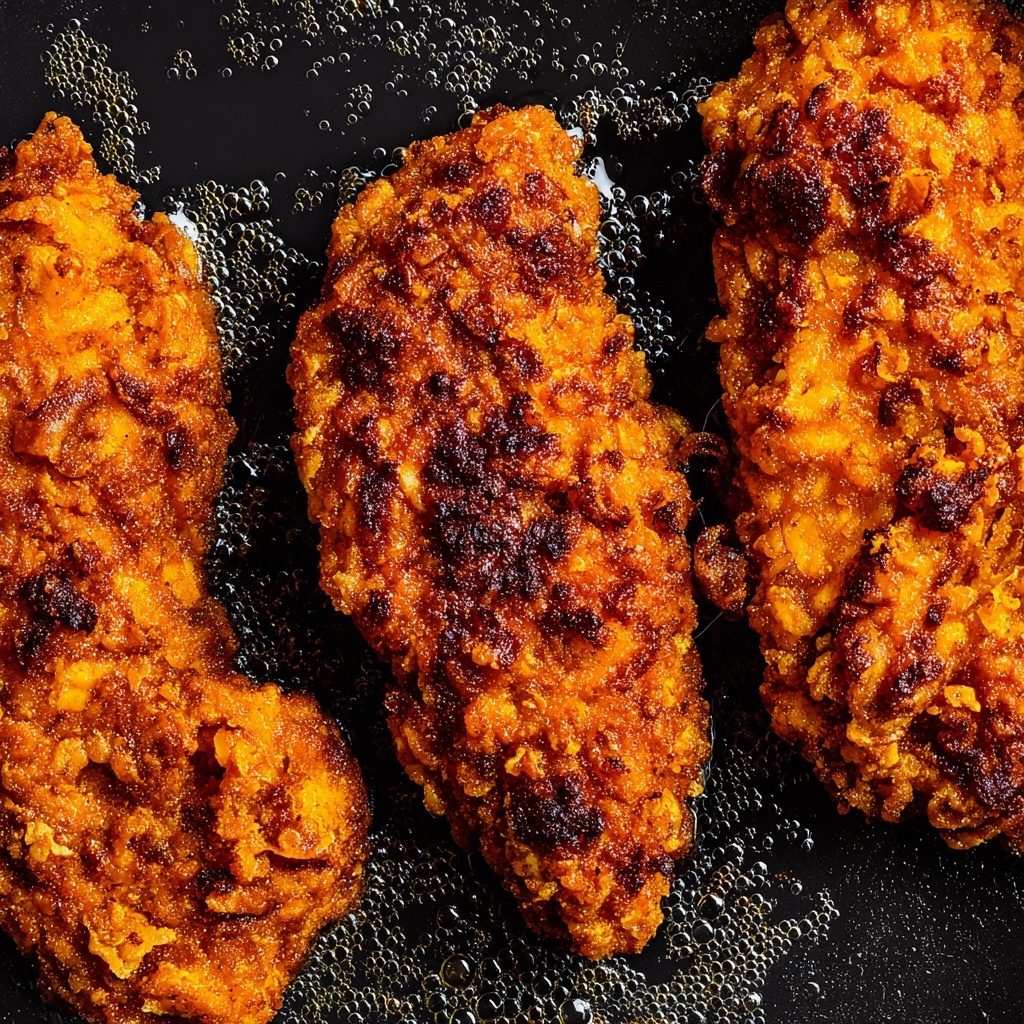
If you’re craving that irresistible crunch of fried chicken without the hassle of deep-frying, this Crispy Oven Fried Chicken Recipe is just what you need. It delivers perfectly golden, crisp-on-the-outside, juicy-on-the-inside chicken strips that are utterly satisfying. Using a smart combination of flour, breadcrumbs, and a few key seasonings, plus the magic of the oven, you’ll get all the flavor and crunch with less mess and a bit more ease. This recipe has quickly become a beloved favorite for gatherings, weeknight dinners, and whenever you want a comfort food hug in every bite.
Ingredients You’ll Need
Every ingredient in this dish serves a special purpose, coming together to build that crunchy, flavorful crust and tender chicken inside. The simplicity of these pantry staples lets the seasoning shine through, while the butter ensures a golden finish that’s hard to resist.
- 1 large egg: Acts as the perfect binder to help the coating stick to the chicken strips.
- 1/3 cup buttermilk (or regular milk): Adds moisture and a slight tang, tenderizing the chicken beautifully.
- 1 cup all-purpose flour: Provides the base for that crispy crust we all love.
- 4 tablespoons breadcrumbs (Panko or Italian seasoned): Gives an extra crunch and texture contrast.
- 1 teaspoon baking powder: Helps the coating puff up just enough for light crispiness.
- 1.5 teaspoons salt: Enhances all the flavors perfectly; adjust to your taste.
- 2 teaspoons ground paprika: Adds subtle smokiness and a pop of color.
- 1 teaspoon garlic powder: Brings that warm, savory depth.
- 1 teaspoon onion powder: An essential flavor booster that works quietly in the background.
- 1/2 teaspoon ground pepper: Adds just a hint of heat.
- 2 pounds boneless, skinless chicken breasts (cut into strips): The star of the show — tender, lean, and easy to handle.
- 1/4 cup butter (or more): Melts on the pan to help the coating brown beautifully and add richness.
How to Make Crispy Oven Fried Chicken Recipe
Step 1: Prep the Oven and Pan
Kick things off by preheating your oven to 410°F. Place a heavy, dark-colored pan like cast iron inside while the oven heats to get it sizzling hot. This step is crucial because a hot pan will help your chicken get that instant sear when it hits the surface, beginning the crisping process right away.
Step 2: Mix Up Your Breading Stations
While the oven is warming, whisk together your egg and buttermilk in one bowl—this mixture is what allows the coating to cling deliciously to each chicken strip. In a separate bowl, combine the flour, breadcrumbs, baking powder, and all the spices. This fragrant, textured mixture will be the mouthwatering crust on your chicken.
Step 3: Coat the Chicken Like a Pro
Time to dress the chicken! Toss each chicken strip in the flour mixture, shaking off any excess so the coating isn’t gummy. Then dip the strips into the egg mixture, getting every nook and cranny coated. Finally, dunk them back into the flour mixture and press the coating in well to form a thick, even crust. This double dredge trick is the secret to achieving that extra crispy texture.
Step 4: Arrange and Butter the Pan
Carefully remove your hot pan from the oven and add the butter, letting it melt into a sizzling pool. Immediately place the breaded chicken strips spaced out on the pan so they can crisp evenly without steaming. To avoid overcrowding, cook in batches if needed, which guarantees that perfect crunch on every piece.
Step 5: Bake and Broil to Perfection
Bake the chicken for 10 to 12 minutes, then flip each piece and bake for another 5 to 10 minutes depending on thickness—this ensures even cooking throughout. If the pan looks dry, go ahead and add a bit more butter for moisture and flavor. To finish, broil the chicken for 1 to 2 minutes until the coating turns that brilliant golden brown and irresistibly crispy.
Step 6: Rest and Serve
Once out of the oven, let your crispy chicken rest for 2-3 minutes to let the juices redistribute. This little pause makes every bite juicy and tender, making your Crispy Oven Fried Chicken Recipe ready to enjoy immediately.
How to Serve Crispy Oven Fried Chicken Recipe
Garnishes
Simple garnishes like a sprinkle of fresh chopped parsley or a handful of finely sliced green onions add a fresh pop of color and brightness that complements the rich, savory chicken beautifully. A wedge of lemon nearby offers a zingy contrast if you love a citrus kick.
Side Dishes
This Crispy Oven Fried Chicken Recipe pairs wonderfully with classic sides like creamy mashed potatoes, roasted vegetables, or even a crisp garden salad. For a Southern-inspired touch, try serving it with coleslaw and buttery cornbread—the ultimate comfort food combo.
Creative Ways to Present
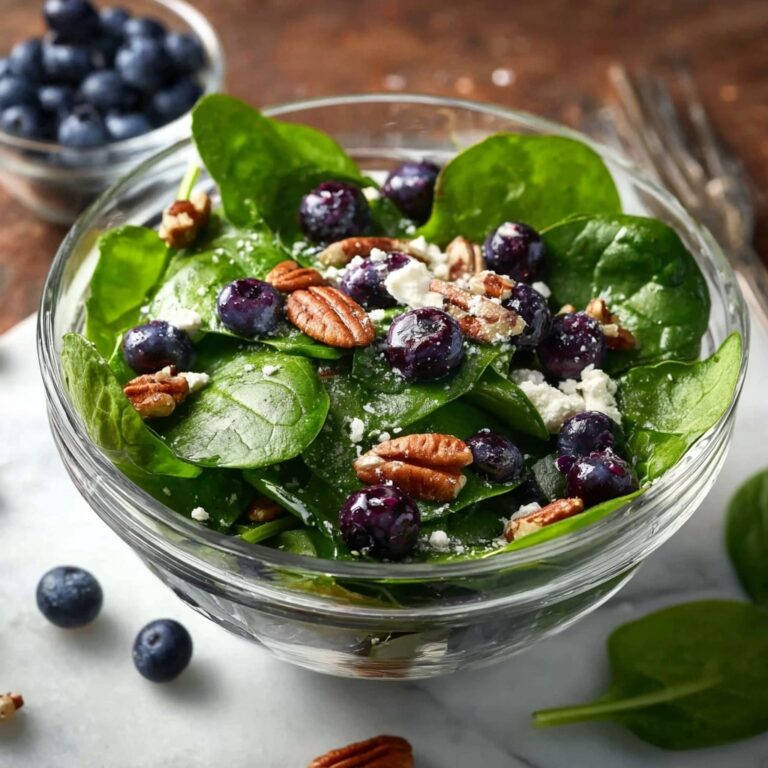
Want to switch things up? Serve your crispy chicken strips on a soft bun with pickles, lettuce, and your favorite sauce for a tasty fried chicken sandwich. Or make a crunchy chicken salad by slicing strips over mixed greens with a drizzle of honey mustard. This recipe is versatile enough to shine in many fun, flavorful ways.
Make Ahead and Storage
Storing Leftovers
Once cooled, place leftovers in an airtight container and keep them in the fridge for up to 3 days. To maintain their crispiness, try to separate the chicken pieces from any sauces or wet sides to avoid sogginess.
Freezing
If you want to save some for later, freeze the cooked chicken in a single layer on a baking sheet, then transfer to a freezer-safe bag or container. This keeps the coating intact, and the chicken will last frozen for up to 2 months.
Reheating
The best way to reheat your Crispy Oven Fried Chicken Recipe is in a hot oven or toaster oven at 375°F for about 10 minutes. This method revives the crisp coating without drying out the chicken, unlike microwaving, which can lead to a limp crust.
FAQs
Can I use chicken thighs instead of breasts?
Absolutely! Boneless, skinless chicken thighs work wonderfully with this recipe and often have more flavor and juiciness. Just be mindful of the cooking time, as thighs may require a few extra minutes to cook through.
What if I don’t have buttermilk?
No worries! You can easily substitute regular milk with a teaspoon of lemon juice or white vinegar mixed in and let it sit for a few minutes. This mimics buttermilk’s acidity, helping to tenderize the chicken.
Why is my coating falling off the chicken?
Make sure you press the coating firmly onto the chicken strips during the second flour dip. Also, don’t overcrowd the pan when baking, as moisture buildup can cause the coating to get soggy and slide off.
Can I make this recipe gluten-free?
Yes! Use a gluten-free flour blend and gluten-free breadcrumbs instead. The technique works just as well, and you’ll still get fantastic crispiness.
Is it necessary to broil the chicken at the end?
Broiling adds a beautiful golden finish and extra crunch but if you prefer to skip it, just bake a bit longer until the chicken reaches your desired crispness. Keep an eye on it to prevent burning.
Final Thoughts
This Crispy Oven Fried Chicken Recipe is a total winner for anyone looking to enjoy all the crunch and comfort of fried chicken without fussing over deep frying. It’s approachable, guaranteed to impress, and lets you savor every crispy, juicy bite. I truly hope you try it soon and let it become one of your favorite weeknight dishes or party treats!
Print
Crispy Oven Fried Chicken Recipe
- Prep Time: 15 minutes
- Cook Time: 25 minutes
- Total Time: 40 minutes
- Yield: 6 servings
- Category: Main Course
- Method: Baking
- Cuisine: American
Description
This Crispy Oven Fried Chicken recipe offers a healthier twist on classic fried chicken by baking it in the oven to achieve a golden, crunchy crust without deep frying. Tender boneless, skinless chicken breast strips are double-breaded with seasoned flour and an egg-milk wash, then baked on a hot buttered cast iron or metal pan and finished under the broiler for perfect crispiness. Ready in just about 40 minutes, this dish is perfect for a family meal or casual dinner with a satisfying crunch and full flavor.
Ingredients
Wet Ingredients
- 1 large egg
- 1/3 cup buttermilk (or regular milk; see notes)
- 1/4 cup butter (or more as needed)
Dry Ingredients for Breading
- 1 cup all-purpose flour
- 4 tablespoons breadcrumbs (Panko or Italian seasoned recommended)
- 1 teaspoon baking powder
- 1.5 teaspoons salt (adjust to taste)
- 2 teaspoons ground paprika
- 1 teaspoon garlic powder
- 1 teaspoon onion powder
- 1/2 teaspoon ground black pepper
Main Ingredient
- 2 pounds boneless, skinless chicken breast, cut into strips (2–3 strips per breast)
Instructions
- Prep: Preheat your oven to 410°F (210°C). Place a dark-colored, cast iron, or sturdy metal pan in the oven while it heats to ensure it becomes very hot for baking.
- Prepare breading: In a medium bowl, whisk together the egg and buttermilk until smooth. In a separate bowl, combine the flour, breadcrumbs, baking powder, salt, paprika, garlic powder, onion powder, and black pepper thoroughly.
- Bread the chicken: Toss the chicken strips first in the flour mixture, ensuring an even coat, and shake off excess flour. Then dip each piece in the egg and buttermilk mixture. Finally, dip each piece again in the flour mixture, pressing the coating firmly onto the chicken to make it stick well.
- Place chicken on pan: Carefully remove the heated pan from the oven and melt the butter in it, spreading to coat the surface. Arrange the breaded chicken strips on the pan spaced apart to avoid overcrowding. If necessary, bake in batches to ensure even cooking.
- Oven fry: Bake the chicken strips for 10-12 minutes on one side. Carefully flip each piece and bake for an additional 5-10 minutes, depending on the thickness. If the pan looks dry, add more butter to keep the chicken moist. Finish by broiling the chicken for 1-2 minutes to achieve a golden brown and crispy crust.
- Serve: Allow the cooked chicken to rest for 2-3 minutes before serving to let juices redistribute and to cool slightly. Serve immediately for the best crispy texture.
Notes
- You can substitute regular milk if buttermilk is unavailable; adding a teaspoon of lemon juice or vinegar to milk can mimic buttermilk.
- Use a dark or cast iron pan to ensure even browning and adequate heat retention.
- Pressing the breading firmly helps create a crunchy crust that adheres well.
- Broiling at the end is key to achieving that crispy, golden finish.
- If needed, bake chicken in batches to avoid overcrowding, which can cause sogginess.
