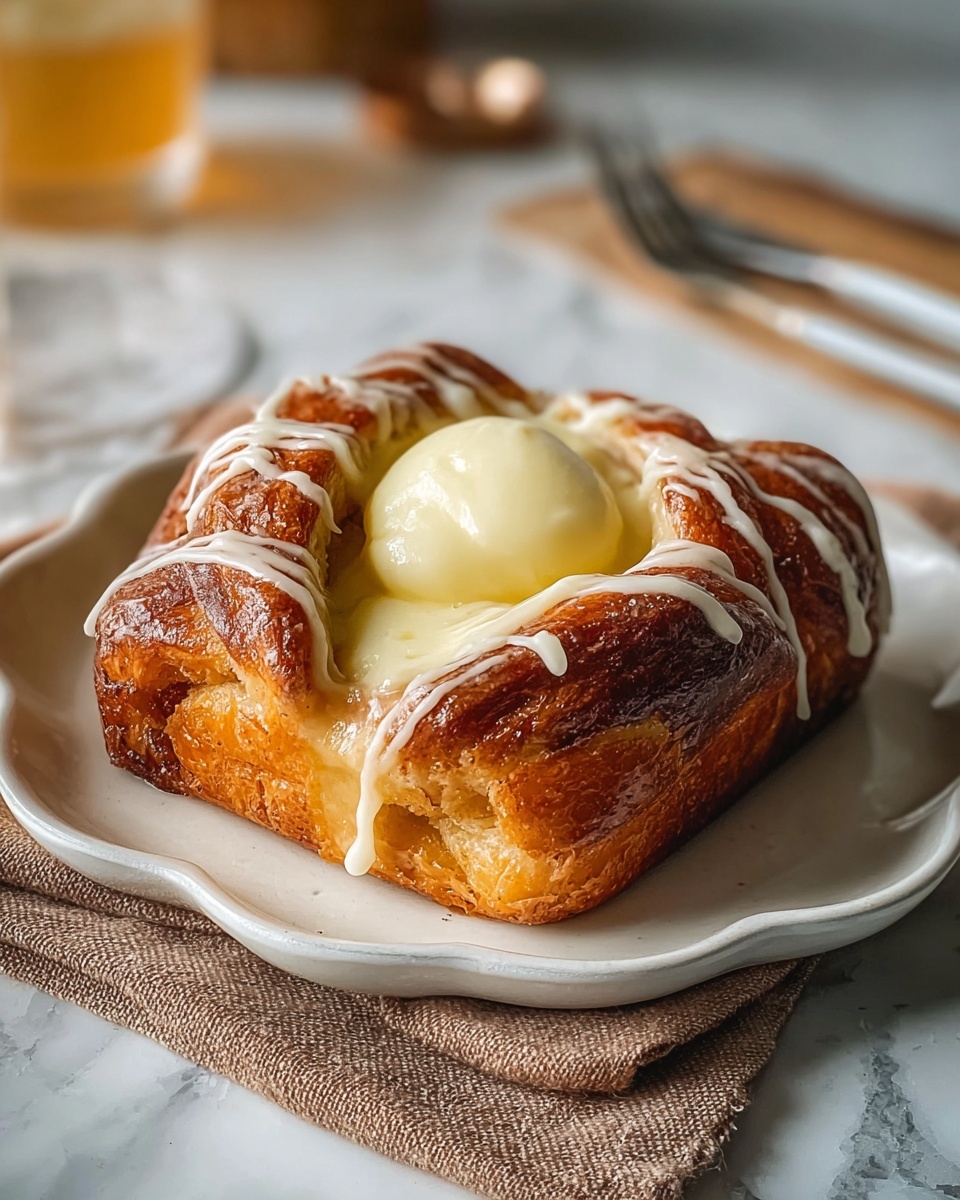
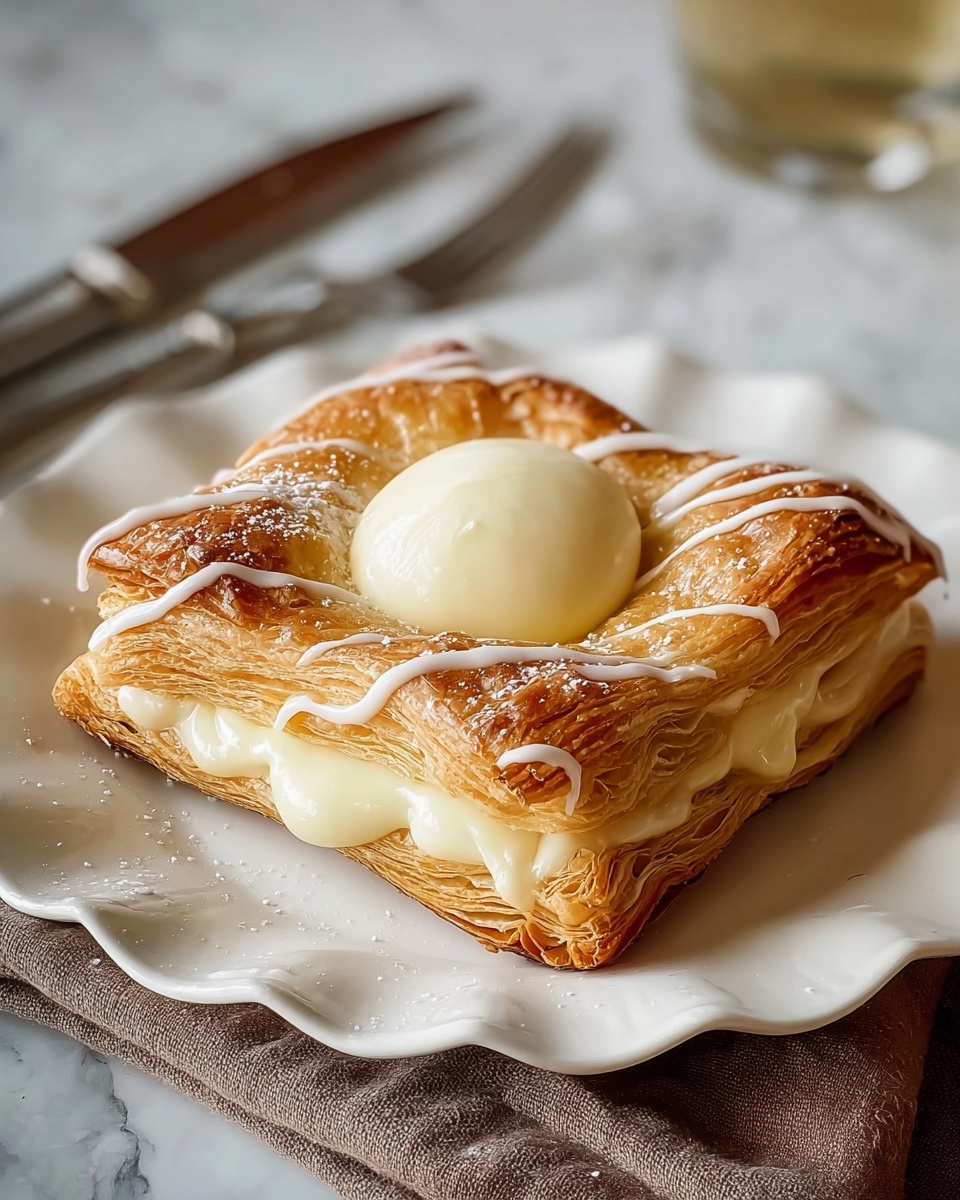
If you’re craving something irresistibly delightful to start your day, this Easy Breakfast Cheese Danish Recipe is exactly what you need. It combines flaky, buttery crescent roll layers with a luscious, creamy cheese filling that melts in your mouth with every bite. Whether you’re hosting a brunch or just want a quick, impressive breakfast, this recipe is a total winner—simple to prepare but packed with comforting flavors that make mornings feel extra special.
Ingredients You’ll Need
Gathering the right ingredients is key to making this cheese danish shine. Luckily, each item here is straightforward and plays an important role in delivering that perfect balance of sweetness, creaminess, and flakiness.
- 2 cans refrigerated crescent rolls: These create the wonderfully flaky pastry layers without any fuss.
- 2 (8 oz) packages cream cheese: The heart of the filling, lending a smooth and rich texture.
- 1 cup sugar: Adds just the right amount of sweetness to brighten the cream cheese filling.
- 1 teaspoon vanilla extract: Infuses a warm, fragrant note into the filling.
- 1 egg: Helps bind the filling together for a silky finish.
- 1 egg white: Brushed on top for a golden, shiny crust.
- ½ cup powdered sugar: The base for the delicious glaze that adds a touch of sweetness and charm.
- 2 tablespoons milk: Thins the glaze to the perfect drizzle consistency.
- ½ teaspoon vanilla extract: A hint of vanilla in the glaze ties all the flavors together beautifully.
How to Make Easy Breakfast Cheese Danish Recipe
Step 1: Prepare the Base
Start by preheating your oven to 350°F (175°C) and lightly grease a 13×9-inch baking pan. This step gets your pan ready to hold all those delicious layers without sticking, making cleanup a breeze.
Step 2: Layer the Bottom Crescent Rolls
Unroll one of the cans of crescent rolls and press the dough firmly into the bottom of your prepared pan. Make sure to seal any seams so the filling won’t leak out, creating a crisp, buttery base that holds everything together perfectly.
Step 3: Make the Filling
In a mixing bowl, beat together the cream cheese, sugar, vanilla extract, and egg until completely smooth and creamy. This mixture is the silky center of your danish, giving every bite that rich, tangy sweetness.
Step 4: Spread the Filling
Evenly spread this luscious cream cheese mixture over the crescent roll base. Getting a smooth, even layer here ensures every slice has just the right amount of filling.
Step 5: Add the Top Crescent Roll Layer
Next, unroll the second can of crescent rolls and carefully lay it over the filling. Pinch the seams together to seal the filling inside, which helps create a beautiful, golden crust on top.
Step 6: Brush with Egg White
Brush the surface with the beaten egg white. This little step works magic by giving your danish that glossy, golden finish that’s so inviting.
Step 7: Bake to Golden Perfection
Bake the danish for 35 to 45 minutes until it’s beautifully golden brown and your kitchen fills with that irresistible aroma of freshly baked goodness.
Step 8: Cool Before Glazing
Once out of the oven, let your danish cool for about 20 minutes. This cooling time is essential to let the filling set and prevents the glaze from melting too quickly.
Step 9: Make the Glaze
While it cools, whisk together the powdered sugar, milk, and vanilla extract to create a smooth, sweet glaze that enhances the flavors and adds a lovely finishing touch.
Step 10: Finish and Serve
Drizzle the glaze evenly over the danish, slice into 12 generous pieces, and serve warm or at room temperature. Each slice promises a perfect mix of flaky crust, creamy filling, and sweet glaze—pure breakfast bliss!
How to Serve Easy Breakfast Cheese Danish Recipe
Garnishes
To elevate your Easy Breakfast Cheese Danish Recipe even more, consider sprinkling fresh berries like raspberries or blueberries on top of the glaze. A light dusting of powdered sugar also adds a pretty, snow-kissed look that delights the eyes as well as the palate.
Side Dishes
This danish pairs wonderfully with a fresh fruit salad or a simple green smoothie. The light, vibrant flavors of these sides balance the richness of the cheese danish, making for a well-rounded, satisfying breakfast.
Creative Ways to Present
Serving the cheese danish on a wooden platter with a few sprigs of fresh mint creates an elegant presentation for guests. For a fun twist, cut the danish into smaller squares and serve them as party bites with a cup of coffee—a delightful treat that everyone will love.
Make Ahead and Storage
Storing Leftovers
Wrap leftover slices tightly in plastic wrap or store them in an airtight container in the refrigerator. Properly stored, your Easy Breakfast Cheese Danish Recipe will stay fresh for up to 3 days, allowing you to enjoy it at your leisure.
Freezing
You can freeze individual slices by wrapping them in plastic wrap and then placing them in a freezer-safe bag. Frozen danish will keep well for up to 2 months, making it perfect for prepping ahead or saving for special breakfasts later!
Reheating
To reheat, place slices on a baking sheet and warm in a 350°F (175°C) oven for about 10 minutes or until heated through and lightly crisp again. This method helps maintain the flaky texture and warms the cheese filling just right.
FAQs
Can I use any type of cream cheese for this recipe?
Yes, regular cream cheese works best for the smooth texture needed, but you can use reduced-fat cream cheese if you prefer a lighter option. Just keep in mind the flavor will be slightly less rich.
Is it okay to make this recipe dairy-free?
Absolutely! You can substitute dairy-free cream cheese and a dairy-free crescent roll dough to make a similar-tasting danish that suits your diet, though flavors and textures might vary a bit.
Can I add fruit inside the filling?
Definitely! Adding small amounts of fruit like chopped strawberries, blueberries, or even a fruit jam swirl can add delightful bursts of flavor. Just make sure not to add too much liquid to keep the filling creamy.
What’s the best way to keep the danish from getting soggy?
Ensuring the bottom crescent roll layer is properly sealed and not overlapped too thickly helps prevent sogginess. Also, letting the danish cool slightly before glazing keeps the pastry crisp.
Can I make mini versions of this cheese danish?
Yes, you can! Using a muffin tin lined with crescent roll dough and smaller amounts of filling makes charming individual cheese danishes perfect for grab-and-go breakfasts or parties.
Final Thoughts
There is something so wonderfully comforting and satisfying about this Easy Breakfast Cheese Danish Recipe that it’s sure to become a favorite in your home. With simple ingredients and straightforward steps, you can create a breakfast pastry that feels fancy but actually fits perfectly into busy mornings. I encourage you to give it a try—because the joy of flaky layers, cream cheese filling, and a sweet glaze is truly unbeatable.