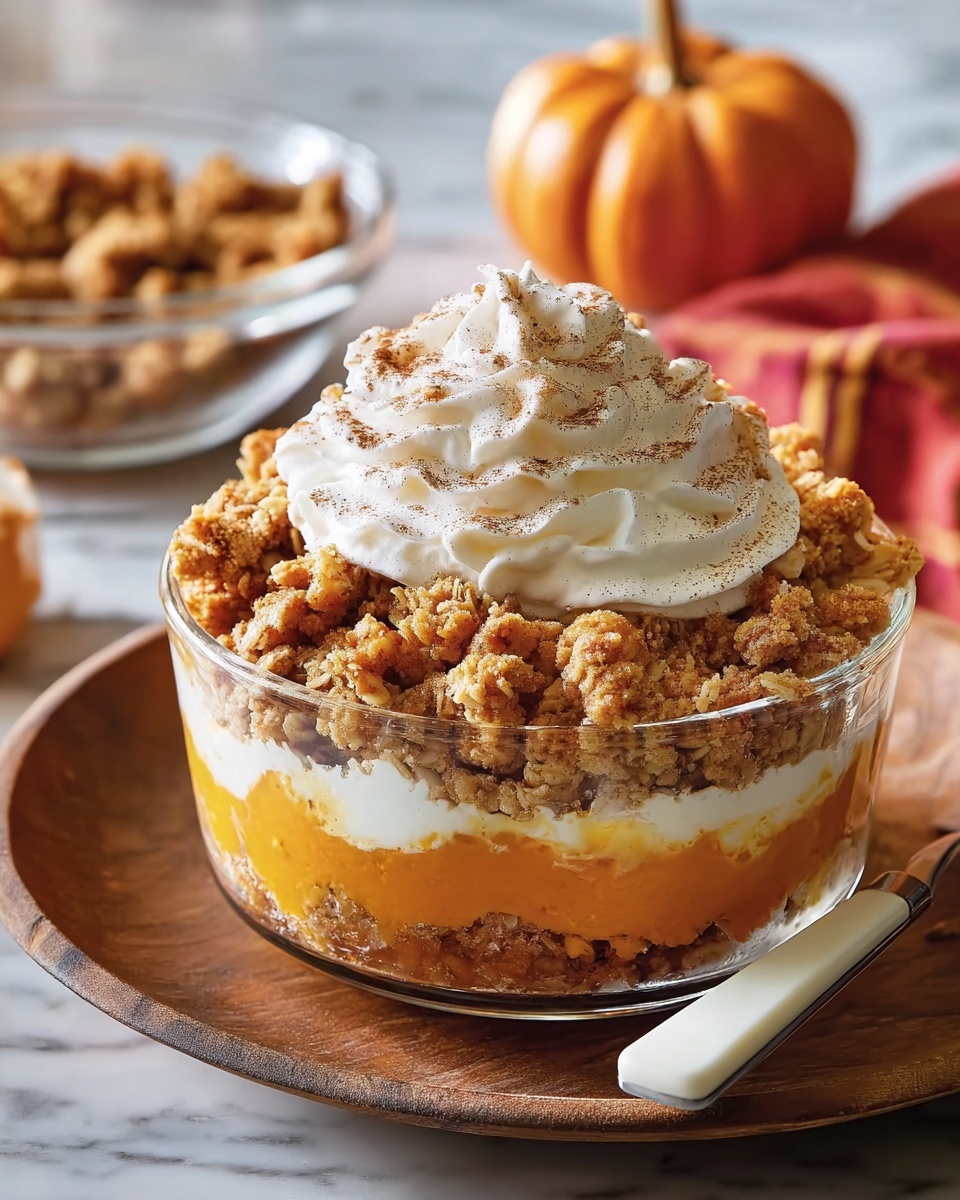
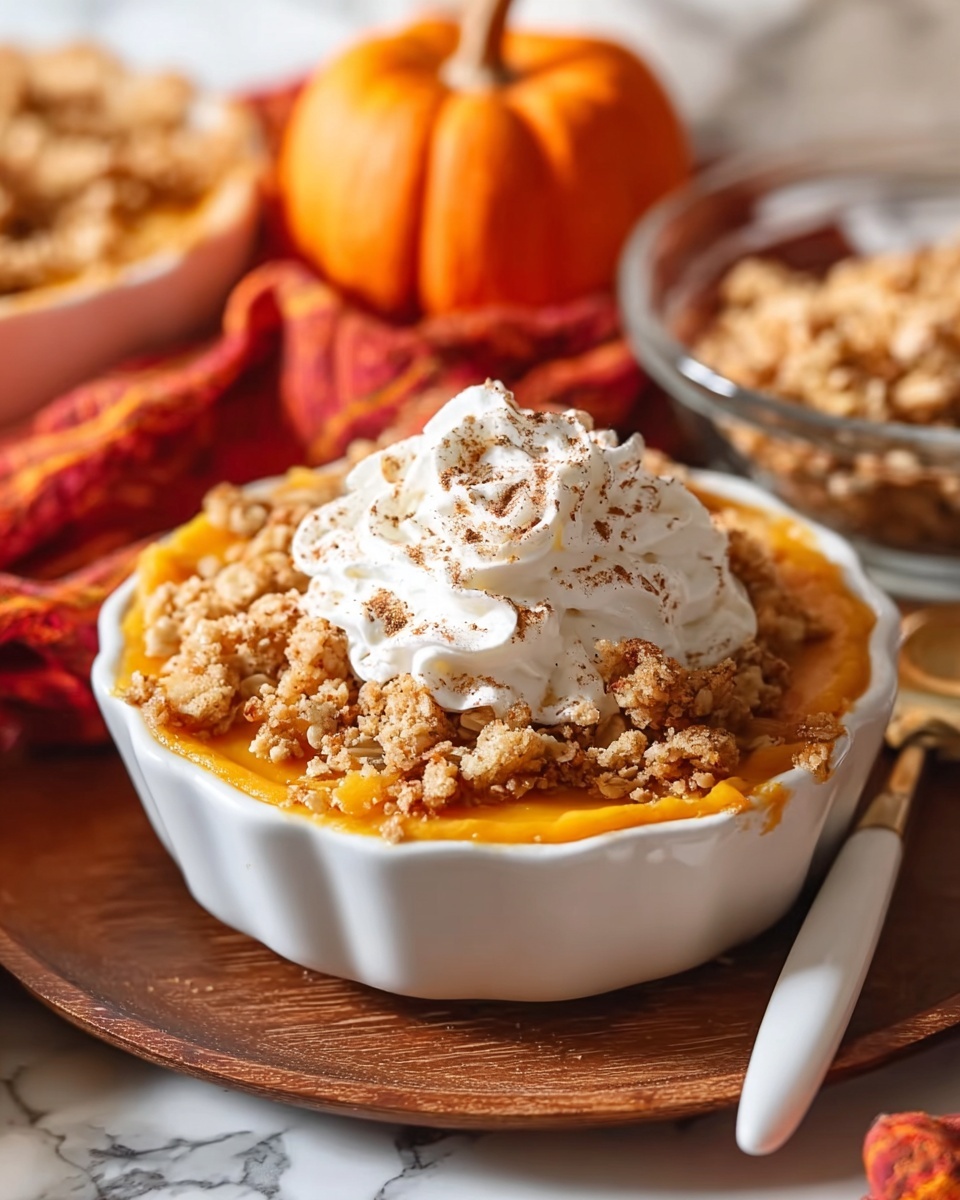
There is something truly comforting and irresistibly delicious about a warm, generously topped dessert that combines the smooth, spiced goodness of pumpkin with a crunchy, buttery crumb layer. This Pumpkin Crisp Recipe captures all those cozy fall vibes in every bite, making it a perfect dish to share with family or friends during any occasion. With just the right balance of sweetness, spice, and texture, it’s one of those desserts that feels both homey and special—your soon-to-be favorite go-to pumpkin treat!
Ingredients You’ll Need
Don’t let the list intimidate you; these ingredients are wonderfully simple but essential to achieving that perfect harmony of flavors and textures in your Pumpkin Crisp Recipe. Each plays a unique role, from moistening the pumpkin filling to creating a golden, crumbly topping that bakes to perfection.
- Pumpkin puree: The star of the dish, providing creamy texture and rich pumpkin flavor.
- Granulated sugar: Used in both the filling and topping, it sweetens the dessert evenly.
- Large eggs: Help bind the filling together and add richness.
- Pumpkin pie spice: A blend of cinnamon, nutmeg, and cloves that gives warm, autumnal depth.
- Salt: Enhances all the sweet and spicy flavors perfectly.
- Vanilla extract: Adds a lovely aromatic sweetness to the pumpkin mixture.
- Heavy cream: Makes the filling luxuriously smooth and creamy.
- All-purpose flour: Gives the streusel topping structure and a satisfying crunch.
- Cinnamon: Pairs beautifully with pumpkin and is key to the crisp’s topping flavor.
- Unsalted butter: Melted into the topping mixture for a rich, golden finish.
How to Make Pumpkin Crisp Recipe
Step 1: Prepare Your Baking Dish
Start by preheating your oven to 375°F (190°C). While it heats, grease a 12-inch cast iron skillet or a medium casserole dish—this will ensure your crisp doesn’t stick and helps create a nicely browned crust all around.
Step 2: Whisk Together the Pumpkin Filling
In a large bowl, combine the pumpkin puree, sugar, eggs, pumpkin pie spice, salt, and vanilla extract. The spices and vanilla create an inviting aroma you’ll love. Gradually whisk in the heavy cream until the mixture is silky smooth. Pour this fragrant pumpkin filling evenly into your prepared dish.
Step 3: Make the Streusel Topping
In a separate bowl, mix together the flour, sugar, cinnamon, and salt—this dry base will become the sweet, crumbly topping. Add the melted butter and stir gently with a fork until the mixture resembles coarse crumbs. This topping adds the perfect contrast to the creamy pumpkin below.
Step 4: Assemble and Bake
Evenly spread the cinnamon streusel over the pumpkin filling. Bake the dessert for 40 to 45 minutes, or until the filling is set and the topping turns a gorgeous golden brown. If you notice the topping browning too quickly, cover loosely with foil to prevent burning while the filling finishes baking.
Step 5: Cool and Enjoy
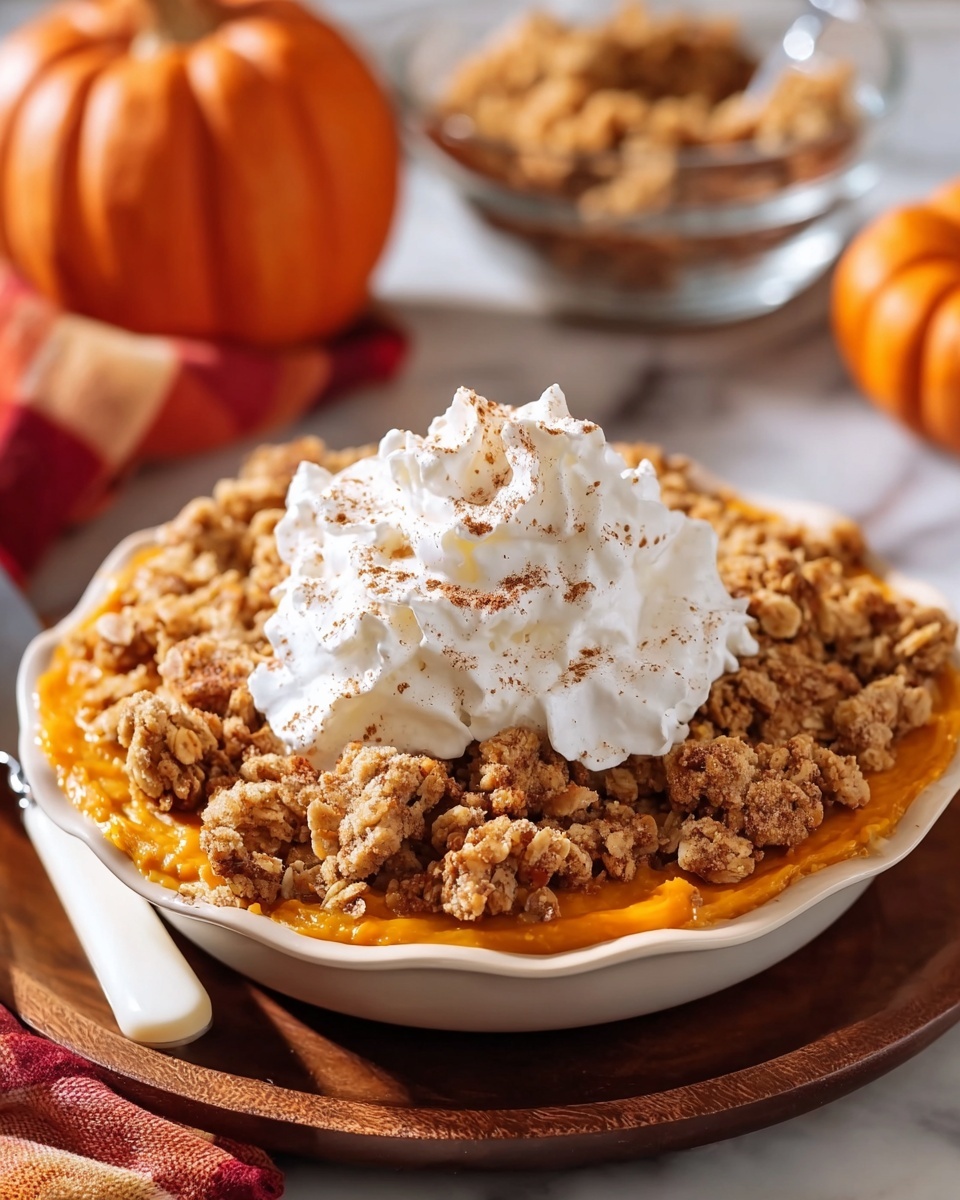
Once baked, remove from the oven and allow the crisp to cool for about 10 minutes. This resting time lets the flavors settle and the filling firm up just right, making each spoonful wonderfully satisfying. Serve warm, perhaps with a scoop of vanilla ice cream or a dollop of whipped cream for extra indulgence.
How to Serve Pumpkin Crisp Recipe
Garnishes
A scoop of vanilla ice cream melting over the warm crisp creates a delightful contrast of temperatures and textures. Alternatively, fresh whipped cream adds a light, airy complement. For an extra touch, sprinkle some toasted pecans or a drizzle of caramel sauce over the top.
Side Dishes
This Pumpkin Crisp Recipe is a perfect dessert finale alongside a cozy cup of spiced tea or freshly brewed coffee. If you’re serving a larger meal, light herbal salads or roasted vegetables go well before it, keeping the focus on comforting fall flavors throughout.
Creative Ways to Present
Serve individual portions in charming ramekins for a more elegant presentation or straight from a rustic cast iron skillet for a homey vibe. You can also experiment by layering the pumpkin filling and topping in parfait glasses for a delectable twist that’s as beautiful as it is delicious.
Make Ahead and Storage
Storing Leftovers
Once cooled, cover the Pumpkin Crisp Recipe tightly with plastic wrap or transfer to an airtight container. It keeps beautifully in the refrigerator for up to 4 days, making it a convenient treat to enjoy anytime.
Freezing
This dessert freezes well for future enjoyment. Wrap it securely in foil and place it inside a freezer bag or container. When you’re ready, thaw overnight in the fridge, then reheat gently in the oven to refresh that crisp topping.
Reheating
To bring back that fresh-from-the-oven magic, reheat your Pumpkin Crisp Recipe in a 350°F oven for about 15 minutes or until warmed through. Avoid microwaving if possible, as it can make the topping lose its crisp texture.
FAQs
Can I use fresh pumpkin instead of canned puree?
Absolutely! If you have fresh pumpkin, roast and puree it until smooth. Just be sure to drain excess moisture to keep your filling from becoming too watery.
Is pumpkin pie spice necessary?
While pumpkin pie spice adds signature warmth, you can customize the spice mix using cinnamon, nutmeg, ginger, and cloves to suit your preferences.
Can I make the topping gluten-free?
Yes, substitute the all-purpose flour with a gluten-free flour blend that measures cup for cup. You might notice a slightly different texture, but it will still be delicious.
What’s the best way to serve this dessert warm?
Serve it fresh from the oven or reheat gently in the oven to keep the topping crisp. Pairing with ice cream or whipped cream really elevates the experience.
Can I double the recipe for a larger crowd?
Definitely! Just use a larger baking dish or two pans and adjust baking times slightly. Keep an eye on the topping to avoid over-browning.
Final Thoughts
This Pumpkin Crisp Recipe is a celebration of autumn’s finest flavors wrapped in a golden, crunchy topping that everyone will adore. It’s simple, satisfying, and perfect for sharing year-round. Give it a try and watch it quickly become one of your most treasured desserts!